Skip to content
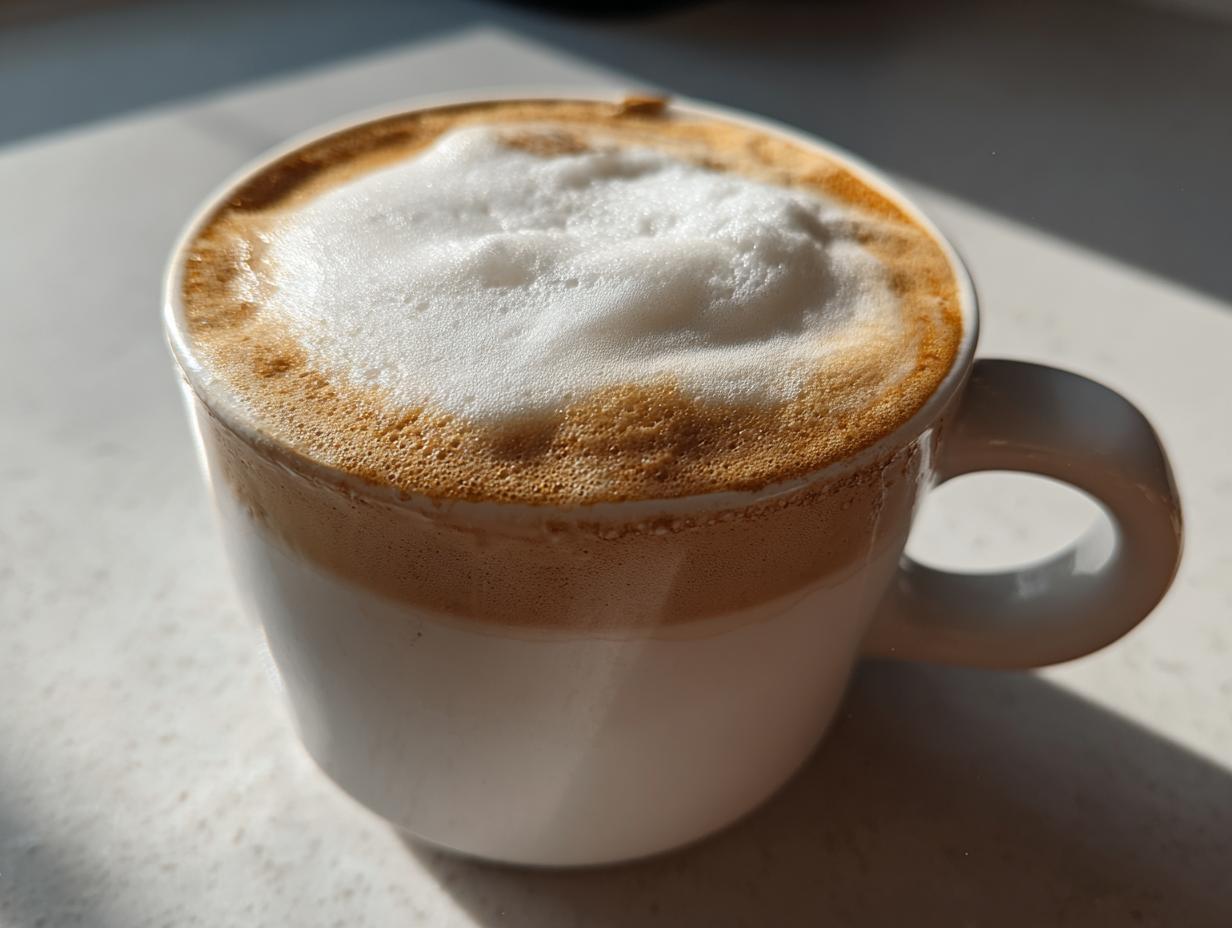
Coconut Latte. That’s the magic phrase that instantly transports me back to those early mornings when I desperately needed a strong, yet comforting, cup of coffee but couldn’t afford the café prices every single day. If you’re tired of watered-down drinks or just want that perfect blend of rich, creamy sweetness without all the fuss, you’ve come to the right place!
I’m Anna Kowalska, and here I share tried-and-true homemade recipes that you and your family will love. Everything is made with heart and flavor, always designed to bring a little bit of joy to your everyday routine. So often we think gourmet drinks have to be complicated, but trust me, they don’t. This recipe delivers that incredible, naturally sweet coffee experience you crave.
No heading needs to be written for the introduction. This particular recipe—our simple, foolproof guide to the best homemade coconut latte—is living proof that the best things in life are often the easiest to make right in your own kitchen. Get ready for your new favorite morning ritual!
Jump to:
Crafting Your Perfect Coconut Latte
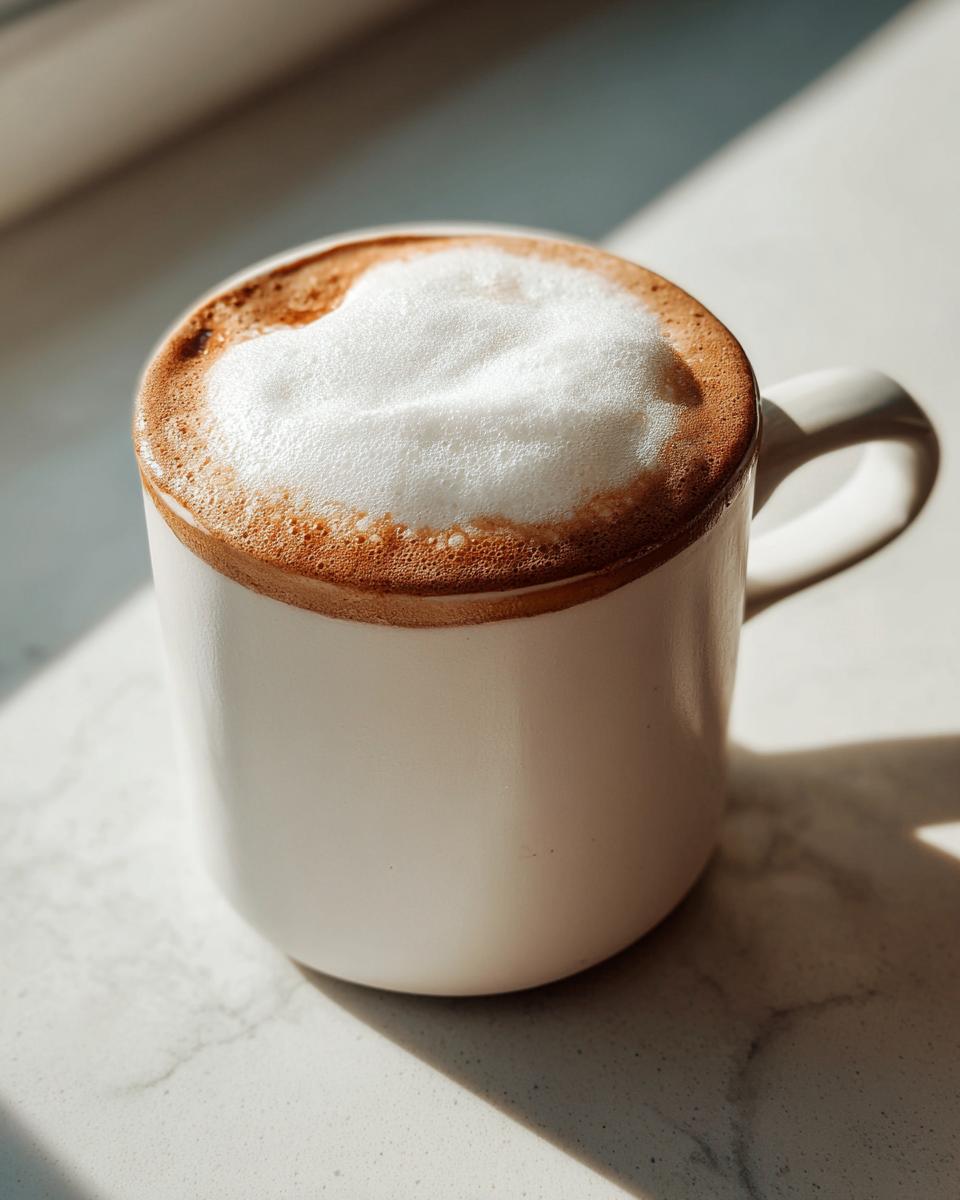
I’ve tried all the fancy, overly complicated coffee shop versions, and honestly? They rarely measure up to what you can whip up in five minutes flat at home. The secret to a truly superior homemade coconut latte isn’t some rare ingredient; it’s about respecting the simple components. We aren’t messing around with powders or artificial flavorings here. We are focusing on the richness that real coconut milk brings to the table.
When you make this Coconut Latte yourself, you control the quality, the sweetness, and the temperature. That’s where the real flavor comes from! Café drinks often use thin, watery bases that just don’t satisfy. This recipe guarantees a velvety texture that feels indulgent, even though it’s ready faster than you can find your car keys. Trust me, once you see how easy it is to get this creamy perfection, you won’t look back at those expensive take-out cups.
Why This Homemade Coconut Latte Stands Out
- It’s lightning fast—ready in under five minutes flat for those rushed mornings.
- The natural sweetness from the maple syrup pairs perfectly with the coconut flavor.
- You get that luxurious, rich mouthfeel you usually only find in specialty shops.
- No weird additives, just pure coffee and creamy coconut goodness.
Essential Ingredients for Your Coconut Latte
Okay, let’s talk ingredients. This recipe is super short, which is exactly what I love about it. When you only have a few things going into your mug, those few things need to be good quality, right? Don’t skimp on the milk, because that’s doing most of the heavy lifting for texture here. Keeping things simple means we can focus all our attention on getting the coffee base just right for our homemade coconut latte.
Ingredient Clarity and Preparation
The coconut milk is the star here, so please, use the canned, full-fat variety if you want that thick, creamy texture that truly mimics steamed dairy milk. The carton stuff is usually too thin and watery for this drink. For the coffee, you need something strong—espresso is ideal, but don’t stress if you don’t have a machine! A half-cup of very strong, freshly brewed coffee works wonderfully. The sweetener, whether it’s maple syrup or honey, has to be completely dissolved in the warm milk before you add the coffee, or you’ll end up with a sticky sludge at the bottom.
| Ingredient | Amount |
|---|---|
| Espresso or strong brewed coffee | 1 shot Espresso or 1/2 cup strong brewed coffee |
| Coconut milk | 1 cup |
| Maple syrup or honey | 1 to 2 tbsp |
| Whipped cream | Optional |
Step-by-Step Instructions for Your Coconut Latte
Making this drink is almost like a little ritual, and it happens so quickly! The key to a great Coconut Latte is making sure everything is warm and happy before they meet in the final mug. Remember, we’re aiming for warmth, not boiling, especially with the coconut milk, because we don’t want to scorch that beautiful creaminess.
Brewing the Coffee Base
First things first, you need your caffeine kick ready to go. Pull your espresso shot—one single shot is usually perfect for one serving. If you’re using strong brewed coffee instead, make sure it’s hot and concentrated, about a half cup’s worth. Have your favorite mug warmed up and ready on the counter so the coffee doesn’t cool down instantly when you pour it in.
Warming and Sweetening the Milk
Next, gently warm that cup of coconut milk. You can do this right on the stovetop over low heat or even carefully in a microwave-safe container for about 60 to 90 seconds. You just want it steamy, not bubbling furiously. Once it’s warm, stir in your maple syrup or honey—start with one tablespoon, taste it, and add the second if you need more sweetness. Stir until that sweetener is completely gone and the milk is uniform.
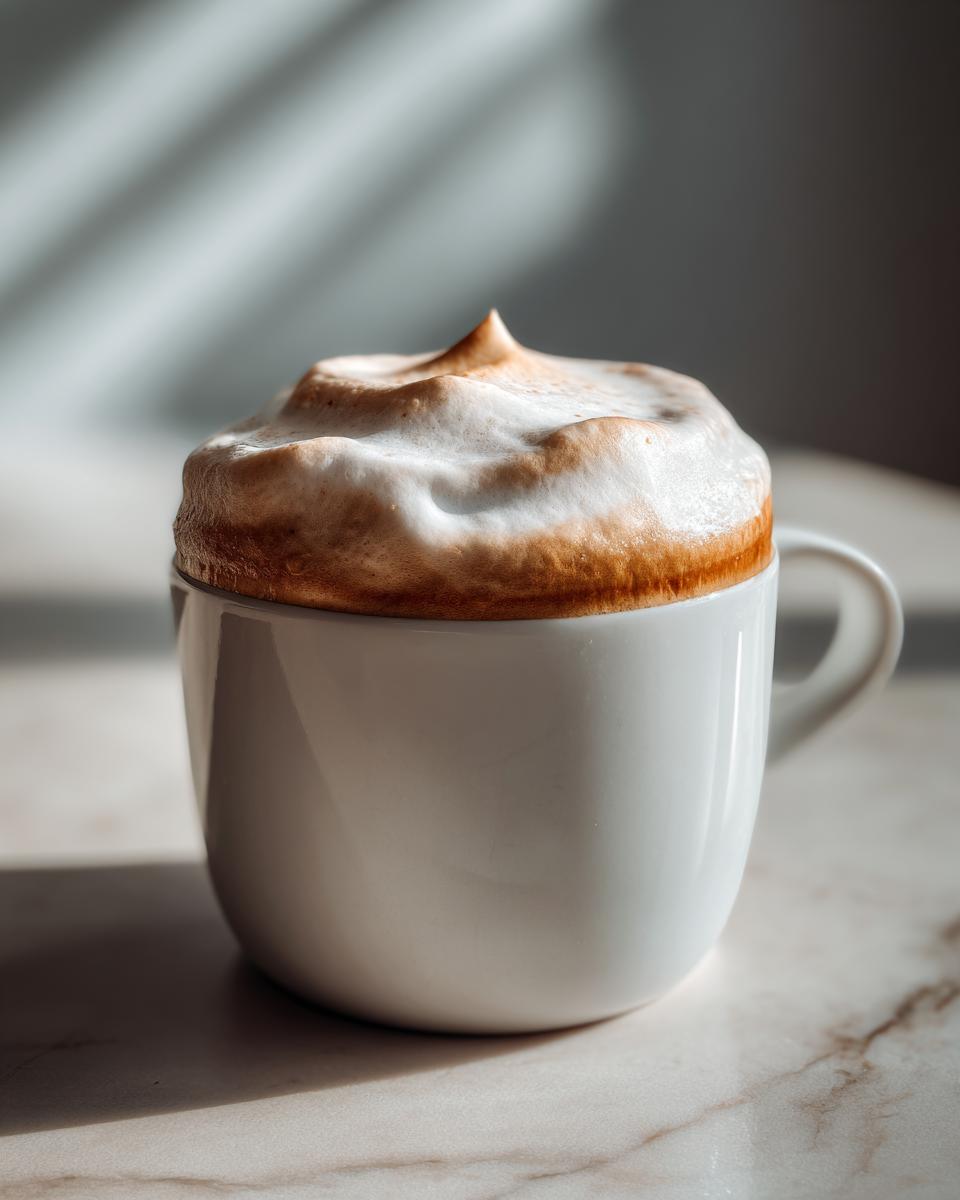
Assembling and Finishing the Coconut Latte
Now for the fun part! Pour your hot coffee base into your waiting mug first. Then, slowly pour the sweetened, warm coconut milk mixture on top. Give it a good, thorough stir to combine the coffee and the milk evenly. If you’re feeling fancy, use a small whisk or a milk frother to whip the top layer just for a moment to create a nice foam. Finally, if you’re treating yourself, dollop that whipped cream on top. That’s it! You’ve mastered the homemade coconut latte.
Tips for Achieving the Best Coconut Latte Flavor
Getting a café-quality drink at home really comes down to a few small tweaks in technique. We aren’t just pouring things together; we are building layers of flavor and texture. Paying attention to the temperature and the source of your ingredients makes a huge difference in the final result of your Coconut Latte experience. Don’t be afraid to play around a little bit, but start here first for the best foundation!
Adjusting Sweetness Levels
The beauty of making this at home is customization. I always tell people to start with just one tablespoon of maple syrup. Taste that milk mixture before you add it all to the coffee. If you prefer things less sweet, you might find that one tablespoon is plenty, especially if your coffee beans are naturally sweet. If you’re skipping the whipped cream, you might want that extra bit of syrup mixed right into the milk base.
Achieving the Perfect Creamy Texture
I mentioned it before, but let’s reiterate: the texture hinges on the milk. If you use the lighter coconut milk sold in cartons (the kind usually near the almond milk), your drink will be thin and watery, almost like flavored coffee. For the best creamy texture in your Coconut Latte, you absolutely need the full-fat canned coconut milk. Scoop out the thick cream layer from the top of the can if you want it extra decadent, and use the liquid underneath for the rest of the cup.
Common Questions About Your Coconut Latte
I get asked about this drink all the time, especially when friends come over and see how easy it is! People always want to know how to replicate the coffee shop feel without all the specialized equipment. Here are the main things folks ask when they are trying this recipe for the first time.
What is the best type of coffee to use for this Coconut Latte?
Espresso is always the gold standard because it’s so concentrated, giving you that deep coffee flavor without adding too much liquid volume. If you don’t have an espresso machine, just make your drip coffee or pour-over extra strong—use half the amount of water you normally would for the amount of grounds you use. This ensures the coffee flavor doesn’t get drowned out by the rich coconut milk.
Can I make a large batch of the sweetened coconut milk ahead of time?
Yes, you absolutely can! I often warm up a whole can of coconut milk, stir in about four tablespoons of maple syrup, and keep that mixture in a sealed jar in the fridge. It lasts about four days easily. Then, when you want your Coconut Latte, you just scoop out a cup of that pre-sweetened mix and warm it up quickly before adding your fresh coffee.
Are there dairy-free topping options besides whipped cream for this Coconut Latte?
Definitely! Since we are already dairy-free with the milk, sticking with a dairy-free topping makes sense. You can buy canned coconut whipped cream, which is usually fantastic. Or, if you have full-fat coconut milk chilling overnight, just scoop the thick cream off the top, whip it with a tiny bit of powdered sugar, and you have homemade coconut whipped topping!
Storing and Enjoying Leftover Coconut Latte
Honestly, this drink is best enjoyed immediately! The texture of the warm milk changes slightly once it cools down, and the coffee flavor gets a bit flatter. But if you absolutely have leftovers, don’t toss it! You can save the mixture, but you have to treat it right when you reheat it.
| Storage Location | Duration | Reheating Method |
|---|---|---|
| Refrigerator | Up to 1 day | Gently warm on the stovetop, stirring frequently. Do not boil. |
| Freezer | Not recommended | The texture separates badly when frozen and thawed. |
Understanding the Nutrition in Your Coconut Latte
Since this recipe uses simple, whole ingredients, it’s easy to estimate what you are putting into your body. Because we depend on full-fat canned milk and maple syrup, we know this isn’t a low-calorie drink, but it’s homemade, so we know exactly what’s in it! For a more detailed breakdown of your homemade Coconut Latte, see the estimates below.
| Nutrient | Estimated Value (Per Serving) |
|---|---|
| Calories | Estimate Needed |
| Fat | Estimate Needed |
| Protein | Estimate Needed |
| Carbohydrates | Estimate Needed |
Share Your Homemade Coconut Latte Experience
I’m so eager to hear what you think! Did you use extra syrup? Did you froth it perfectly? Take a picture of your beautiful homemade Coconut Latte and tag me on social media! I love seeing your results and hearing your own little kitchen victories.
Essential Ingredients for Your Coconut Latte
Okay, let’s talk ingredients. This recipe is super short, which is exactly what I love about it. When you only have a few things going into your mug, those few things need to be good quality, right? Don’t skimp on the milk, because that’s doing most of the heavy lifting for texture here. Keeping things simple means we can focus all our attention on getting the coffee base just right for our homemade coconut latte.
Ingredient Clarity and Preparation
The coconut milk is the star here, so please, use the canned, full-fat variety if you want that thick, creamy texture that truly mimics steamed dairy milk. The carton stuff is usually too thin and watery for this drink. For the coffee, you need something strong—espresso is ideal, but don’t stress if you don’t have a machine! A half-cup of very strong, freshly brewed coffee works wonderfully. The sweetener, whether it’s maple syrup or honey, has to be completely dissolved in the warm milk before you add the coffee, or you’ll end up with a sticky sludge at the bottom.
| Ingredient | Amount |
|---|---|
| Espresso or strong brewed coffee | 1 shot Espresso or 1/2 cup strong brewed coffee |
| Coconut milk | 1 cup |
| Maple syrup or honey | 1 to 2 tbsp |
| Whipped cream | Optional |
Step-by-Step Instructions for Your Coconut Latte
Making this drink is almost like a little ritual, and it happens so quickly! The key to a great Coconut Latte is making sure everything is warm and happy before they meet in the final mug. Remember, we’re aiming for warmth, not boiling, especially with the coconut milk, because we don’t want to scorch that beautiful creaminess.
Brewing the Coffee Base
First things first, you need your caffeine kick ready to go. Pull your espresso shot—one single shot is usually perfect for one serving. If you’re using strong brewed coffee instead, make sure it’s hot and concentrated, about a half cup’s worth. Have your favorite mug warmed up and ready on the counter so the coffee doesn’t cool down instantly when you pour it in.
Warming and Sweetening the Milk
Next, gently warm that cup of coconut milk. You can do this right on the stovetop over low heat or even carefully in a microwave-safe container for about 60 to 90 seconds. You just want it steamy, not bubbling furiously. Once it’s warm, stir in your maple syrup or honey—start with one tablespoon, taste it, and add the second if you need more sweetness. Stir until that sweetener is completely gone and the milk is uniform.
Assembling and Finishing the Coconut Latte
Now for the fun part! Pour your hot coffee base into your waiting mug first. Then, slowly pour the sweetened, warm coconut milk mixture on top. Give it a good, thorough stir to combine the coffee and the milk evenly. If you’re feeling fancy, use a small whisk or a milk frother to whip the top layer just for a moment to create a nice foam. Finally, if you’re treating yourself, dollop that whipped cream on top. That’s it! You’ve mastered the homemade coconut latte.
Tips for Achieving the Best Coconut Latte Flavor
Getting a café-quality drink at home really comes down to a few small tweaks in technique. We aren’t just pouring things together; we are building layers of flavor and texture. Paying attention to the temperature and the source of your ingredients makes a huge difference in the final result of your Coconut Latte experience. Don’t be afraid to play around a little bit, but start here first for the best foundation!
Adjusting Sweetness Levels
I always tell people to start with just one tablespoon of maple syrup. Taste that milk mixture before you add it all to the coffee. If you prefer things less sweet, you might find that one tablespoon is plenty, especially if your coffee beans are naturally sweet. If you’re skipping the whipped cream, you might want that extra bit of syrup mixed right into the milk base. It’s so easy to add more, but you can’t take it out once it’s in there, so start low and taste test!
Achieving the Perfect Creamy Texture
I mentioned it before, but let’s reiterate: the texture hinges on the milk. If you use the lighter coconut milk sold in cartons (the kind usually near the almond milk), your drink will be thin and watery, almost like flavored coffee. For the best creamy texture in your Coconut Latte, you absolutely need the full-fat canned coconut milk. Scoop out the thick cream layer from the top of the can if you want it extra decadent, and use the liquid underneath for the rest of the cup. That thick layer is pure velvet!
Common Questions About Your Coconut Latte
I get asked about this drink all the time, especially when friends come over and see how easy it is! People always want to know how to replicate the coffee shop feel without all the specialized equipment. Here are the main things folks ask when they are trying this recipe for the first time. Don’t stress about equipment; this drink is forgiving!
What is the best type of coffee to use for this Coconut Latte?
Espresso is always the gold standard because it’s so concentrated, giving you that deep coffee flavor without adding too much liquid volume. If you don’t have an espresso machine, just make your drip coffee or pour-over extra strong—use half the amount of water you normally would for the amount of grounds you use. This ensures the coffee flavor doesn’t get drowned out by the rich coconut milk. If you use weak coffee, you’ll end up with sweet, warm coconut milk instead of a proper Coconut Latte.
Can I make a large batch of the sweetened coconut milk ahead of time?
Yes, you absolutely can! I often warm up a whole can of coconut milk, stir in about four tablespoons of maple syrup, and keep that mixture in a sealed jar in the fridge. It lasts about four days easily. Then, when you want your drink, you just scoop out a cup of that pre-sweetened mix and warm it up quickly before adding your fresh coffee. It saves so much time on busy mornings!
Are there dairy-free topping options besides whipped cream for this Coconut Latte?
Definitely! Since we are already dairy-free with the milk, sticking with a dairy-free topping makes sense. You can buy canned coconut whipped cream, which is usually fantastic. Or, if you have full-fat coconut milk chilling overnight, just scoop the thick cream off the top, whip it with a tiny bit of powdered sugar, and you have homemade coconut whipped topping! It whips up just like heavy cream, which is wild.
Storing and Enjoying Leftover Coconut Latte
Honestly, this drink is best enjoyed immediately! The texture of the warm milk changes slightly once it cools down, and the coffee flavor gets a bit flatter. But if you absolutely have leftovers, don’t toss it! You can save the mixture, but you have to treat it right when you reheat it because the fat separates a little bit when it chills. My advice is to only store the sweetened milk portion if you can, but if you have the whole Coconut Latte mixed together, here’s what to do.
| Storage Location | Duration | Reheating Method |
|---|---|---|
| Refrigerator | Up to 1 day | Gently warm on the stovetop, stirring frequently. Do not boil. |
| Freezer | Not recommended | The texture separates badly when frozen and thawed. |
Understanding the Nutrition in Your Coconut Latte
Since this recipe uses simple, whole ingredients, it’s easy to estimate what you are putting into your body. Because we depend on full-fat canned milk and maple syrup, we know this isn’t a low-calorie drink, but it’s homemade, so we know exactly what’s in it! For a more detailed breakdown of your homemade Coconut Latte, see the estimates below. Please remember these are just typical values based on standard ingredients, as the exact numbers depend on your specific coffee strength and how much syrup you decide to use.
| Nutrient | Estimated Value (Per Serving) |
|---|---|
| Calories | Estimate Needed |
| Fat | Estimate Needed |
| Protein | Estimate Needed |
| Carbohydrates | Estimate Needed |
Share Your Homemade Coconut Latte Experience
I truly hope this recipe becomes a staple in your routine just like it is in mine! It makes me so happy knowing you’re enjoying a creamy, delicious cup. If you made this Coconut Latte today, please come back and leave a rating! Even better, snap a picture and share it with me—I’m always thrilled to see your morning coffee creations!
Print
Amazing 1-Step Coconut Latte Secret
- Total Time: 5 minutes
- Yield: 1 serving 1x
- Diet: Vegetarian
Description
This Homemade Coconut Latte recipe provides a creamy, naturally sweet coffee drink perfect for your daily enjoyment. You get the richness of coconut milk with the kick of espresso or strong coffee.
Ingredients
- 1 shot Espresso or 1/2 cup strong brewed coffee
- 1 cup Coconut milk
- 1 to 2 tbsp Maple syrup or honey
- Whipped cream Optional
Instructions
- Brew your espresso or strong coffee.
- Gently warm the coconut milk.
- Mix your chosen sweetener into the warm milk until dissolved.
- Pour the coffee into your mug.
- Add the sweetened milk mixture to the coffee.
- Stir the latte well. Froth the top if you prefer a foamy texture.
- Top with whipped cream if you desire an extra treat.
Notes
- Coconut milk naturally provides sweetness and a creamy texture to your latte.
- Prep Time: 2 minutes
- Cook Time: 3 minutes
- Category: Beverage
- Method: Stovetop/Machine
- Cuisine: International
Nutrition
- Serving Size: 1 cup
- Calories: Unknown
- Sugar: Unknown
- Sodium: Unknown
- Fat: Unknown
- Saturated Fat: Unknown
- Unsaturated Fat: Unknown
- Trans Fat: Unknown
- Carbohydrates: Unknown
- Fiber: Unknown
- Protein: Unknown
- Cholesterol: Unknown