Skip to content
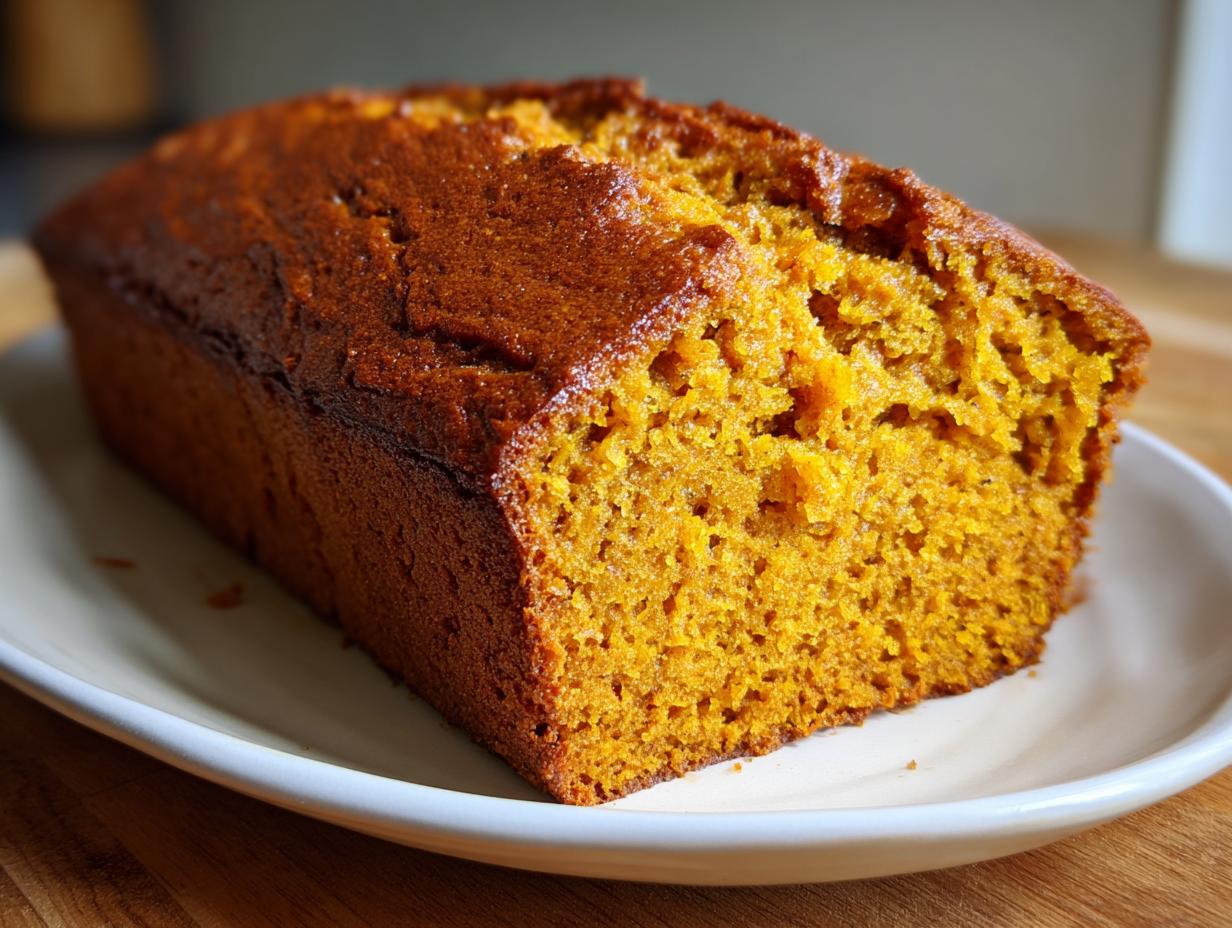
If you’ve been looking for that perfect marriage of moist banana bread texture, cozy pumpkin spice warmth, and just a hint of that wonderful sourdough tang, then you’ve hit the jackpot. I am Anna Kowalska, and here I share tried-and-true homemade recipes that you and your family will love. Everything I bake is made with heart and flavor, and this recipe proves you don’t need complicated steps for incredible results.
I developed the Best Sourdough Discard Banana Pumpkin Bread because I hated wasting that sourdough discard! This recipe gives you options—a super fast quick bread for weeknight cravings, or a longer ferment for a flavor boost and easier digestion. Imagine slicing into a loaf that’s unbelievably tender, thanks to the banana and pumpkin, but has that subtle, complex depth only sourdough can bring. Trust me, this is going to be your new go-to quick bread!
Jump to:
Gathering What You Need for the Best Sourdough Discard Banana Pumpkin Bread
Before we dive into the actual mixing—whether you’re rushing today or planning an overnight bake—we need to get organized. Having everything measured out makes the whole process so much smoother, especially when dealing with the two different timelines this recipe offers. Don’t worry about the sourdough discard; it just plops right in!
Getting these ingredients ready is the key to achieving the Best Sourdough Discard Banana Pumpkin Bread. Let’s look at what you’ll need to pull out of the pantry first.
Essential Ingredients for Your Best Sourdough Discard Banana Pumpkin Bread
The quality of your fruit really matters here! You absolutely need ripe bananas—the browner, the better—for that natural sweetness and moisture that makes this sourdough discard recipe shine. And please, double-check that label: we need smooth pumpkin puree, not the spiced pumpkin pie filling. That’s a rookie mistake I made once, and we don’t want that!
- Mashed bananas (make sure they are really spotty!)
- Canned pumpkin puree
- Your sourdough starter (discard is perfect!)
- Dark brown sugar for that deep molasses flavor
- All-purpose flour, baking soda, baking powder, and our favorite pumpkin pie spice mix
Equipment Required for Baking Quick or Fermented Bread
You don’t need a ton of fancy gear for this loaf. A standard 9×5 inch loaf pan is what I use most often. Make sure you have a couple of mixing bowls—one large for the wet stuff and one medium for the dry. Grab your whisk for combining the dry ingredients thoroughly and a good sturdy spatula for folding everything together gently at the end.
Mastering the Quick Bread Method for the Best Sourdough Discard Banana Pumpkin Bread
When you just can’t wait 18 hours for a loaf—and trust me, I totally get those last-minute baking urges—the quick bread method is your best friend. This is how you get the Best Sourdough Discard Banana Pumpkin Bread on the table in about an hour and a half total. It’s fast, it’s easy, and honestly, it’s still unbelievably delicious because the pumpkin and banana do most of the heavy lifting for moisture.
We start by getting the oven warmed up to 350°F (175°C) and prepping that loaf pan. Seriously, grease it well or use parchment paper that hangs over the sides—no one likes a stuck loaf!
Combining Wet and Dry Components
This is where we treat it like a traditional quick bread. In your biggest bowl, mash those bananas until they are smooth, then whisk in the pumpkin, your sourdough discard, oil, eggs, sugar, and vanilla. Keep mixing until it looks like a uniform, somewhat thick liquid. You want it well combined here!
Next, in a separate bowl, give your flour, baking soda, baking powder, salt, and all that lovely pumpkin spice a good whisking. We want those leaveners evenly distributed! Then, add the dry stuff to the wet stuff all at once. Stir it gently with a spatula until you just can’t see any more dry streaks of flour. Stop stirring right there! Overmixing is the enemy of quick breads.
Baking and Cooling the Quick Loaf
Pour that batter into your prepared pan and smooth the top a little. Pop it into your preheated 350°F oven. Now, the time is usually 55 to 70 minutes, but every oven is a little different, right? That’s why you need to start checking around the 55-minute mark. Stick a wooden skewer or toothpick deep into the center of the loaf.
If it comes out clean, or with just a few moist crumbs clinging to it—perfect! If you see wet batter, give it another 5 to 10 minutes and check again. Once it’s done, let it hang out in the hot pan for about 10 minutes. This short rest helps it firm up before you try to wrestle it out onto a wire rack to cool completely. Don’t rush the cooling, or it might crumble when you slice into your beautiful loaf!
Achieving Deeper Flavor: Instructions for the Long Fermented Best Sourdough Discard Banana Pumpkin Bread
If you have the time, I absolutely insist you try the long-fermented method for the Best Sourdough Discard Banana Pumpkin Bread. This process takes the flavor up about ten notches, adding that gentle, complex tang you expect from real sourdough. Plus, letting the flour sit and interact with the starter overnight actually helps improve digestibility—a huge win for our tummies!
When you commit to this overnight schedule, you start about 16 to 18 hours before you want to eat the bread. It’s mostly hands-off time, which is the best kind of baking, if you ask me.
Initial Mixing and Setting Up the Bulk Ferment
For this version, we mix things slightly differently to set up the initial fermentation. First, whisk all your dry ingredients together—the flour, spices, baking soda, and baking powder—in one bowl. Don’t worry about the sugar yet; that goes with the wet ingredients.
In your second bowl, combine the sourdough starter, sugar, oil, eggs, and vanilla. Mix this until it looks happy and uniform. Now, pour the wet mixture into the dry ingredients. Here is the crucial part: stir it just until you see no more flour streaks. I mean it, just combine! We are not developing gluten here; we are letting the wild yeast get acquainted. Fold in any nuts or cranberries you might be adding.
Overnight Rest and Final Bake Preparation
Cover that bowl tightly with plastic wrap or a damp kitchen towel. Let it sit on your counter at room temperature for about 4 to 6 hours. This is the bulk rise where the initial activity happens. After that initial room-temp rest, cover it again and tuck the whole thing into the fridge. It needs to chill for at least 12 hours—overnight is perfect for that deep flavor development.
The next morning, you’ll take it out, preheat your oven to 350°F (175°C), and prepare your pan. Before pouring, give the cold batter a few gentle stirs right in the bowl with a spoon or whisk. It won’t look exactly like quick bread batter; it might be a little thicker or stiffer due to the cold, and that’s totally fine. Pour it into your prepared pan and bake it for the usual 55 to 70 minutes. You’ll be rewarded with the Best Sourdough Discard Banana Pumpkin Bread that is both tangy and unbelievably tender!

Expert Insights for Perfect Best Sourdough Discard Banana Pumpkin Bread
Baking is chemistry, but it’s also intuition, and after making this loaf dozens of times, I’ve learned a few tricks to ensure every slice of the Best Sourdough Discard Banana Pumpkin Bread is a winner. Don’t let a slightly sunken middle or dry edges happen to you! These little bits of knowledge are what separate a good quick bread from an amazing one.
It’s all about respecting the ingredients and understanding how that sourdough starter plays into the final texture. Pay attention to these details, and you’ll be a pro in no time.
Ingredient Specifics and Flavor Adjustments
The single biggest flavor booster is using bananas that look like they’re about to walk away—seriously spotty! If your bananas are pale yellow, your bread will be bland. For the spices, if you love that warm fall flavor, don’t be afraid to bump the pumpkin pie spice up to 2 full teaspoons, or even add a tiny pinch of ground cloves for extra depth. If you use nuts, toast them lightly first; it wakes up their flavor immensely before you fold them in.
Understanding the Role of Sourdough Discard
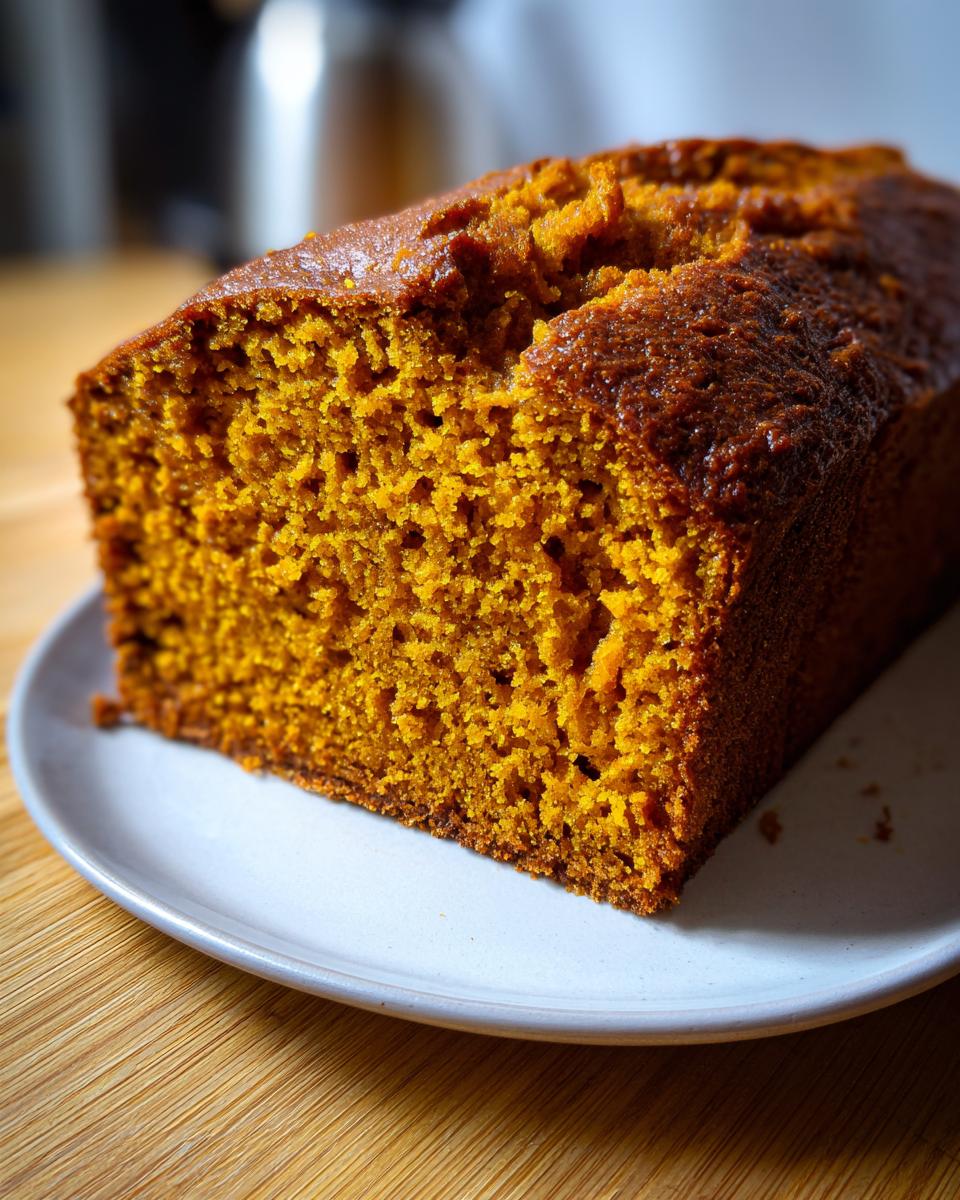
People often worry that using discard will make the bread sour, but in this recipe, it just doesn’t happen! The sugar, pumpkin, and banana totally balance out the tanginess. What the discard really does is add a little bit of structure and moisture that you wouldn’t get otherwise. It helps create that slightly chewy edge and tender crumb that makes the Best Sourdough Discard Banana Pumpkin Bread so satisfying.
Serving Suggestions for Your Homemade Bread
Once this gorgeous loaf of banana pumpkin bread has cooled down—and resisting that first slice is the hardest part, I know!—it’s time to decide how to serve it up. Because this bread is already so rich with moisture and flavor, it really doesn’t need much fuss, which is perfect for busy mornings.
My absolute favorite way to eat a slice, especially when it’s still slightly warm, is just plain. The spices and fruit shine all on their own. If you want to elevate it slightly, a thin smear of good quality salted butter is heavenly; it melts right into the crumb.
- A dollop of plain Greek yogurt or crème fraîche offers a nice, cool tang that cuts through the sweetness.
- For a real treat, try a drizzle of maple syrup mixed with a tiny bit of cinnamon.
- If you made the long-fermented version, serve it alongside a strong cup of coffee—the flavors are just incredible together!
Storing and Keeping Your Best Sourdough Discard Banana Pumpkin Bread Fresh
Nobody wants to see their gorgeous loaf go stale! Luckily, because of all that moisture from the pumpkin and banana, the Best Sourdough Discard Banana Pumpkin Bread keeps quite well. The key is making sure you let it cool completely before you even think about wrapping it up. Slicing it warm traps steam and makes it gummy.
Here are my go-to methods for keeping this quick bread tasting amazing for days.
Optimal Storage Methods
Once completely cool, wrap that loaf tightly. I prefer using plastic wrap first, followed by wrapping it again in aluminum foil to keep the air completely out. This keeps it fresh on the counter for about three days. If you made the long-fermented version, sometimes the tang seems to deepen slightly on day two, which I actually love! If you need it to last longer than three days, pop the securely wrapped loaf into the freezer for up to three months.
Reheating for the Best Experience
If you’re eating it straight from the fridge or freezer, you definitely want to warm it up a touch. The best way is to wrap a single slice in a damp paper towel—yes, damp!—and microwave it for about 15 to 20 seconds. It comes out soft and steamy, just like it was fresh out of the oven. If you’re feeling fancy, you can warm slices in a toaster oven until the edges are just slightly crisp.
Frequently Asked Questions About Your Sourdough Discard Banana Pumpkin Bread
I get so many questions about this loaf, and they are all wonderful! It’s so rewarding to see how many of you are trying this recipe out. Here are a few things folks ask most often when they are working through their first batch of banana pumpkin bread.
Q1. Can I skip the sourdough starter entirely?
Oh, you certainly can! If you skip the starter, you’re just making a wonderful banana pumpkin bread, not a sourdough one. You’ll need to add an extra 1/4 cup of flour to balance the moisture, and you should probably add another teaspoon of baking powder to ensure it rises nicely since the starter contributes a little lift.
Q2. Why does the long-fermented version take so long?
The longer time isn’t just for rising; it’s for flavor and digestion! That overnight chill in the fridge lets the natural acids in the starter work on the flour, which is great for making the final bread easier on your stomach. Plus, that slow fermentation deepens the overall taste profile of the bread.
Q3. What is the best way to use up a lot of sourdough discard in this recipe?
This is a fantastic sourdough discard recipe because it uses a full half-cup! If you have more discard than that, you can try increasing the amount up to 3/4 cup, but be warned—it might start tasting a bit more sour. For most people, this recipe uses up a good amount perfectly without altering the texture too much.
Q4. My quick bread sank in the middle, what went wrong?
That usually means one of two things: either you opened the oven door too early and let the heat rush out, or you might have slightly under-mixed the wet and dry ingredients. For quick breads, we want just combined, but for this loaf, make sure you hit that sweet spot where everything is incorporated before you stop stirring.
Share Your Best Sourdough Discard Banana Pumpkin Bread Creations
Now it’s your turn! I poured all my heart into making sure this version of the Best Sourdough Discard Banana Pumpkin Bread works perfectly for you. When you bake this loaf, please come back and tell me all about it! I absolutely love seeing your photos and reading your notes in the comments below. Did you go quick or long? What add-ins did you choose? Happy baking, friends!
Print
Best Sourdough Discard Banana Pumpkin Bread 1 Joyful Loaf
- Total Time: About 1 hour 15 minutes (Quick Bread) / 17-19 hours (Long Fermented)
- Yield: 1 loaf 1x
- Diet: Vegetarian
Description
Anna Kowalska shares this recipe for the Best Sourdough Discard Banana Pumpkin Bread. This recipe offers both a quick bread method and a long-fermented option for enhanced digestibility. You get the moistness of banana bread combined with the tang of sourdough and the warmth of pumpkin spice.
Ingredients
- 1 cup ripe bananas (about 2–3 bananas, mashed)
- 1 cup canned pumpkin puree or homemade pumpkin puree
- ½ cup (100g) sourdough starter (active or discard)
- ½ cup vegetable oil or melted coconut oil
- ¾ cup dark brown sugar
- 2 eggs
- 1 teaspoon vanilla extract
- 1 ½ cups (240g) all-purpose flour
- 1 teaspoon baking soda
- ½ teaspoon baking powder
- 2 teaspoons pumpkin pie spice
- ¼ teaspoon salt
- Optional Add Ins: ½ cup raisins, cranberries, chocolate chips, or nuts
Instructions
- Preheat the oven to 350°F (175°C) for the Quick Bread Version. Grease a loaf pan or line it with parchment paper.
- In a large bowl, combine the mashed banana, pumpkin puree, active starter or discard, vegetable oil, sugar, eggs, and vanilla. Mix until smooth.
- In a separate bowl, whisk together the flour, baking soda, baking powder, pumpkin spice, and salt.
- Gradually add the dry ingredients to the wet mixture, stirring until just combined.
- Fold in any optional add ins like raisins, cranberries, chocolate chips, or nuts.
- Pour the batter into the prepared loaf pan and smooth the top.
- Bake for 55-70 minutes, or until a toothpick inserted into the center comes out clean.
- Allow to cool in the pan for about 10 minutes, then transfer to a wire rack to cool completely.
- For the Long Fermented Version, begin 16-18 hours before baking. Whisk together flour, baking powder, baking soda, pumpkin spice, and salt in one bowl.
- In another bowl, combine sourdough starter, sugar, oil, eggs, and vanilla. Mix well.
- Add wet ingredients to dry ingredients and stir until just combined. Do not overmix.
- Mix in optional add ins.
- Cover the mixture with a damp towel or plastic wrap. Allow a 4-6 hour rise.
- Place dough in the fridge for the second rise, fermenting overnight for an additional 12 hours.
- The next morning, preheat the oven to 350°F (175°C).
- Stir the dough a few times with a spoon or whisk.
- Pour the batter into the prepared loaf pan.
- Bake for 55-70 minutes, checking with a toothpick for doneness.
- Let the bread cool in the pan for 10 minutes, then transfer to a wire rack to cool completely before slicing.
Notes
- Optional ingredients like raisins, cranberries, chocolate chips, or nuts can be adjusted based on your preference.
- The long fermentation process improves digestibility and nutrient availability of the flour.
- Use pumpkin puree, not pumpkin pie filling, for the best results.
- Prep Time: 15 minutes (Quick Bread) / 15 minutes (Long Fermented, plus 16-18 hours fermentation)
- Cook Time: 55-70 minutes
- Category: Baking
- Method: Quick Bread or Long Fermentation
- Cuisine: American
Nutrition
- Serving Size: 1 slice
- Calories: Estimate Needed
- Sugar: Estimate Needed
- Sodium: Estimate Needed
- Fat: Estimate Needed
- Saturated Fat: Estimate Needed
- Unsaturated Fat: Estimate Needed
- Trans Fat: Estimate Needed
- Carbohydrates: Estimate Needed
- Fiber: Estimate Needed
- Protein: Estimate Needed
- Cholesterol: Estimate Needed