Skip to content
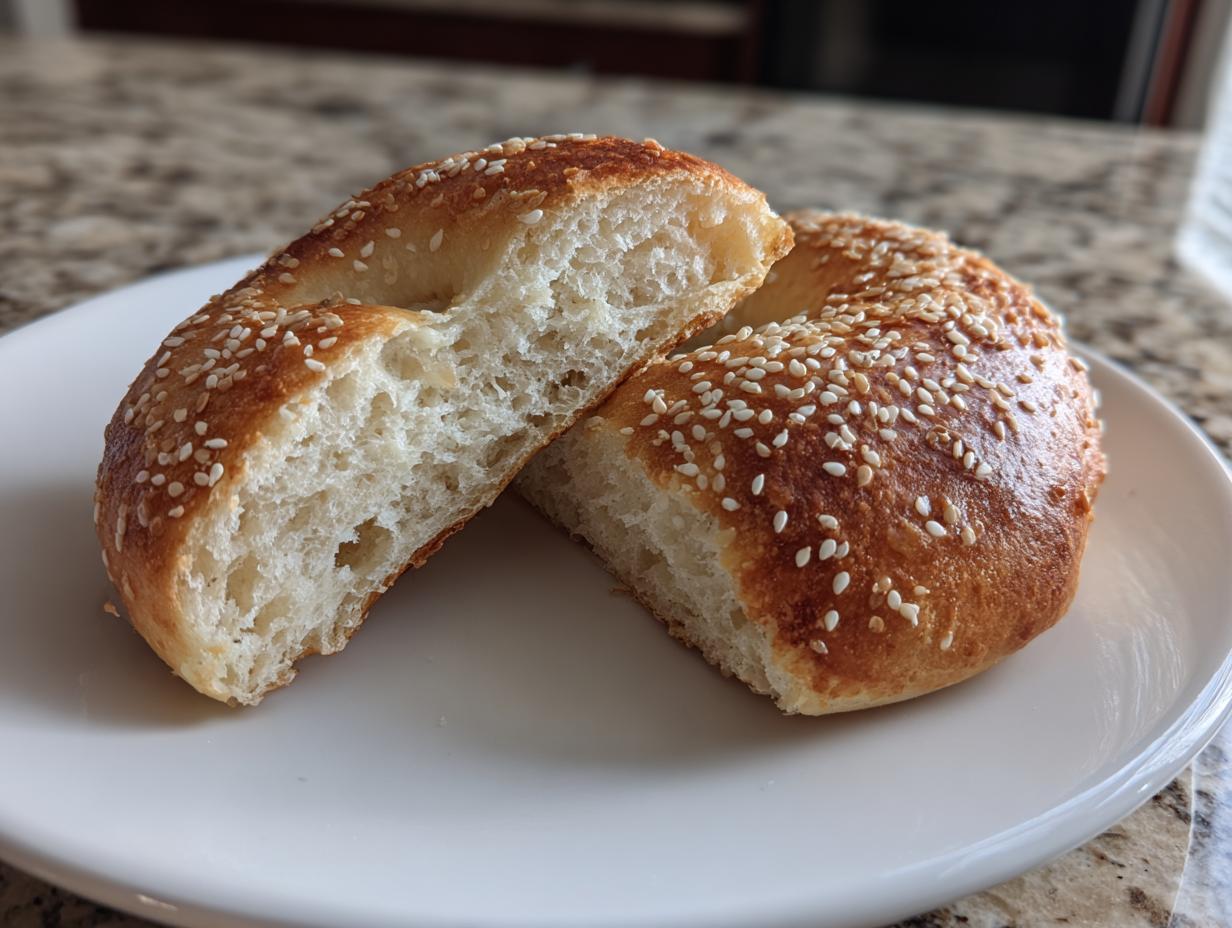
Forget everything you think you know about making bagels! If you’ve been hesitant because of complicated shaping or long timelines, listen up. The real secret to amazing, chewy, flavorful sourdough bagels is letting time do the hard work overnight. Seriously, you mix it up in the evening, and breakfast is practically made! I’m Anna Kowalska, and here I share tried-and-true homemade recipes that you and your family will love. Everything I post here is made with heart and flavor, and believe me, I’ve tested this overnight dough method dozens of times over the years to make sure it yields that perfect, deeply satisfying sourdough taste and that classic chew you crave.
Jump to:
Gathering Your Ingredients for Perfect sourdough bagels
Okay, let’s talk ingredients for these amazing sourdough bagels. Getting the right stuff ready before you start mixing makes the whole process smoother. You want everything measured out and ready to go—I always lay mine out on the counter first. Trust me, when you’re dealing with that long rest time, you don’t want to be hunting for the salt later! Since this is a recipe where precision really counts for the best texture, I put all these measurements into a handy table below for you.
*(Note to self: Insert Ingredient Comparison Table here)*
Essential Components for the Dough
The absolute star here is your starter. It has to be active and bubbly—you know, the kind that smells tangy and looks like it’s full of happy air pockets. If it hasn’t doubled in size after feeding, stick it back on the counter for a bit longer. For the flour, I usually grab all-purpose because it works beautifully, but if you want a chewier, slightly heartier bagel, bread flour is a fantastic substitute. Just watch the dough as you mix; you might need an extra tablespoon or two if your kitchen is dry!
The Crucial Boiling Bath
Don’t skip the step where you add the malt syrup or molasses to the boiling water! I know it seems strange to boil bread dough, but this is where the magic happens for that classic, shiny, chewy crust. The sugar in the syrup caramelizes just slightly when it hits that hot water, giving the bagel that deep golden color and the signature snap when you bite into it. It’s non-negotiable for true bagel texture! If you want to learn more about the science behind Maillard reactions in baking, check out this resource.
Essential Equipment for Making sourdough bagels
You don’t need a million fancy gadgets for these sourdough bagels, but a few things make life much easier! If you have a stand mixer with a dough hook, definitely use it—it saves your arms during that kneading time. If you’re mixing by hand, make sure you have a big, sturdy bowl because this dough can get quite stiff.
You absolutely must have a large pot ready for the boiling step later on. Also, parchment paper is your best friend! Line your baking sheets with it. Bagel dough is sticky, and this prevents a huge, heartbreaking mess when you try to move them after the second rise. A wire rack for cooling is the final must-have so the bottoms don’t get soggy.
Step-by-Step Instructions for Your Overnight sourdough bagels
Alright, here is the game plan for turning simple flour and water into the best sourdough bagels you’ve ever made right in your own kitchen. The structure is super important here; we need to build the gluten first, then let that slow fermentation work its magic. Just follow these steps closely, and you’ll be rewarded with beautiful, chewy results!
Mixing and Initial Dough Development
First things first, grab your stand mixer bowl—or a big bowl if you’re going old-school. You want to mix the bubbly starter, the warm water, and that touch of honey until it’s just combined. Now, add in your flour and salt. Start mixing on low speed. At first, it’s going to look shaggy, and that’s totally normal for sourdough. If the dough seems way too sticky after it comes together, don’t panic! Add flour just one tablespoon at a time until it pulls away from the sides of the bowl. You don’t want a dry dough, just one you can actually handle.
The Long Fermentation Process
This is where we stop working and let nature take over. Once your dough is mixed into a rough ball, lightly oil a bowl (I just use a little olive oil on my hands), plop the dough in, cover it up tight with plastic wrap or a damp towel, and leave it on the counter. We’re looking for an 8 to 12-hour rise at room temperature. This long nap is what develops that wonderful, deep sourdough tang and makes the dough so easy to handle the next day. Seriously, don’t rush this part! For more on sourdough starters, check out this guide on starter activity.
Shaping and Second Rise
When you come back the next day, the dough should be puffy and happy. Gently punch it down to get the air out—don’t be aggressive! Now, divide that mass into 8 equal pieces. Roll each one into a tight, smooth ball; this builds surface tension. Here’s the fun part: take your finger and poke a hole right in the center of the ball. Gently stretch that hole until it’s about an inch wide. Remember, they will puff up again! Place these shaped beauties on a baking sheet lined with parchment paper, cover them again, and let them proof for another 1 to 2 hours. They should look visibly puffier before they hit the water.
Boiling and Baking Your Chewy sourdough bagels
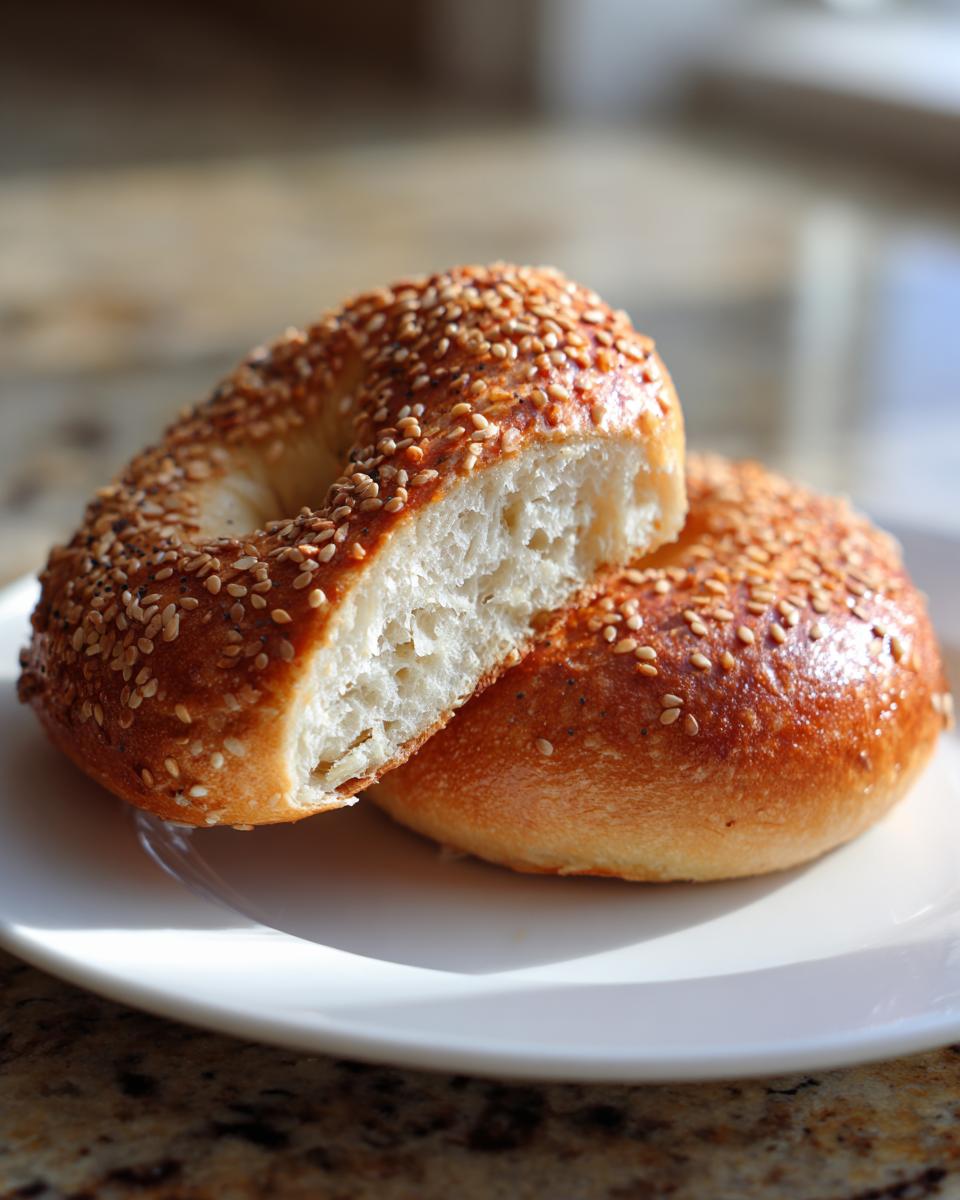
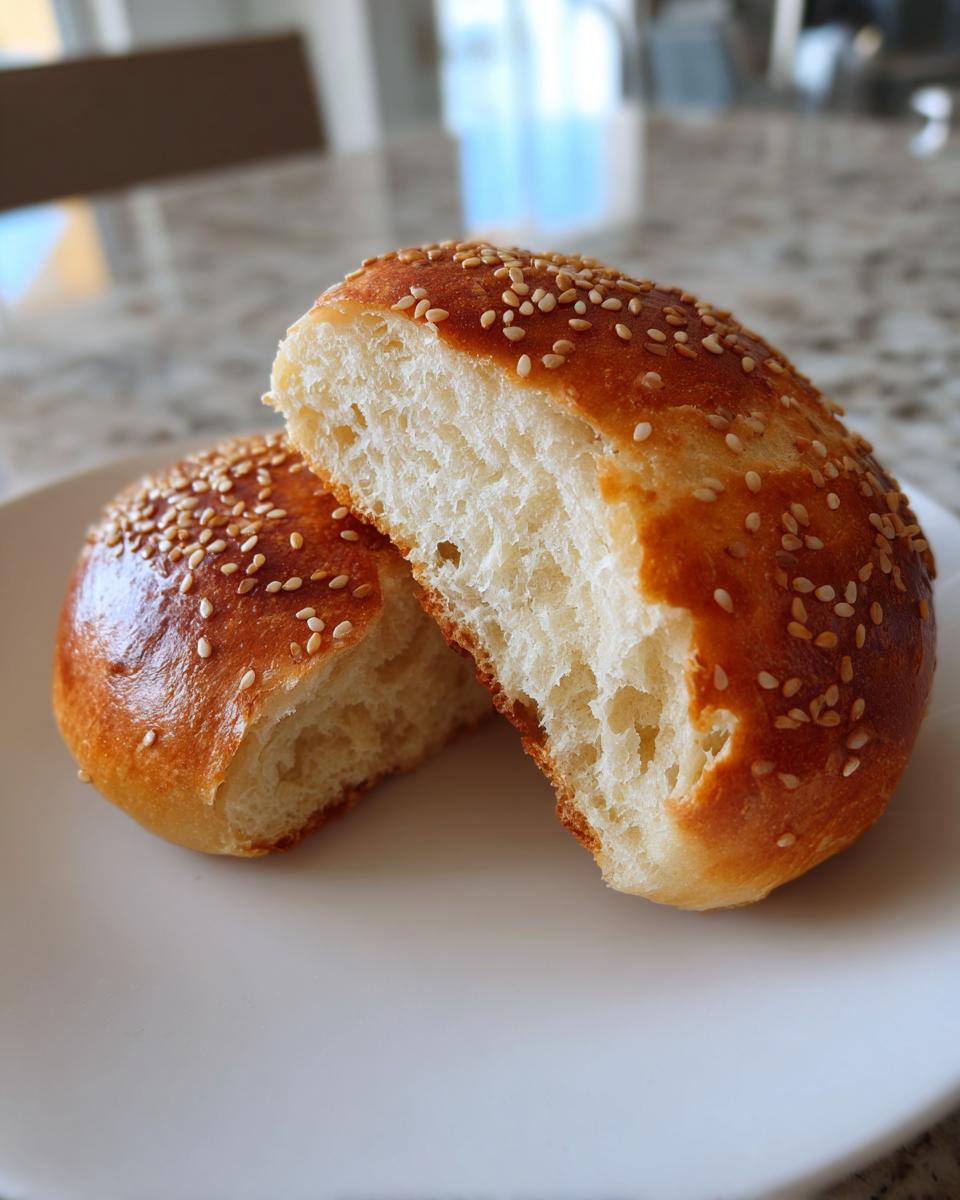
Time for the oven! Preheat it to 425°F (220°C). While that heats up, get a big pot of water boiling and toss in that malt syrup or molasses we talked about. If you’re using seeds, sprinkle them on top now. Carefully drop your bagels into the water—about 30 seconds on each side is all they need. They’ll float, which is a good sign! Pop them onto the baking sheet and slide them into the hot oven for 20 to 25 minutes. You know they’re done when they are beautifully golden brown and sound hollow when you tap the bottom. Let them cool completely on a wire rack before you slice into that chewy interior!
Tips for Achieving Expert-Level sourdough bagels
Even though this recipe is super straightforward thanks to that long, slow fermentation, there are little tricks you can use to take your sourdough bagels from great to absolutely legendary. It’s all about paying attention to the small details we sometimes rush past when we’re excited to eat! I’ve learned these lessons over many batches, and they really make a difference in the final chew and flavor profile.
Adjusting Chewiness Through Boiling Time
If you are a texture fanatic like I am, you need to play around with the boiling step. Remember how I said 30 seconds per side is the baseline? Well, if you want that super-dense, satisfying chew that reminds you of the best New York shops, boil them a little longer—maybe a full minute on each side. The steam penetrates deeper, gelatinizing more of that outer starch layer. Just be careful not to overdo it, or they might get a little tough!
Flavor Variations for homemade bagels
The overnight process really brings out the natural tang, but you can certainly amp up the savory side of these homemade bagels! My favorite trick is adding things right into the dough before the long rest. Try mixing in a tablespoon of dried minced onion and a teaspoon of garlic powder; it makes a fantastic savory base. For an earthy twist, finely chopped fresh rosemary mixed in with the flour works wonders. Just make sure whatever you add is distributed evenly when you knead so you don’t end up with one clump of herbs in one bagel! If you enjoy savory bread variations, you might like my recipe for Rosemary Focaccia Bread.
Frequently Asked Questions About sourdough bagels
It’s natural to have questions when you step into the world of sourdough, especially when making something as specific as a bagel! I get asked these things all the time about my foolproof sourdough bagels recipe. Don’t worry if you’re new to this; we’ll walk through the tricky bits together so you get that perfect chew every single time.
Can I use a different type of flour for these sourdough bagels
You absolutely can experiment, but you must be mindful of the consistency! Bread flour is my top recommendation because its higher protein content gives you that strong gluten structure needed for a good bagel chew. If you use standard all-purpose flour, you might find the dough a tiny bit softer. If you try whole wheat, start with just 1 cup mixed with the white flour, otherwise, your dough will be way too stiff and handle poorly.
How do I know if my starter is active enough for this recipe
This is crucial for any sourdough bake! Your starter needs to be fed, bubbly, and at least doubled in size before you measure it out. I look for a dome shape on top and bubbles visible all the way through the jar. If it sinks quickly when you stir it, it’s past its peak or needs more food. A sleepy starter means a sleepy rise, and we want energetic dough for these bagels!
What is the purpose of the overnight fermentation
Oh, the overnight rest is where the real flavor develops! That long, slow fermentation at room temperature breaks down the starches in the flour, which creates that wonderful, complex, slightly sour flavor that makes sourdough so addictive. Plus, it actually makes the dough easier to work with the next day because the gluten relaxes a bit, making kneading a breeze! For general information on long fermentation in baking, you can read about sourdough fermentation.
Storing and Reheating Your Leftover sourdough bagels
If you manage to have any sourdough bagels leftover—which is rare in my house—you’ll want to keep them fresh! They are definitely best eaten the day they are baked, but they hold up surprisingly well. The absolute best way to store them is completely cooled on the counter in a paper bag for up to two days. Plastic bags trap moisture and make that beautiful crust go soft, and we definitely don’t want that!
If you need to keep them longer than that, slice them first and freeze them airtight. When you’re ready to eat one later, don’t even think about the microwave! Pop the slices right into the toaster or under the broiler for a minute or two to bring that chew right back. Here is a quick reference for keeping them perfect:
*(Note to self: Insert Storage and Reheating Table here)*
Share Your Morning with Homemade sourdough bagels
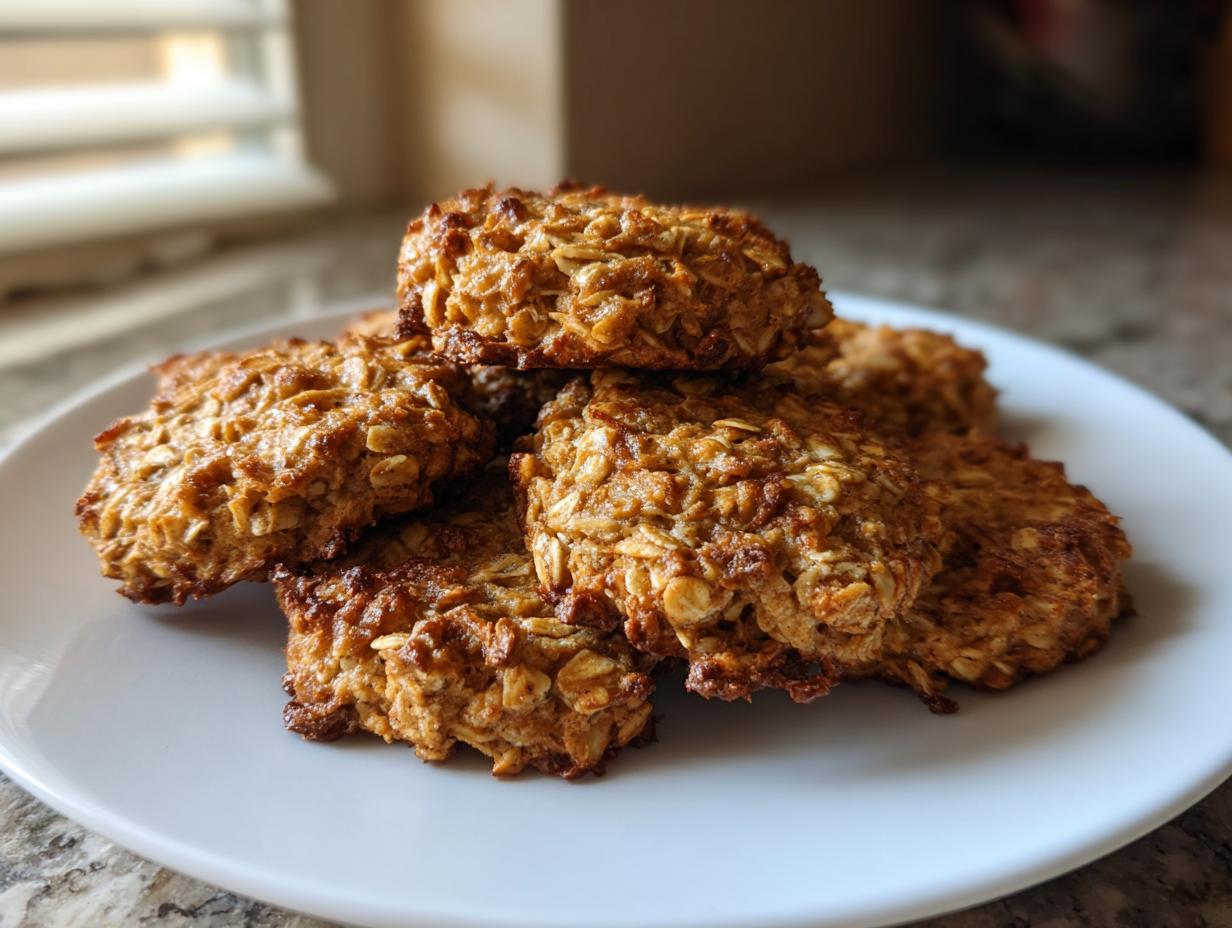
Well, that’s it! You’ve got the secrets to making the chewiest, most flavorful sourdough bagels right at home. I truly hope these loaves bring a little extra joy to your breakfast table. Now, I’m dying to know how yours turned out! Drop a comment below and let me know if you added any fun seeds or herbs. Don’t forget to rate the recipe if you loved it! If you are looking for other breakfast ideas, check out my Banana Oat Pancakes.
Print
Amazing 8-Hour sourdough bagels Flavor Secret
- Total Time: 12 hours 45 minutes (includes overnight rise)
- Yield: 8 bagels 1x
- Diet: Vegetarian
Description
Easy Overnight Homemade Sourdough Bagels. This recipe gives you chewy, flavorful bagels made simple with an overnight fermentation process.
Ingredients
- ½ cup 100g active starter (fed and bubbly)
- 1 cup 240g warm water
- 2 tablespoons 30g honey or sugar
- 4 cups 480g all-purpose flour (or bread flour)
- 2 teaspoons 12g sea salt
- Sesame seeds, poppy seeds, or your favorite toppings (optional)
- For water Bath: 1 tablespoon 20g malt syrup or molasses (for boiling)
- 6 cups water
Instructions
- In a stand mixer bowl or large bowl, combine the sourdough starter, warm water, and honey or sugar at low speed. Stir until mixed.
- Add the flour and salt. Mix until a dough forms. Add flour one tablespoon at a time if the dough is too sticky.
- Knead the dough for 8-10 minutes on a floured surface until smooth and elastic, or use a dough hook for 5-7 minutes.
- Place the dough in an oiled bowl, cover with a damp towel or plastic wrap. Let it rise at room temperature for 8-12 hours.
- Punch down the risen dough to release air. Divide the dough into 8 equal pieces.
- Roll each piece into a smooth ball, then poke a hole in the center with your finger. Gently stretch the hole to at least 1 inch wide.
- Place the shaped bagels on a parchment-lined baking sheet. Cover them and let them rise for 1-2 hours.
- Preheat your oven to 425°F (220°C). Bring a large pot of water to a boil and add the malt syrup or molasses.
- If you wish, sprinkle toppings on the bagels.
- Carefully drop the bagels into the boiling water for about 30 seconds per side.
- Place boiled bagels back on the baking sheet.
- Bake the bagels for 20-25 minutes, until golden brown and they sound hollow when tapped.
- Cool the bagels on a wire rack before slicing and serving.
Notes
- For added flavor, mix garlic, onion, or herbs into the dough.
- Boiling longer increases the chewiness of your bagels.
- The overnight fermentation develops deep sourdough flavor and improves dough handling.
- Prep Time: 20 minutes
- Cook Time: 25 minutes
- Category: Bread
- Method: Baking
- Cuisine: American
Nutrition
- Serving Size: 1 bagel
- Calories: Approx. 280
- Sugar: Approx. 4g
- Sodium: Approx. 400mg
- Fat: Approx. 1g
- Saturated Fat: Approx. 0.2g
- Unsaturated Fat: Approx. 0.8g
- Trans Fat: 0g
- Carbohydrates: Approx. 58g
- Fiber: Approx. 2g
- Protein: Approx. 10g
- Cholesterol: 0mg