Skip to content
If you’ve ever dreamed of bringing a little bit of the Italian sunshine right into your kitchen, then this Limoncello recipe is exactly what you need! I’m Anna Kowalska, and here I share tried-and-true homemade recipes that you and your family will love. Everything I make is done with heart and flavor, and trust me, nothing tastes more like a vacation than perfectly chilled, homemade limoncello.
Why buy that expensive bottle when you can make something smoother, brighter, and bursting with real lemon flavor yourself? This recipe is shockingly easy, though it does require patience for the infusion. Forget those watery, overly sweet store-bought versions. We are going to create a vibrant, intensely flavored digestif that will make you feel like you’re sitting seaside on the Amalfi Coast. Get those organic lemons ready; we’re starting the infusion today!
Jump to:
Why You’ll Love This Limoncello Recipe
I know you’re busy, so I wouldn’t share anything that takes up too much active time in the kitchen. This Limoncello recipe is a perfect example of low-effort, high-reward cooking. Once you peel those lemons, the work is done for weeks!
Here’s the rundown on why this homemade limoncello is going straight into your regular rotation:
- The initial prep is super fast—we’re talking less than 30 minutes before it goes into the cupboard for its long nap.
- The flavor is unbelievably intense; you get pure, bright lemon, not that artificial zing.
- It makes the world’s best digestif. Pour it ice-cold after a big meal, and watch everyone sigh with happiness.
- It looks gorgeous sitting on your counter while it infuses!
Equipment Needed for Your Limoncello Recipe
You don’t need fancy gadgets for this Limoncello recipe, thank goodness! Most of what you need is probably already sitting in your drawers. But having the right containers is key for that long infusion time.
Make sure you have these items ready to go:
- A vegetable peeler or sharp paring knife for the zest.
- A large, airtight glass jar for the infusion.
- A saucepan for making the syrup.
- A fine-mesh sieve or cheesecloth for straining.
- Your final glass bottles for storage!
Gathering Ingredients for the Limoncello Recipe
The success of this Limoncello recipe hinges entirely on the quality of just a few simple things. Since we aren’t adding a ton of other flavors—it’s just lemon, sugar, and spirit—you can’t hide poor ingredients. I always tell people: use the best lemons you can find, and don’t skimp on the alcohol, even if it feels weird to buy something so strong!
We only need four things, but how you choose them makes all the difference in the world for your final homemade limoncello.
Selecting the Best Organic Lemons
This is non-negotiable: you MUST use organic lemons. Why? Because we are only using the bright yellow skin, and we don’t want any wax or pesticides leaching into our beautiful alcohol. When you’re peeling them, you have to be super careful to avoid the white stuff underneath—that’s the pith. If you get too much pith in there, your beautiful Italian liqueur will taste bitter, and honestly, it’ll ruin the whole batch. Take your time here; it’s worth the extra minute!
Choosing the Right Alcohol Base
This is where people get nervous, but hear me out. Traditionally, real limoncello uses very high-proof grain alcohol, like 190 proof. This spirit is a flavor vacuum; it pulls every drop of lemon oil out of that zest. If you can’t find that, or if it feels too intense, a good quality vodka works perfectly fine. Just know that if you use standard 80-proof vodka, your resulting liqueur will be weaker and less concentrated than the classic version. I usually go for the grain alcohol first, but vodka is my reliable backup!
Step-by-Step Instructions for the Limoncello Recipe
Okay, now for the fun part—the actual making! While this Limoncello recipe takes four weeks to actually be ready, the hands-on time is minimal. We break this down into three main phases: the long soak, the sugar mix, and the final marriage of the two. Don’t rush the soaking time; that’s where the magic happens!
Preparing the Lemon Zest Infusion
First, grab those beautiful organic lemons. You need to peel the zest off, and I strongly recommend using a vegetable peeler rather than a microplane for this part. Why? Because a peeler helps you get nice wide strips and makes it easier to avoid that bitter white pith underneath the yellow skin. If you see any white on your strips, scrape it off carefully with your knife. Trust me, a little pith goes a long way toward ruining your Italian liqueur!
Once you have all your zest, toss it right into that big, clean, airtight glass jar. Pour your high-proof alcohol—or vodka—right over the top until all the peels are submerged. Seal that jar TIGHTLY. Now, you hide it away. Find a cool, dark cupboard—the back of a pantry is perfect—and forget about it for at least three weeks, but four weeks is even better. You’ll know it’s ready when the alcohol has turned a gorgeous, deep, sunny yellow color. Patience is your main ingredient here!
Creating and Cooling the Simple Syrup
While your lemons are doing their long soak, you can make the simple syrup. This is straightforward. Grab your saucepan and mix the sugar and water. I usually use a 1:1 ratio, but you can adjust this later if you want it sweeter or stronger. Heat this mixture over medium heat, stirring constantly until every single grain of sugar has completely dissolved. You want a clear liquid, not grainy sludge at the bottom!
Once it’s all dissolved, take it off the heat immediately. This is crucial: you must let this syrup cool completely down to room temperature before you mix it with your lemon-infused alcohol. If you mix hot syrup with the alcohol, it can dull the bright flavor we worked so hard to extract. I usually make the syrup a day ahead just to be sure it’s totally cooled.
Combining and Resting the Limoncello Recipe
When your infusion is deep yellow and your syrup is cold, it’s time to combine! First, strain that alcohol into a clean bowl, making sure you discard all the lemon zest—it has done its job. Now, slowly pour your cooled simple syrup into the infused alcohol. Mix it gently until it’s perfectly combined. You’ll notice right away that the liquid turns cloudy; that’s totally normal and a good sign!
Pour your new mixture into your final, clean bottles. But wait, we’re not done yet! This final step is important for the Limoncello recipe to truly taste like the authentic Italian liqueur. Seal these bottles and let them rest again, this time in a cool, dark place, for another week or two. This second rest lets the flavors really meld and smooth out. After that, you chill it down until it’s almost frosty, and you are ready to serve!
Expert Tips for Perfect Limoncello Recipe Results
I’ve made batches of this Limoncello recipe that were too sweet, too boozy, or even a little cloudy, so I’ve learned a few tricks over the years to make sure yours comes out perfectly clear and tasting like it was bottled in Sorrento. These little extra steps are what separate a good homemade limoncello from a truly spectacular one!
Controlling Sweetness and Strength
Remember how I mentioned the simple syrup? This is your control panel for sweetness and proof! If you taste the combined liquid (before the final rest) and it’s just too harsh or strong for your liking, don’t panic. Just make a little extra plain sugar syrup—water and sugar, no lemon—and slowly stir it in until it tastes right to you. Conversely, if you taste it and it’s too sweet, you can try adding a splash more of your original high-proof alcohol to balance it out, though adding sugar syrup is usually the safer bet!
Storing and Serving Your Homemade Limoncello
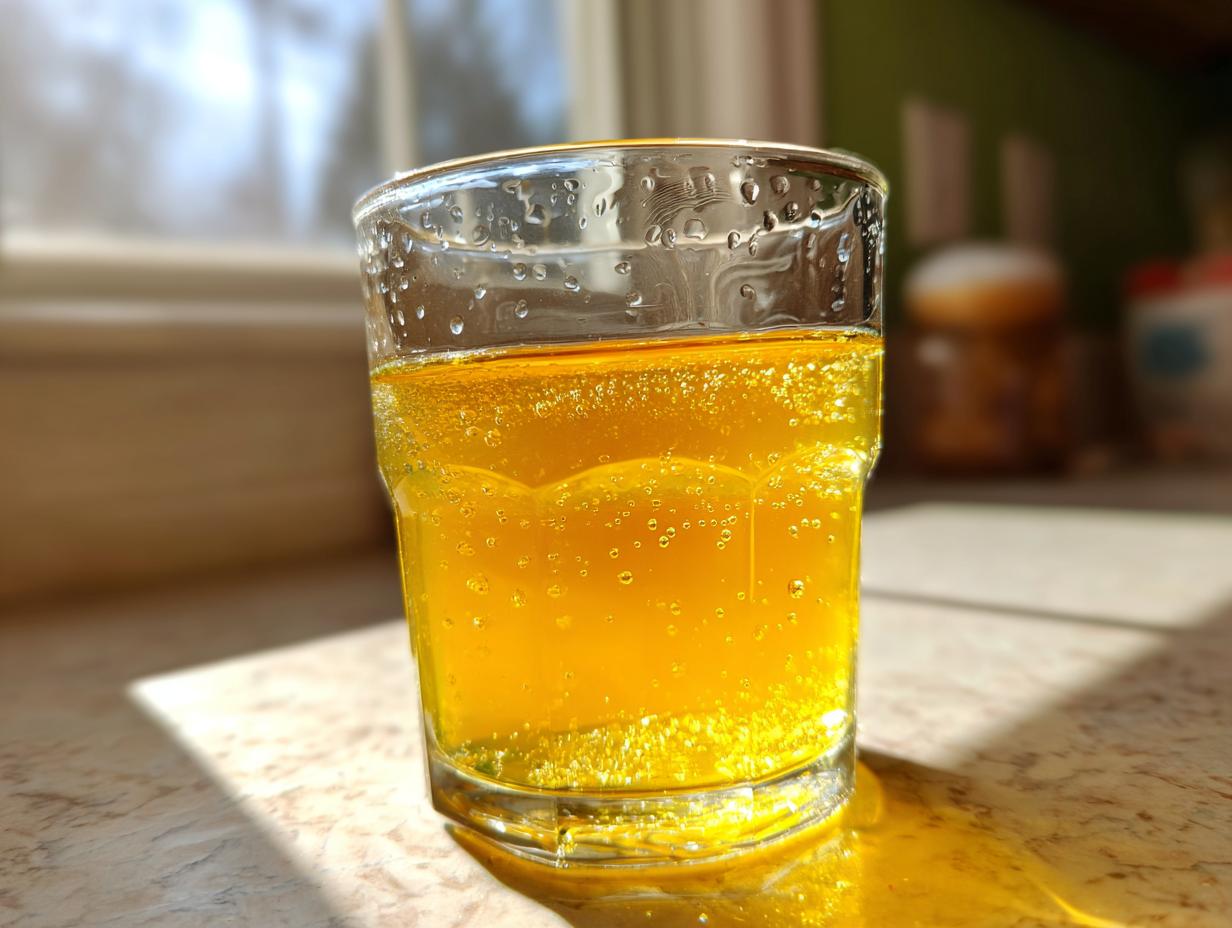
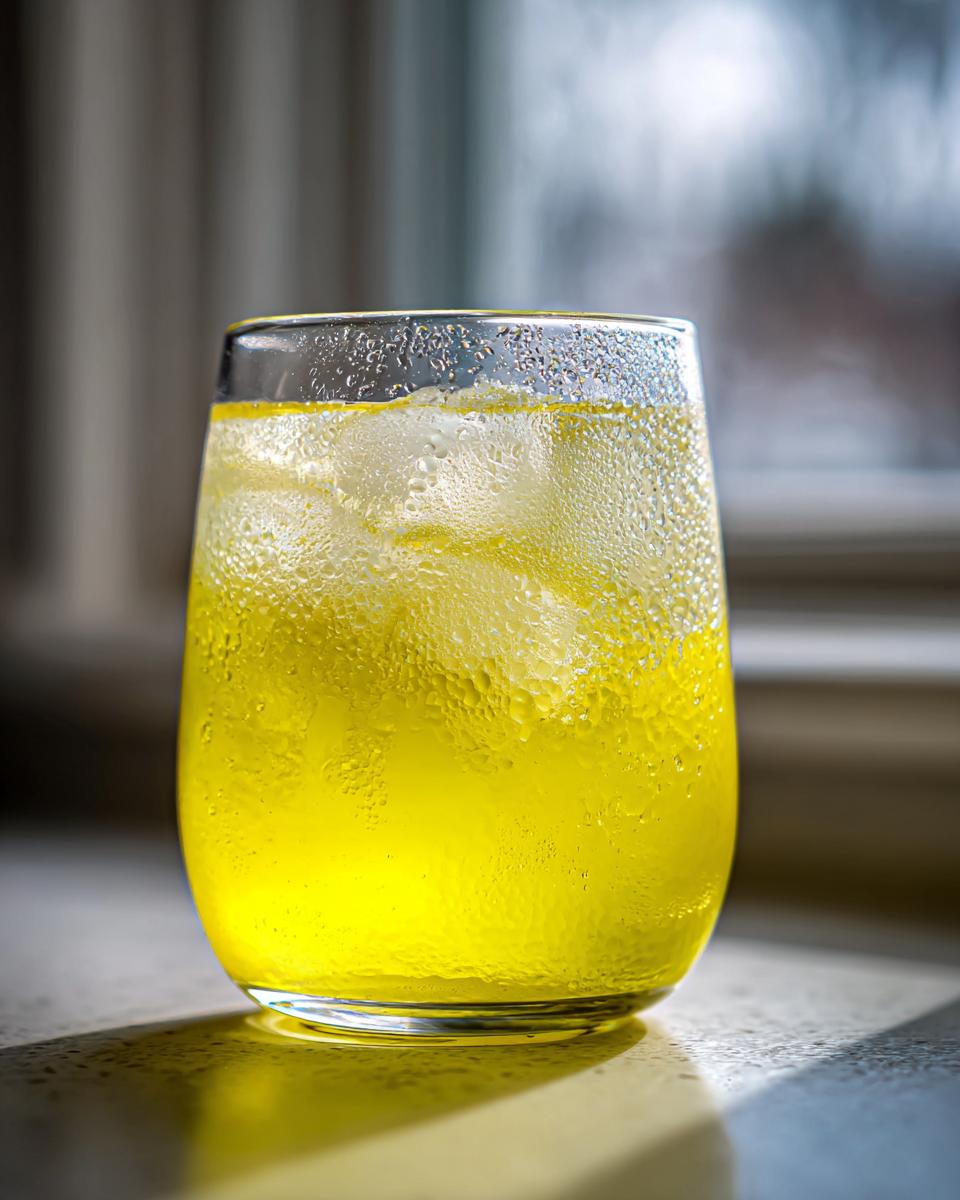
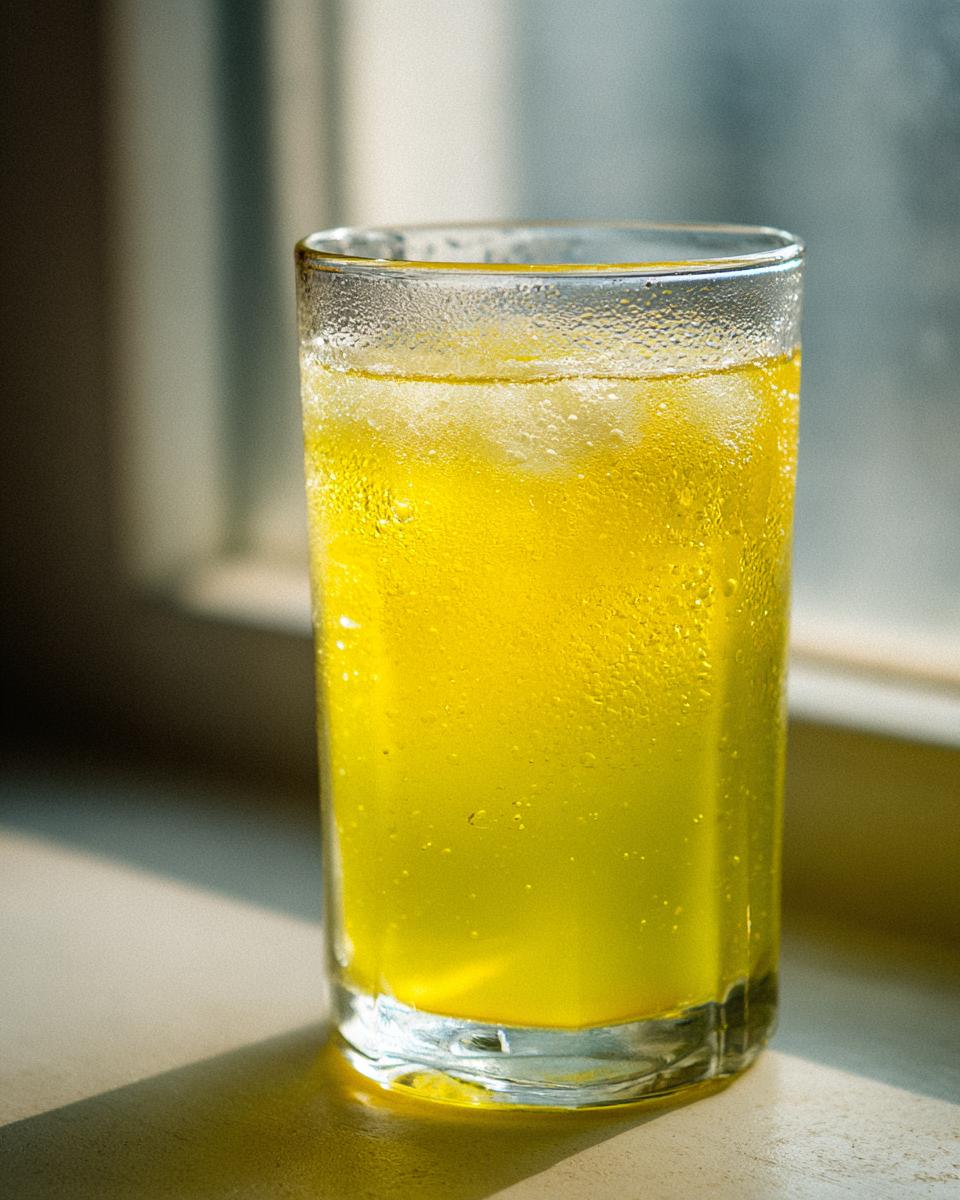
Once that final resting period is done, your Italian liqueur needs the deep freeze! Limoncello should always be served well-chilled, almost icy. Pop your bottles in the freezer for at least 24 hours before serving. It should be thick and syrupy when poured. Because of the high alcohol content, this homemade limoncello will last for ages stored in a cool, dark cupboard, but honestly, it’s so good it rarely lasts past the first month here! Never store it in direct sunlight.
Frequently Asked Questions About Your Limoncello Recipe
I get so many questions every time I post about this Limoncello recipe! It’s natural when you’re dealing with a long infusion time. Here are the things folks ask me most often about making their own Italian liqueur at home.
Q1. Why is my homemade limoncello cloudy instead of clear?
Don’t fret! Cloudiness usually happens right after you combine the cooled simple syrup and the lemon-infused alcohol. That’s perfectly normal! It means the oils are emulsifying with the water. If it stays cloudy after the final resting period, you might have accidentally introduced some of the bitter white pith, or maybe your syrup was still slightly warm when you mixed it. A little cloudiness won’t hurt the flavor, though!
Q2. Can I use regular lemons instead of organic for this Limoncello recipe?
Please, please try to stick to organic lemons. Since we are using the zest, which holds all the flavor, you want to avoid any waxes or pesticides used on conventional fruit. Using non-organic lemons is the number one way to compromise the quality of your homemade limoncello.
Q3. How long can I keep this Italian liqueur once it’s bottled?
If you keep it sealed and stored in a cool, dark place, it lasts a very long time, essentially years, because of the alcohol content. However, for the absolute best flavor—that bright, sunny taste—I recommend drinking it within one year. It just tastes fresher!
Q4. What proof alcohol is best for the initial infusion?
The traditional method calls for 190 proof grain alcohol because it extracts the lemon oils most efficiently. If you use standard 80-proof vodka, your final product will be much weaker, so you might need to adjust your sugar syrup ratio to compensate for the lower alcohol strength.
Storing and Reheating Your Homemade Limoncello
Since this is a true Limoncello recipe, it’s a liqueur, not a wine or liquor that needs aging, so reheating isn’t really a thing! Store your finished bottles in a cool, dark spot, like a pantry or basement, if you plan to drink it within a few months. For that perfect, thick, icy texture, though, always keep your homemade limoncello in the freezer.
Print
Amazing 4-Week Limoncello Recipe Joy
- Total Time: 4 weeks 2 weeks
- Yield: Varies based on alcohol volume
- Diet: Vegetarian
Description
This Limoncello recipe guides you through making a classic Italian lemon liqueur at home. It yields a bright, flavorful digestif perfect for serving cold.
Ingredients
- Organic lemons with zest
- High‑proof alcohol (like 190 proof grain alcohol) or vodka
- Water
- White sugar
Instructions
- Peel the zest from the organic lemons, avoiding the white pith.
- Place the lemon zest into the high-proof alcohol in a sealed container.
- Allow the mixture to infuse in a cool, dark place for several weeks until the alcohol turns a deep yellow color.
- Prepare a simple syrup by boiling the water and white sugar until the sugar dissolves completely. Let the syrup cool.
- Strain the infused alcohol, discarding the zest.
- Combine the cooled simple syrup with the infused alcohol. Mix well.
- Bottle the limoncello and let it rest for another week or two for flavors to meld.
- Chill thoroughly before serving.
Notes
- Remove the white pith from lemon peels to avoid bitterness in the final product.
- Adjust the amount of sugar syrup used to control the final sweetness and strength of your limoncello.
- Serve limoncello well-chilled or briefly frozen for the best flavor experience.
- Store bottled limoncello in a cool, dark location.
- Prep Time: 30 minutes
- Cook Time: 15 minutes
- Category: Liqueur
- Method: Infusion and Maceration
- Cuisine: Italian
Nutrition
- Serving Size: 2 oz
- Calories: Approx. 150-200
- Sugar: High
- Sodium: Negligible
- Fat: 0g
- Saturated Fat: 0g
- Unsaturated Fat: 0g
- Trans Fat: 0g
- Carbohydrates: High
- Fiber: 0g
- Protein: 0g
- Cholesterol: 0mg