Skip to content
Oh, hello there! I’m Anna Kowalska, and my kitchen is where the magic happens. I believe that the best meals, the ones that truly make you feel something, are born from simple, honest ingredients and a whole lot of heart. My passion is sharing tried-and-true homemade recipes that you and your family will absolutely love, because everything I make is with heart and flavor!
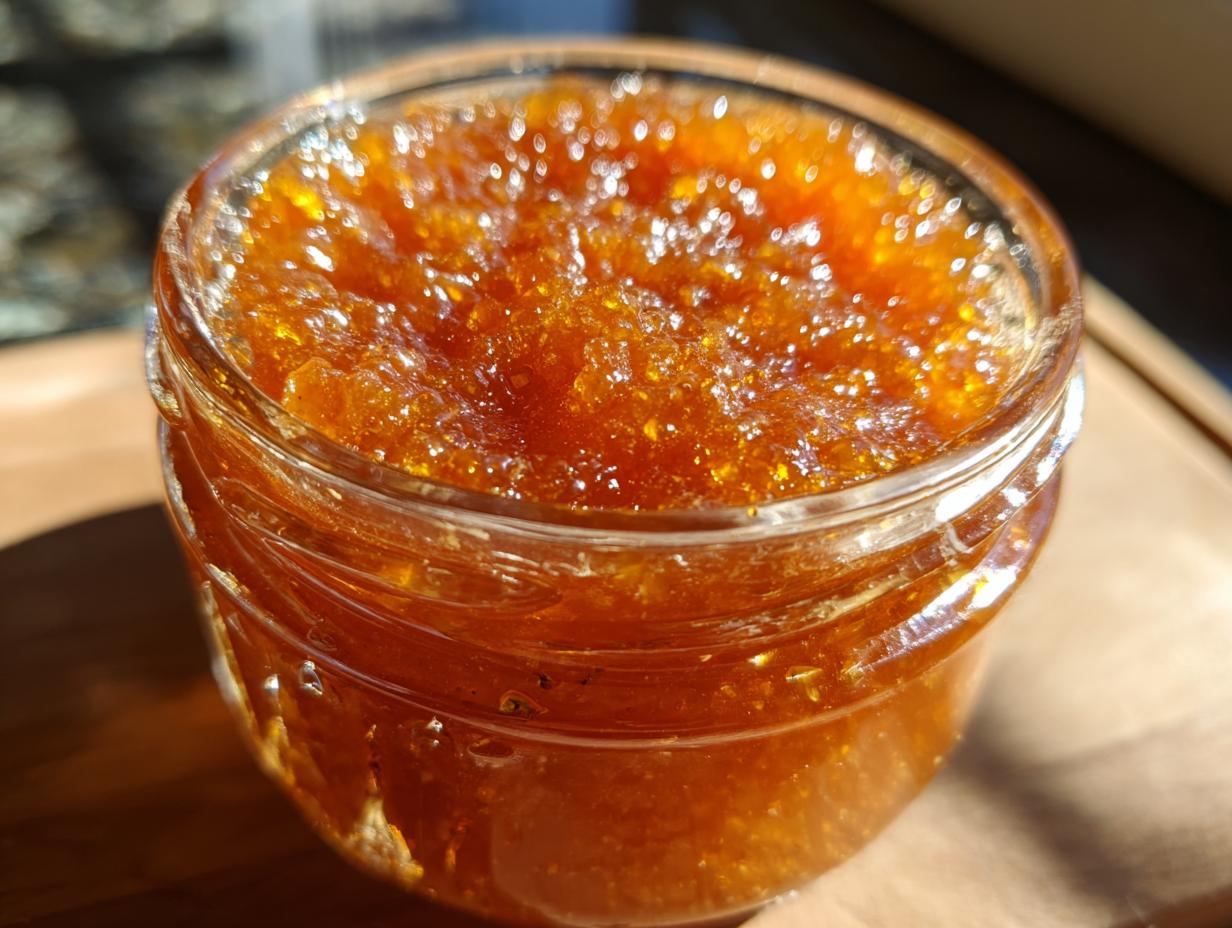
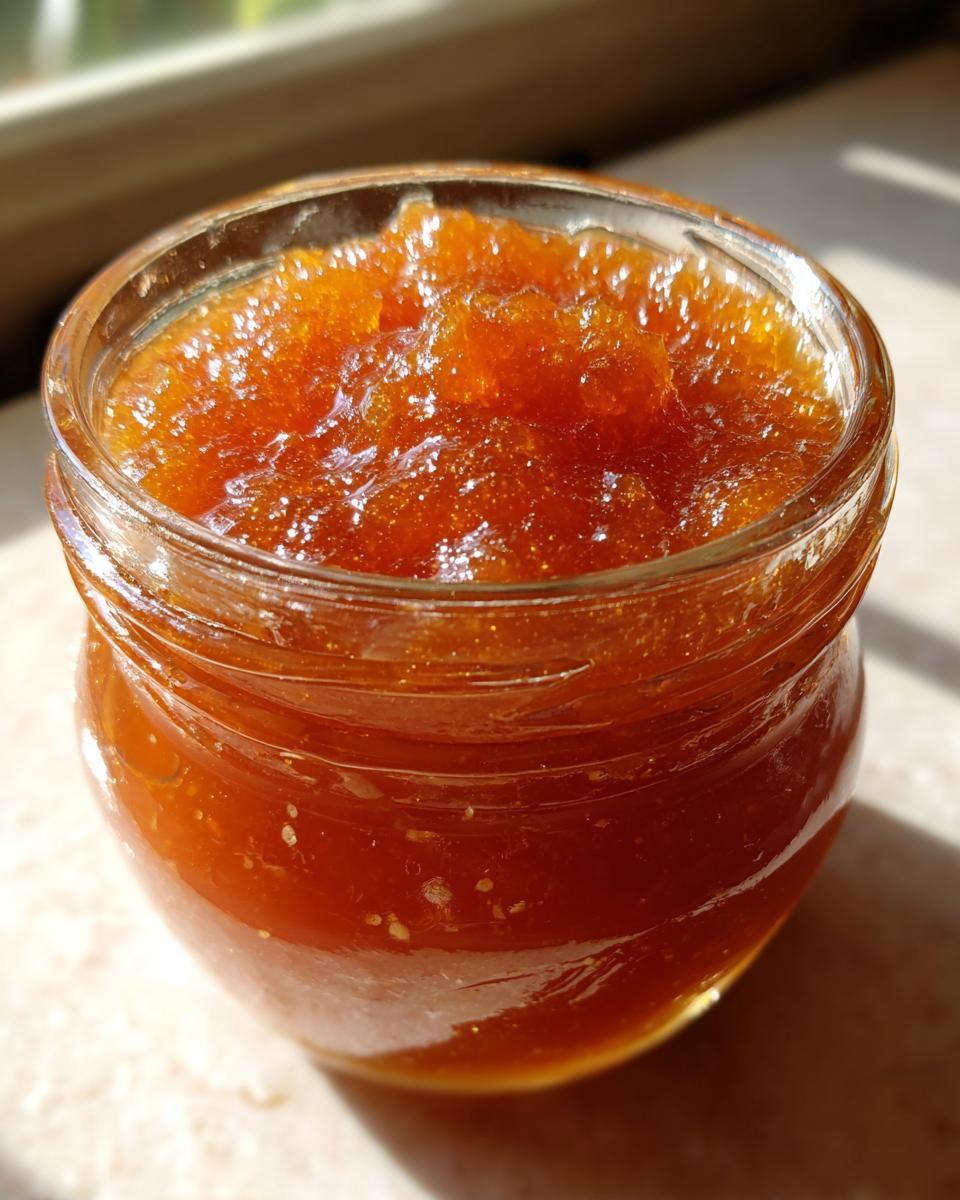
Today, we’re diving into something truly special: making your very own Apricot Jam. There’s just nothing like the taste of homemade jam, is there? That bright, sweet burst of fruit, perfectly balanced and ready to spread on toast, swirl into yogurt, or just sneak a little taste of straight from the spoon. This recipe is all about keeping things simple and delicious, proving that making incredible apricot jam yourself is totally doable and oh-so-rewarding. Trust me, once you taste this, you’ll never go back to store-bought!
Jump to:
Gathering Ingredients for Delicious Apricot Jam
Alright, let’s get down to the nitty-gritty of what you’ll need for this amazing apricot jam. Don’t worry, it’s super simple, but using good quality ingredients really makes all the difference. I’ve found that starting with the best puts you miles ahead for that perfect jar of homemade goodness. It’s all about that balance of sweet, tart, and that wonderful fruity essence that screams sunshine!
Fresh Apricots for Your Apricot Jam
We need about 1 kilogram of lovely apricots, and make sure those stones are all out! For the best apricot jam, go for apricots that are ripe, fragrant, and just starting to yield to a gentle squeeze. They should smell amazing!

The Sweetener: Jam Sugar
You’ll want about 500 grams of jam sugar. This stuff is magical for jams because it already has pectin in it, which is what helps your apricot jam set up perfectly. It’s a lifesaver!
A Touch of Brightness: Lemon Juice
Grab about 4 tablespoons of fresh lemon juice. This isn’t just for a little zing; it helps balance out the sweetness of the fruit and sugar, and it also helps the pectin do its job to get that lovely setting consistency for your apricot jam.
How to Prepare Delicious Apricot Jam: Step-by-Step
Okay, now for the fun part – actually making this gorgeous apricot jam! Don’t let the steps scare you; it’s really quite straightforward, and I’ll walk you through it. The key is to have everything ready to go before you start cooking, so you can focus on that beautiful fruit turning into jam!
Preparing Your Workspace for Apricot Jam
First things first, let’s get our jars ready. Sterilizing your jars, lids, and jam funnel is super important to make sure your apricot jam lasts for ages. You can pop them in a hot oven (around 120°C fan) for 15 minutes, or give them a good swirl with boiling water. I always like to have a couple of extra jars handy, just in case! Oh, and pop a few saucers in the freezer – these are crucial for our gelling test later!
Cooking the Apricot Jam Base
Grab your biggest saucepan – seriously, use the biggest one you have because this mixture will bubble up! Toss in your lovely, chopped apricots and the jam sugar. Now, put it over high heat and stir, stir, stir! You want to keep stirring until all that sugar has dissolved and the apricots have softened into a nice, thick sauce. It’s going to smell amazing already!
Adding Flavor and Texture to Your Apricot Jam
Once the apricots are nice and soft, it’s time to add that little bit of zing! Stir in the lemon juice. Now, you get to decide if you want super smooth apricot jam or something a bit chunkier. I love a bit of texture myself, but if you prefer it smooth, just grab a stick blender and give it a quick whizz right in the pan. Be careful, it can splatter!
The Crucial Gelling Test for Apricot Jam
This is where we make sure our apricot jam will actually set. Bring the mixture back to a rapid boil over medium-high heat. Let it bubble away for about 15 minutes, giving it a good stir now and then to stop it from sticking or burning on the bottom. To test if it’s ready, carefully spoon a little bit onto one of those frozen saucers you put in the freezer. Wait about two minutes. If it wrinkles when you push it with your finger, it’s perfect! If not, just keep boiling and test again.
Jarring Your Homemade Apricot Jam
Once your jam passes the gelling test, it’s time to get it into those clean jars! Carefully ladle the hot apricot jam into your sterilized jars, using a jam funnel to keep the rims nice and clean. This is important for a good seal. Fill them almost to the top, then pop on the lids nice and tight. You want to do this while everything is still nice and hot!
Apricot Jam Success: Tips and Tricks
Making truly fantastic apricot jam is totally within your reach, and a few little tricks can make all the difference between a good batch and a spectacular one. It’s all about paying attention to the little details that elevate homemade preserves. I’ve learned a few things over the years that I’m happy to share!
Achieving the Perfect Set in Your Apricot Jam
If your apricot jam seems a little runnier than you’d like after the gelling test, don’t panic! Sometimes it just needs a few more minutes of boiling. You can also try adding a tiny bit more jam sugar or a touch more lemon juice; these help with setting. Just remember to re-test after a few minutes of boiling.
Ensuring Proper Jar Sterilization for Apricot Jam
Seriously, don’t skip this step for your apricot jam! Properly sterilized jars are your best friend for long-term storage. Besides the oven or boiling water methods, you can also swirl about 70% or higher proof rum in the jars and lids, then pour it out. It’s a bit more hands-on but very effective!
Enjoying Your Homemade Apricot Jam
Now that you’ve got a beautiful batch of homemade apricot jam, the real fun begins – enjoying it! There’s something so satisfying about spooning that golden goodness onto things. It’s perfect for breakfast, sure, but don’t stop there! This jam is a little jar of sunshine that can brighten up so many meals. I love how versatile it is!
Serving Suggestions for Apricot Jam
My favorite way to enjoy this apricot jam is, of course, on some warm, buttered toast. But it’s also divine dolloped onto plain yogurt, swirled into oatmeal, or even used as a glaze for chicken or pork. It pairs wonderfully with a sharp cheddar cheese board, too!
Storing and Reheating Your Apricot Jam
Now that you’ve poured all your love into this gorgeous apricot jam, keeping it fresh is key! For those unopened jars, find a nice, cool, dark spot in your pantry. They’ll stay perfectly delicious for up to a year, which is pretty amazing! Once you’ve opened a jar, though, it’s best to keep it in the refrigerator. You’ll want to use it within about 2 to 3 weeks. If you ever find it’s gotten a bit too firm or you want to spread it more easily, just gently reheat it in a saucepan over low heat until it’s warm and spreadable again. Easy peasy!
| Storage Condition | Temperature | Duration | Notes |
|---|---|---|---|
| Unopened Jars | Cool, dark place | Up to 1 year | Ensure lid is sealed. |
| Opened Jars | Refrigerator | 2-3 weeks | Keep tightly sealed. |
| Reheating (if needed) | Low heat, saucepan | Until warm | Stir gently. |
Frequently Asked Questions about Making Apricot Jam
Making your own apricot jam is so rewarding, but sometimes little questions pop up! I get asked a lot about what to do if things don’t go exactly as planned, or how to tweak things. Don’t worry, most issues are easily fixed or understood!
What if my Apricot Jam doesn’t set?
Oh, the dreaded unset jam! Usually, this means it just needs a little more cooking time to reach the setting point. Make sure you’re boiling it rapidly and test again. Sometimes, adding a little more jam sugar or a squeeze more lemon juice can help too!
Can I use regular sugar instead of jam sugar for Apricot Jam?
You can, but jam sugar is really your best friend here! It has added pectin, which is what makes your apricot jam set. If you use regular granulated sugar, your jam might end up a bit runnier, or you might need to add extra pectin separately. For more information on the science behind jam making, you can check out Food Network’s guide to jam making.
How do I know when my Apricot Jam is ready to jar?
The trusty gelling test is your golden ticket! Spoon a bit onto a super cold saucer from the freezer. If it wrinkles when you push it with your finger after a minute or two, it’s ready to go into your jars. It should look thick and slightly set, not watery.
Understanding the Nutritional Value of Apricot Jam
Now, while this apricot jam is an absolute treat, it’s good to have an idea of what you’re enjoying! Keep in mind these are just estimates per serving, as homemade recipes can vary a bit. It’s mostly fruit and sugar, so it’s definitely a treat to be savored! For a general understanding of fruit nutrition, you can refer to USDA’s FoodData Central.
| Nutrient | Amount |
|---|---|
| Calories | 100 kcal |
| Sugar | 24g |
| Sodium | 1mg |
| Fat | 0g |
| Saturated Fat | 0g |
| Unsaturated Fat | 0g |
| Trans Fat | 0g |
| Carbohydrates | 26g |
| Fiber | 1g |
| Protein | 0g |
| Cholesterol | 0mg |
Share Your Apricot Jam Creations!
I just love hearing from you all! If you give this Apricot Jam recipe a try, please drop a comment below and let me know how it turned out. Did you leave it chunky or go for smooth? I’d be thrilled to hear your thoughts, see your creations, and maybe even get your own little tips for making this jam even more special!
Print
Amazing Apricot Jam: 5 Steps to Perfection
- Total Time: 45 minutes
- Yield: Approximately 4-5 jars 1x
- Diet: Vegetarian
Description
Apricot Jam: A simple guide to making delicious homemade apricot jam.
Ingredients
- 1 kg apricots (stones removed)
- 500 g jam sugar
- 4 tbsp lemon juice
Instructions
- Sterilize jars, lids, and jam funnel. Prepare extra jars. Place saucers in the freezer for the gelling test.
- Add de-stoned apricots and jam sugar to a large saucepan.
- Heat on high heat, stirring frequently until sugar melts and apricots soften into a thick sauce.
- Once apricots are soft and submerged, add lemon juice and remove from heat.
- Use a stick blender to puree the fruit until smooth, or leave some pieces for chunky jam.
- Return to medium-high heat and boil rapidly for about 15 minutes, stirring regularly to prevent sticking or burning.
- Perform the gelling test: place a teaspoon of jam on a frozen saucer. If it sets after two minutes and wrinkles when pushed, it’s ready.
- If the jam doesn’t pass the test, continue cooking and re-test.
- Fill sterilized jars with the hot jam, using a jam funnel to keep rims clean.
- Store in a cool, dark place for up to a year. Refrigerate after opening.
Notes
- Cooking time varies. Refer to detailed guides for gelling tests.
- Jar sterilization methods:
- Oven: Sterilize jars and lids at 120°C fan for 15 minutes.
- Boiling Water: Pour boiling water into jars and lids, swirl, and pour over jam funnel.
- Alcohol: Swirl 70%+ rum in jars, lids, and funnel.
- Upside-down Jars: Turn filled, hot jam jars onto their lids; requires very clean jars and almost boiling jam.
- Prep Time: 15 minutes
- Cook Time: 30 minutes
- Category: Preserves
- Method: Stovetop
- Cuisine: European
Nutrition
- Serving Size: 2 tablespoons
- Calories: 100 kcal
- Sugar: 24g
- Sodium: 1mg
- Fat: 0g
- Saturated Fat: 0g
- Unsaturated Fat: 0g
- Trans Fat: 0g
- Carbohydrates: 26g
- Fiber: 1g
- Protein: 0g
- Cholesterol: 0mg