Skip to content
When I think about the perfect weekend treat, it always involves something rich, something comforting, and something that smells absolutely divine while it bakes. I’m Anna Kowalska, and here I share tried-and-true homemade recipes that you and your family will love. Everything I put on this blog is made with heart and flavor, never fuss. I believe baking should never be a chore; it should be a joy that fills your kitchen with the best smells imaginable.
I grew up watching my mother bake, and she always said the best food comes from simple ingredients treated with respect. That philosophy is exactly what led me to perfect this decadent, yet shockingly easy, recipe. Forget complicated layers or endless steps. Today, we are diving headfirst into my favorite simple dessert: the Chocolate Coconut Dream Cake. Seriously, you won’t believe how quickly this comes together!
Jump to:
Why You Will Love This Chocolate Coconut Dream Cake
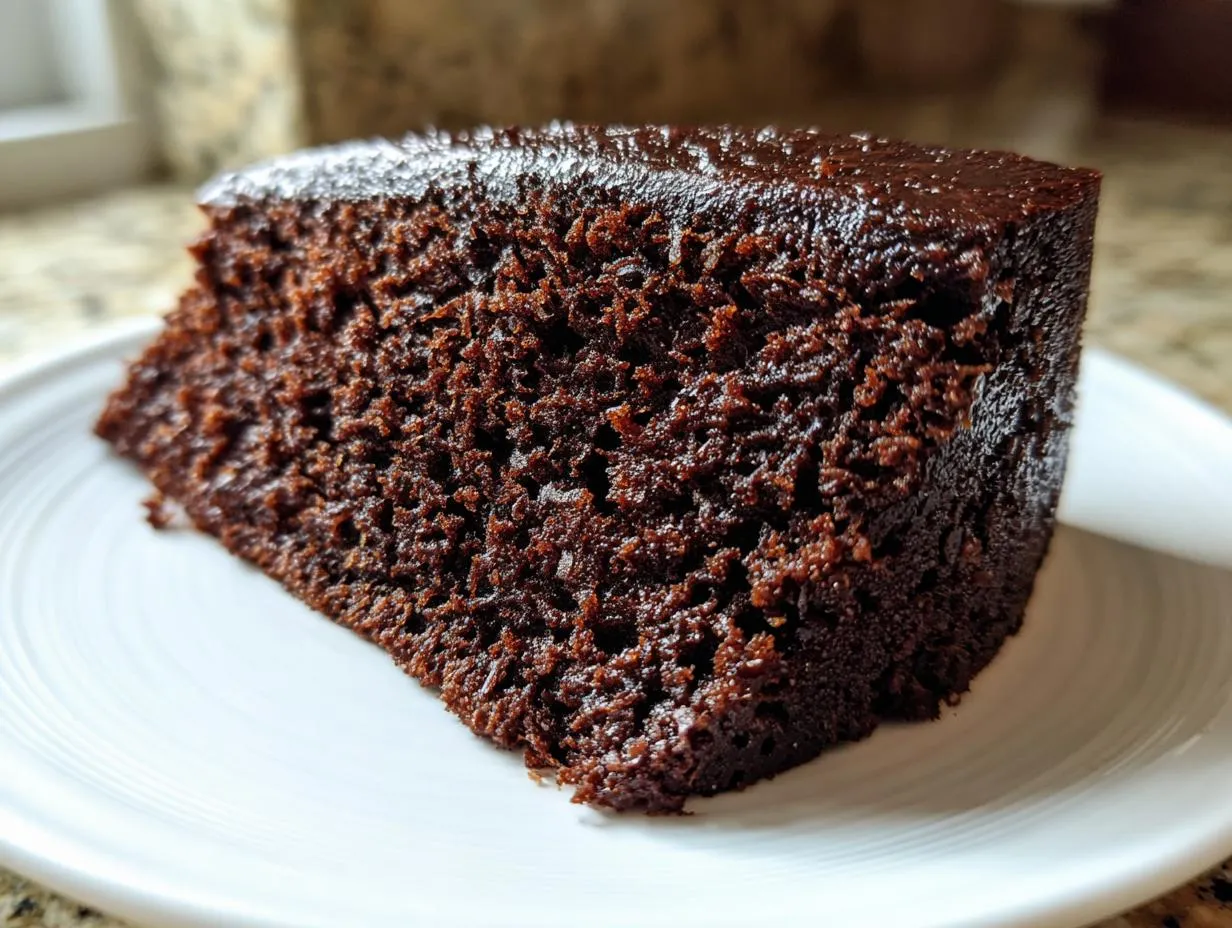
If you’re like me, sometimes you need a huge flavor payoff without spending half your afternoon hovering over the mixer. This cake is my go-to solution for those moments! It’s pure comfort in a slice, delivering deep chocolate notes perfectly balanced by that lovely, moist coconut finish. Honestly, it’s the fuss-free chocolate dessert you’ve been waiting for. The best part is that minimal effort yields maximum deliciousness.
You are going to adore how this comes together. It’s the kind of recipe you can whip up after work when a craving hits, or when unexpected company drops by. The Chocolate Coconut Dream Cake proves you don’t need dozens of steps to create something truly memorable.
Quick Preparation for Your Chocolate Coconut Dream Cake
Prep time is a dream—just ten minutes! Seriously, that’s all it takes to get this batter ready for the oven. Grab your bowl. Toss everything in. Mix until smooth. That’s it! No creaming butter, no waiting for things to come to room temperature. If you can measure ingredients, you can make this cake. It’s that fast and that straightforward.
Simple Ingredients for Maximum Flavor
We aren’t using any fancy, hard-to-find items here, which is what makes this so reliable. Everything you see on the ingredient list is something you probably already have lurking in your pantry right now. We rely on rich cocoa powder and creamy coconut milk to do all the heavy lifting flavor-wise. These few, hardworking components combine beautifully to create a truly satisfying homemade cake every single time you bake it.
Essential Ingredients for the Chocolate Coconut Dream Cake
Baking is chemistry, right? Well, maybe not *pure* chemistry, but precision matters, especially when we are going for that perfect, moist crumb. Since this recipe is so straightforward, we need to make sure we measure these few ingredients exactly right so that the reaction in the oven works perfectly. Don’t skip measuring spoons here; we aren’t eyeballing! I’ve listed everything below, and trust me, the ratio of wet to dry is what makes this Chocolate Coconut Dream Cake so consistently good.
This blend is simple but powerful. The cocoa provides the deep chocolate base, and the coconut milk—that’s our secret weapon for moisture. It works magic alongside the oil to keep this cake tender for days. When you look at the list, you’ll notice there’s no heavy creaming process involved, which saves time but demands accurate measuring.
Ingredient Clarity and Preparation Details
A couple of quick notes before you start dumping things in the bowl, because a little clarity goes a long way! For the flour, just level off your measuring cup—no need to sift unless your flour tends to clump up terribly. The cocoa powder, however, you should definitely give a quick whisk or sift to break up any lumps so it dissolves nicely into the wet ingredients later.
The most important thing here is the coconut milk. Make sure you are using canned coconut milk, not the thin beverage kind you pour over cereal! We need the full-fat canned variety for the richness and fat content it brings to the batter. And use standard granulated sugar; no fancy substitutes will give us the exact texture we are aiming for here.
| Ingredient | Amount |
|---|---|
| Flour | 170 g |
| Sugar | 200 g |
| Cocoa | 40 g |
| Coconut milk | 150 g |
| Oil | 70 g |
| Eggs | 2 |
| Baking powder | 6 g |
Equipment Needed for Baking
You don’t need a fancy stand mixer or specialized tools for this one, which is another reason I love it! Keep it simple. You’ll want a good medium-sized mixing bowl where you can easily combine everything without making a huge mess. A whisk or a sturdy rubber spatula will be your main mixing tools.
Of course, you need your measuring cups and spoons—accuracy is key here! Finally, grab a baking pan. I usually use an 8×8 inch square pan, but any standard loaf pan or small round cake pan will work, provided you line it well with parchment paper. That’s truly all you need to get this cake in the oven!
Step-by-Step Instructions for the Chocolate Coconut Dream Cake
Okay, this is where the magic happens, and it happens fast! Remember how I said this was easy? Well, trust me, the entire mixing process takes maybe five minutes if you hustle a little. Before you even touch an ingredient, get your oven preheated to 180 degrees Celsius. Also, make sure that 8×8 pan is lined with parchment paper—I like to leave the paper sticking up over the sides a tiny bit so I can lift the whole thing out later. That’s my little shortcut!
Mixing the Chocolate Coconut Dream Cake Batter
This is the most crucial part for texture, so listen up: Do NOT overmix! I repeat, do not overmix! When you combine all your ingredients—the flour, sugar, cocoa, baking powder, coconut milk, oil, and eggs—mix them together until they are *just* combined. You’ll see a few little streaks, maybe a tiny bit of flour clinging to the side, and that’s okay! If you beat this batter for too long, you’ll develop the gluten, and instead of a tender cake, you’ll end up with something chewy. We want tender, folks!
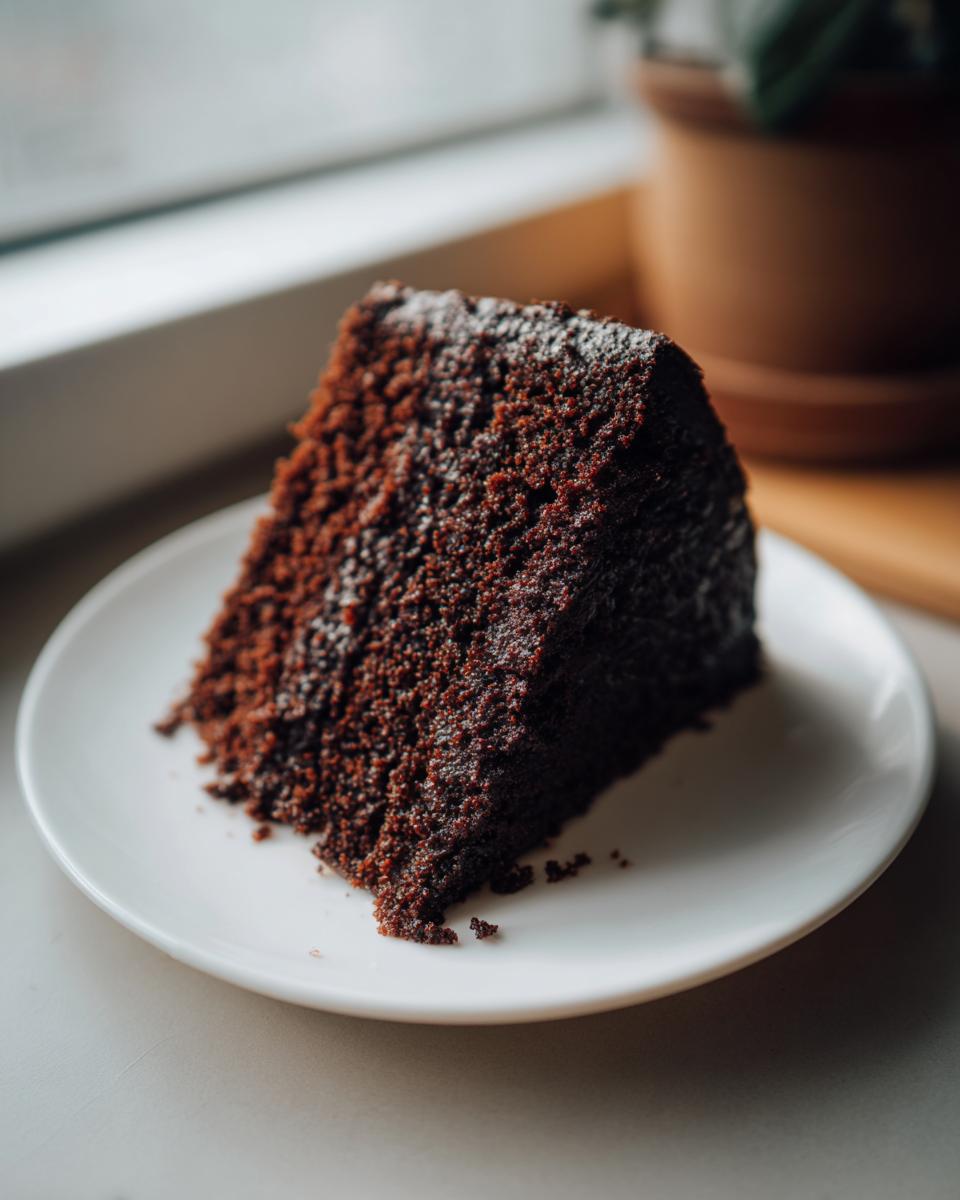
As you mix, the batter should look thick, dark brown, and relatively smooth, but stop stirring the second you don’t see any really big dry patches of flour left. It’s better to stop early than to keep going. Scrape down the sides once, give it two final folds with your spatula, and then pour it right into your prepared pan. That’s the preparation done for your Chocolate Coconut Dream Cake!
Baking and Testing for Doneness
Now, pop that batter into your preheated 180°C oven. The baking time is pretty quick, usually sitting between 30 and 33 minutes. Keep an eye on it starting around the 28-minute mark. You want that lovely chocolate smell to fill your kitchen, but we rely on more than just smell to know it’s done.
Once you think it’s ready, use the classic toothpick test. Gently insert a clean toothpick right into the center of the cake. If it comes out clean, or maybe with just a few moist crumbs clinging to it—not wet batter!—then you are good to go. If you see wet batter, give it another three minutes and test again. This small window of time is important for perfect doneness.

Cooling Protocol for a Perfect Chocolate Coconut Dream Cake
Resist the urge to grab it out of the pan immediately! Once the cake is baked, take it out of the oven and let it sit right in the pan on a wire rack for about 15 minutes. This allows the structure to firm up a little before you try to move it. After those 15 minutes, use those parchment paper handles to gently lift the cake out of the pan and place it directly onto the wire rack to cool completely. I cannot stress this enough: you must let this cake cool completely before you even think about slicing it or attempting a glaze. If you cut it warm, it will crumble on you, and nobody wants a crumbly cake!
Expert Tips for a Perfect Chocolate Coconut Dream Cake
Even though this recipe is super simple, a couple of tiny things can make the difference between a good cake and a *great* cake. First, make sure your eggs aren’t straight from the fridge! Room temperature eggs mix into the batter much more smoothly than cold ones, leading to a more uniform texture. Just put them in a bowl of warm water for five minutes if you forget to take them out early.
Second, when you measure your cocoa powder, always spoon it lightly into the measuring cup and level it off. If you scoop cocoa directly from the container, you pack it down, and suddenly you have too much, which can dry things out. Finally, because this cake relies on the oil and coconut milk for richness, don’t try to substitute the oil with applesauce or yogurt—it just won’t have the same tender crumb we are looking for here.
Storing and Reheating Your Homemade Cake
This Chocolate Coconut Dream Cake is wonderfully moist, so it keeps well! Once it is completely cool—and I mean completely cool—you can wrap it tightly in plastic wrap or place it in an airtight container. It stays perfectly fresh at room temperature for about three days. Honestly, it usually doesn’t last that long in my house! If you need it to last longer, it freezes beautifully too.
If you do freeze it, wrap individual slices tightly first, then place those in a freezer-safe bag. When you want a slice, let it thaw on the counter for about an hour. For reheating a slice, I prefer the microwave—just 10 to 15 seconds warms it up enough to bring that chocolate aroma right back. It tastes almost freshly baked!
| Storage Method | Duration | Notes |
|---|---|---|
| Room Temperature (Airtight) | Up to 3 days | Ensure cake is fully cooled first. |
| Freezer (Wrapped) | Up to 2 months | Thaw completely before serving or reheating. |
Frequently Asked Questions About This Cake
I get so many questions about this recipe once folks try it, which just shows how much people love this simple dessert! It’s usually easier than you think to adjust things, but remember, baking is a little more sensitive than cooking savory dishes. If you have a question about making a slight modification to your Chocolate Coconut Dream Cake, chances are someone else has wondered the same thing!
We want to keep that moist texture, so some substitutions are trickier than others, but I’ve tried to cover the main concerns here. Hopefully, this helps you feel confident when you pull this delicious dessert out of the oven!
Can I substitute the coconut milk in this Chocolate Coconut Dream Cake?
That canned coconut milk is really key for the richness, but if you absolutely can’t use it, you can try an equal amount of whole milk or even heavy cream thinned slightly with water. However, you might lose a little bit of that subtle coconut flavor profile. If you use evaporated milk, you might need to add an extra teaspoon of oil just to make up for the fat content difference. Just remember, we are aiming for moistness!
How long does the Chocolate Coconut Dream Cake keep fresh?
This homemade cake stays wonderfully fresh for about three days when kept tightly covered at room temperature. Because it’s so moist, it doesn’t dry out quickly like some other chocolate cakes might. If you need it to last longer, pop it in the freezer!
Is this recipe difficult for a beginner baker?
Not at all! This is one of my absolute favorite recipes to recommend to people just starting out. There’s no creaming, no folding, and the mixing process is very brief—the biggest hurdle is making sure you don’t overmix, which is easy to avoid if you stop stirring as soon as the ingredients combine. It’s a fantastic first project! You can find more quick easy recipes here.
Do I need to use cocoa powder or can I use melted chocolate?
For this recipe, stick to the cocoa powder listed. Melted chocolate has a higher fat content than pure cocoa powder, and since this recipe is perfectly balanced with oil, adding melted chocolate would throw off the liquid-to-dry ratio, likely resulting in a denser, greasier cake. Stick to the powder for the best homemade cake result! Understanding the role of fat in baking is crucial for success, as detailed in many food science resources.
Nutritional Estimates Disclaimer
Just a quick note before you dive into the serving sizes! The numbers you see below are just estimates based on standard product calculations. Since we all use slightly different brands of flour, oil, or sugar, your final nutritional breakdown might vary a little bit. These figures are here to give you a general idea, not a strict guarantee! For more information on general recipe guidelines, check out the site disclaimer.
| Nutrient | Amount Per Serving |
|---|---|
| Serving Size | 1 slice |
| Calories | 350 |
| Sugar | 35 g |
| Sodium | 150 mg |
| Fat | 18 g |
| Saturated Fat | 8 g |
| Trans Fat | 0 g |
| Carbohydrates | 45 g |
| Fiber | 3 g |
| Protein | 5 g |
| Cholesterol | 60 mg |
Amazing 2-Step Chocolate Coconut Dream Cake
- Total Time: 43 minutes
- Yield: 8 servings
- Diet: Vegetarian
Description
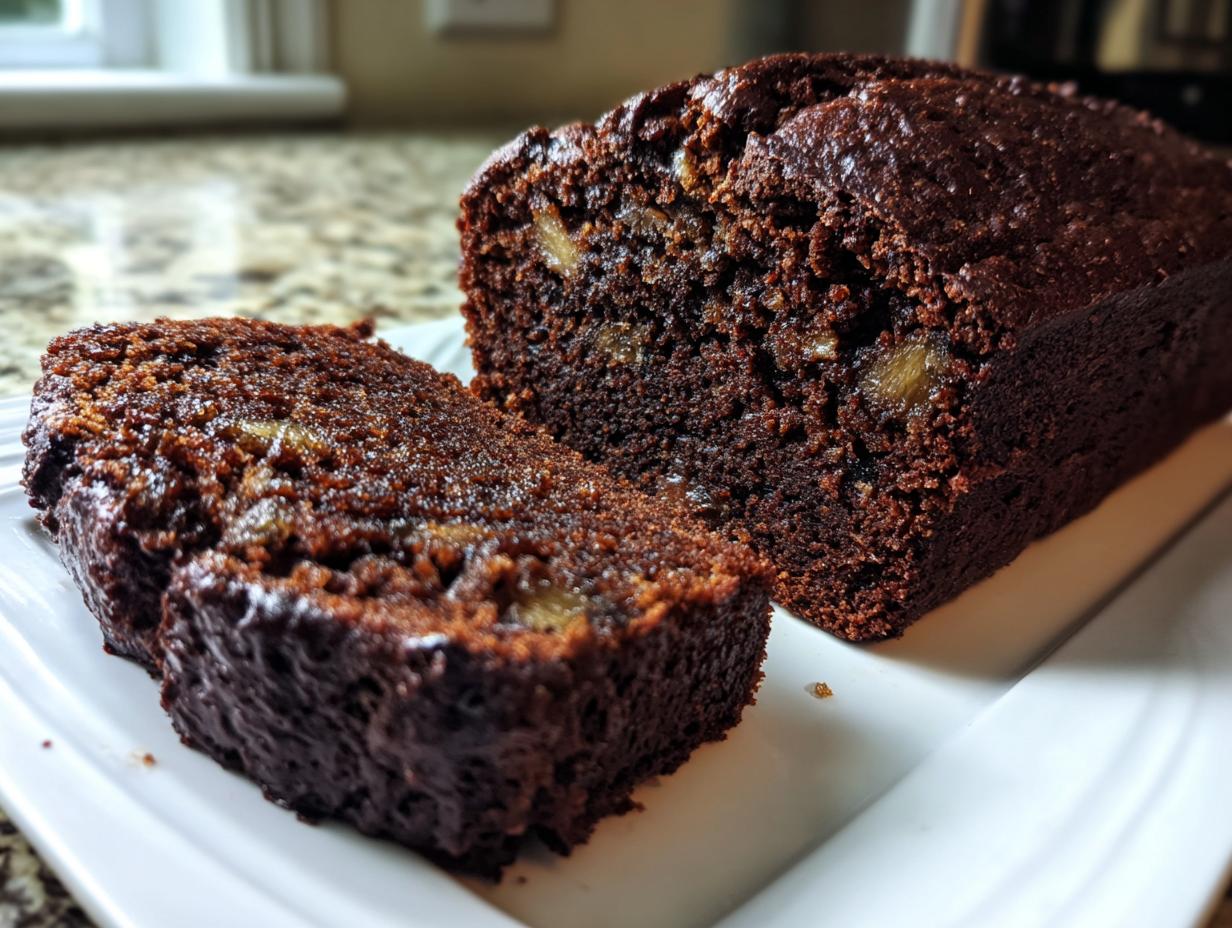
This Chocolate Coconut Dream Cake offers a rich chocolate flavor complemented by moist coconut milk. It is a simple, satisfying homemade treat for any occasion.
Ingredients
- Flour – 170 g
- Sugar – 200 g
- Cocoa – 40 g
- Coconut milk – 150 g
- Oil – 70 g
- Eggs – 2
- Baking powder – 6 g
Instructions
- Mix all ingredients together until just combined. Do not overmix.
- Pour the batter into a baking pan lined with parchment paper.
- Bake for 30 to 33 minutes at 180°C.
Notes
- Check for doneness with a toothpick inserted in the center; it should come out clean.
- Allow the cake to cool completely before slicing.
- Prep Time: 10 minutes
- Cook Time: 33 minutes
- Category: Dessert
- Method: Baking
- Cuisine: American
Nutrition
- Serving Size: 1 slice
- Calories: 350
- Sugar: 35 g
- Sodium: 150 mg
- Fat: 18 g
- Saturated Fat: 8 g
- Unsaturated Fat: 10 g
- Trans Fat: 0 g
- Carbohydrates: 45 g
- Fiber: 3 g
- Protein: 5 g
- Cholesterol: 60 mg