Skip to content
Are you tired of chocolate cakes that promise richness but end up dry and crumbly? I totally get it! There’s nothing worse than pulling a beautiful dark cake out of the oven only to have it disappoint on the first bite. Trust me, I’ve been there, but I finally found the keeper—the recipe that delivers pure, melt-in-your-mouth tenderness every single time. That’s why I’m so excited to share my **Silky Chocolate Sour Cream Cake** with you today.
Hi, I’m Anna Kowalska, and here I share tried-and-true homemade recipes that you and your family will love. For me, everything is made with heart and flavor, and I believe baking should be easy, rewarding, and deeply delicious. If you want simple instructions that guarantee an amazing result, you’ve come to the right spot. This recipe is my secret weapon for when I need a showstopper that comes together in a flash.
This recipe is proof that sometimes the simplest ingredients make the biggest difference. We are leaning heavily on one powerhouse ingredient—sour cream—to give this cake its signature velvety texture. So, grab your whisk; let’s get baking!
Jump to:
Why You Will Make This Silky Chocolate Sour Cream Cake Often
Honestly, this cake is going to earn a permanent spot in your rotation. It’s the perfect answer for those weeknight chocolate cravings or when you need a quick dessert for unexpected guests. You won’t believe how little effort goes into something that tastes this luxurious.
- It’s incredibly fast—you’re looking at just 15 minutes of active prep time before it hits the oven.
- The texture is just stunning; it truly earns the name **Silky Chocolate Sour Cream Cake**.
- It uses simple pantry staples, so you don’t need a special trip to the store.
Quick Preparation Time
Seriously, 15 minutes is all it takes to mix this up! You just dump the wet things in one bowl, the dry in another, and mix them together gently. No fancy creaming techniques or waiting around for butter to soften. It’s designed for busy people who still want homemade quality. I usually have it poured into the pan before my coffee has even cooled down!
Unmatched Moistness and Flavor
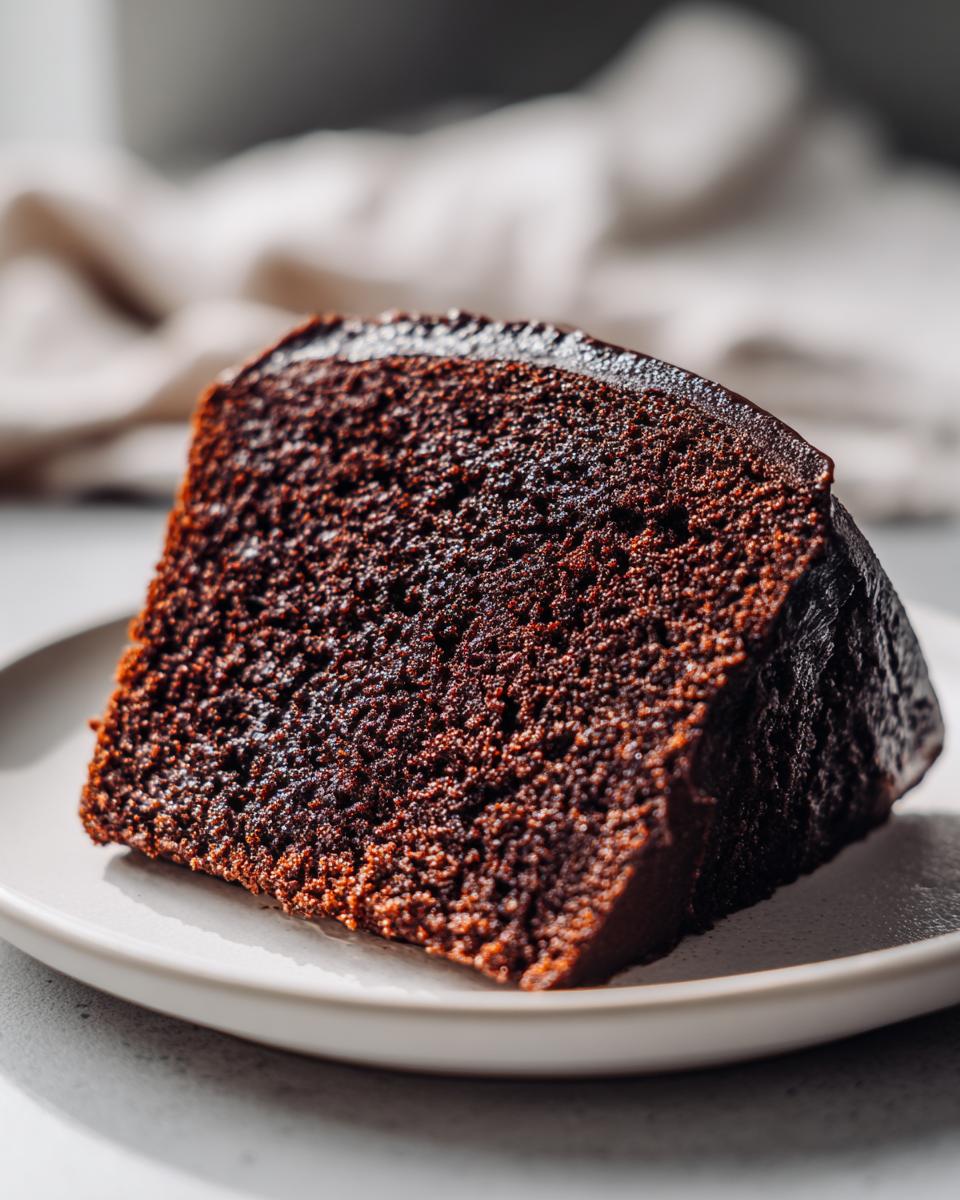
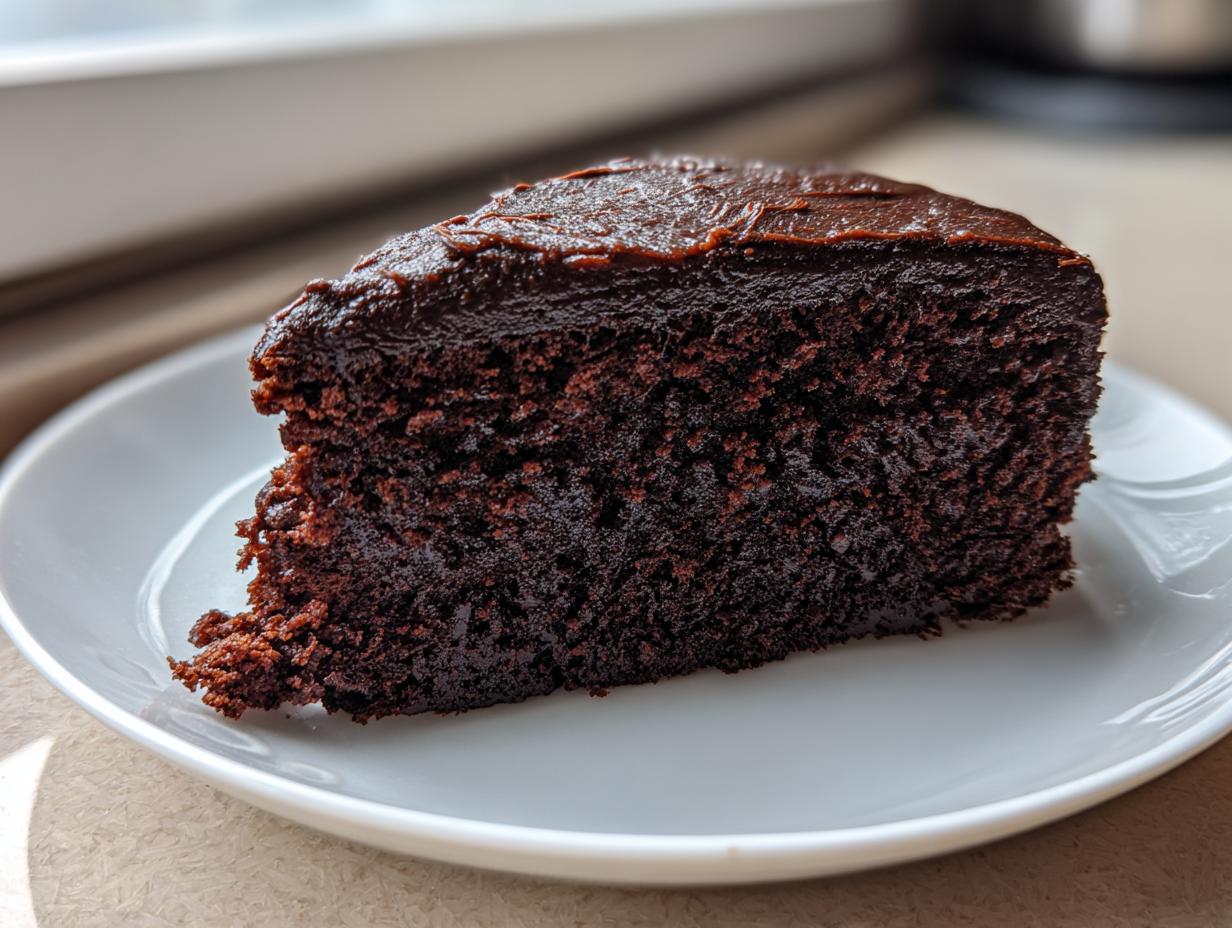
That beautiful, tender crumb you see in the pictures? That’s the sour cream working its magic. It adds richness and acidity that keeps the cake unbelievably moist for days, which is why this is my go-to **Silky Chocolate Sour Cream Cake** recipe. It keeps the chocolate flavor deep and intense without ever feeling heavy.
Gathering What You Need for Your Silky Chocolate Sour Cream Cake
Before we get to the mixing, let’s talk about what you need on your counter. Because this cake is so simple, the quality of your ingredients really shines through. We aren’t using a ton of items, but making sure your eggs and sour cream are ready to go makes a huge difference in the final texture of this **Silky Chocolate Sour Cream Cake**.
Don’t substitute the cocoa powder for something weak; you want a dark, rich cocoa here to get that deep chocolate color and flavor we are aiming for. Trust me, good cocoa makes all the difference!
Essential Ingredients Table
Here is exactly what you need. I like to measure everything out into little bowls first, which helps keep me organized so I don’t accidentally forget the baking powder!
| Ingredient | Amount | Notes |
|---|---|---|
| All-Purpose Flour | 170 g | Sifted, please! |
| Granulated Sugar | 200 g | Standard white sugar works great. |
| Unsweetened Cocoa Powder | 45 g | Use a good quality dark cocoa. |
| Sour Cream | 140 g | Must be at room temperature. |
| Eggs | 2 large | Room temperature is key here! |
| Unsalted Butter | 70 g | Melted, but not hot. |
| Baking Powder | 6 g | For lift and fluff. |
Step-by-Step Guide to Baking the Silky Chocolate Sour Cream Cake
Okay, this is where the magic happens, and I promise you, it’s so straightforward you’ll be shocked at the result. We’re moving fast because this cake comes together so quickly! Make sure you have your 175°C oven preheated and your pan greased and floured, or lined with parchment paper if you prefer.
Preparing the Wet Elements
First things first, we tackle the wet ingredients. In one medium bowl, gently whisk together your room temperature eggs, the sour cream, and the melted butter. Remember what I said earlier? Room temperature ingredients are non-negotiable here! If your eggs and sour cream are cold, they won’t emulsify nicely with the butter and you might get little pockets of fat floating around. We want smooth sailing!
Just whisk them until they look like one uniform, creamy mixture. Don’t spend ages on this, maybe a minute or so until you can’t see separate yolks or big chunks of sour cream. That’s it for the wet side!
Combining Wet and Dry Mixtures for the Silky Chocolate Sour Cream Cake
Now for the dry team: flour, sugar, cocoa powder, and baking powder. If you haven’t sifted them yet, do it now! Sifting is your best defense against lumps, especially with cocoa powder, and it helps incorporate air, which is important for a tender bake. Add all those sifted dry ingredients right into that bowl of wet stuff.
Here is the most crucial instruction for achieving that beautiful, *silky* texture: **Do not overmix!** Seriously, put the electric mixer away if you’re using one, or just use a whisk or spatula. Mix only until you see the last streaks of flour disappear. If you mix it too much, you’ll develop the gluten, and instead of a tender crumb, you’ll get a chewy, tough cake. We want tender, not tough!
Baking the Batter to Perfection
Once it’s just combined—and I mean *just*—pour that gorgeous, thick batter into your prepared pan. Smooth the top a little with your spatula, but don’t fuss with it too much. Into the preheated 175°C oven it goes for about 28 to 32 minutes. That’s the sweet spot!
Now, listen closely: the absolute worst thing you can do to this cake is overbake it. That ruins the sour cream’s moisturizing effect! Start checking at 28 minutes. You’re looking for a toothpick inserted near the center to come out with moist, dark crumbs clinging to it, but definitely no wet batter. If you wait until the toothpick is completely clean, your cake will be dry by the time it cools down. Pull it out when it looks slightly underdone in the middle—it will finish cooking as it rests.

Expert Tips for the Best Sour Cream Cake Results
Even though this recipe is super easy, a couple of tiny details can take your cake from good to absolutely incredible. Since we are aiming for that perfect, melt-in-your-mouth texture that defines the **Silky Chocolate Sour Cream Cake**, paying attention to temperature and timing is everything. Don’t worry, these aren’t hard rules, just little secrets I’ve learned over years of baking!
Temperature Matters for Mixing
I know I mentioned it before, but I can’t stress this enough: room temperature is your best friend here. If your eggs or sour cream are cold, they shock the melted butter and cause everything to seize up. You end up fighting to mix it, and that usually leads to overmixing, which we absolutely want to avoid. Just pull those ingredients out 30 minutes before you plan to bake. It makes them blend together beautifully, creating that smooth emulsion that guarantees a tender cake every single time.
Avoiding a Dry Cake
The biggest tragedy is a dry chocolate cake, especially one that promises so much silkiness! When you test for doneness, remember that dark cakes can sometimes fool you. Don’t rely only on a clean toothpick. If the toothpick comes out completely dry, you’ve gone too far. You want to see moist, dark crumbs sticking to it. That little bit of moisture on the toothpick means the cake is perfectly baked and will set up beautifully as it cools down. Better slightly underdone than even a minute overdone!
Serving Suggestions for Your Homemade Chocolate Dessert
Once this beauty has cooled down—and resisting that first slice is the hardest part, I know—you need to decide how to serve it. Because the cake itself is so rich, moist, and deeply chocolatey, I really prefer keeping the toppings simple. We don’t want to hide that amazing texture we worked so hard for!
A light dusting of powdered sugar is my absolute favorite way to present it. It looks elegant, and it lets the dark color of the cake shine through. If you want a little something extra, a small dollop of fresh, unsweetened whipped cream on the side is fantastic. If you are looking for other great dessert ideas, check out my collection of desserts!
If you happen to have some fresh raspberries or sliced strawberries, the slight tartness cuts through the richness of the chocolate wonderfully. It’s truly a perfect homemade chocolate dessert that needs very little fuss to shine!
Storing Your Silky Chocolate Sour Cream Cake
This cake is so moist because of the sour cream, which means it actually keeps really well! I usually find I don’t need to refrigerate it unless it’s very hot and humid where I live. If you plan to eat it within two days, keeping it covered on the counter is perfect. It stays wonderfully soft that way.
If you need it to last longer, the fridge is safer, but you have to bring it back to cool room temperature before serving so it doesn’t taste dense. If you’re in a hurry to warm it up, a quick 10 seconds in the microwave works wonders to bring back that silky texture. For more tips on keeping baked goods fresh, you can read about general baking tips here.
| Storage Location | Max Duration | Notes |
|---|---|---|
| Room Temperature (Airtight) | 2 Days | Best for maintaining texture. Keep covered tightly. |
| Refrigerator | 5 Days | Wrap tightly in plastic wrap before chilling. |
| Freezer | Up to 3 Months | Wrap well, then thaw slowly in the fridge. |
Common Questions About the Silky Chocolate Sour Cream Cake
I always get questions when I post this recipe because people are nervous about getting that perfect texture. It’s my favorite thing to talk about! Here are a few things I hear most often from folks trying to bake their first **Silky Chocolate Sour Cream Cake** at home. Knowing these little details will help you achieve that amazing, moist chocolate cake result!
Can I Substitute the Sour Cream?
This is the big one! While you *can* swap it out, I strongly advise against it if you want this specific result. Sour cream does two things here: it adds fat for richness, and the acidity reacts with the baking powder to give you a tender lift. If you absolutely must substitute, plain Greek yogurt is the closest second, but you might need to cut back on the liquid slightly, as it can be thicker. For more information on the role of dairy in baking, you can check out resources on baking science.
But honestly, the sour cream is what makes this recipe so superior to a standard chocolate cake. It’s the reason it stays so unbelievably moist without needing oil or buttermilk!
How Do I Know When My Cake Is Done?
When you are aiming for silky, you have to be careful not to bake it into a brick! Don’t wait for the toothpick to come out bone dry. Stick a thin wooden skewer or toothpick right into the center of the cake. If it comes out with a few moist, dark crumbs attached, that means it’s perfect and ready to come out. If it’s wet batter, give it three more minutes.
Also, look at the edges! The cake will start to pull away just a tiny bit from the sides of the pan when it’s nearly finished. Use that visual cue along with the toothpick test, and you’ll nail that perfect, tender crumb every time.
Share Your Experience Baking This Recipe
I poured my heart into getting this recipe just right for you, and now I’d love to hear how it turned out in your kitchen! Did you love the silky texture as much as I do? Don’t be shy—let me know what you think in the comments below. A quick review or rating helps other bakers find this great, easy chocolate cake, too! If you’re looking for more easy recipes, browse my quick and easy recipes collection.
Print
Amazing! 15 Min Silky Chocolate Sour Cream Cake
- Total Time: 45 minutes
- Yield: 8 servings
- Diet: Vegetarian
Description
This Silky Chocolate Sour Cream Cake delivers a moist, rich chocolate flavor with a wonderful, tender crumb thanks to the sour cream.
Ingredients
- Flour – 170 g
- Sugar – 200 g
- Cocoa – 45 g
- Sour cream – 140 g
- Eggs – 2
- Butter (melted) – 70 g
- Baking powder – 6 g
Instructions
- Mix sour cream, eggs, and melted butter together.
- Add dry ingredients to the wet mixture and whisk until just combined. Do not overmix.
- Pour batter into a prepared baking pan.
- Bake at 175°C for 28 to 32 minutes.
Notes
- Ensure your sour cream and eggs are at room temperature for better mixing.
- Do not overbake to keep the cake moist.
- Sift dry ingredients for a smoother batter.
- Prep Time: 15 minutes
- Cook Time: 30 minutes
- Category: Dessert
- Method: Baking
- Cuisine: American
Nutrition
- Serving Size: 1 slice
- Calories: 320
- Sugar: 30 g
- Sodium: 150 mg
- Fat: 16 g
- Saturated Fat: 9 g
- Unsaturated Fat: 7 g
- Trans Fat: 0.5 g
- Carbohydrates: 42 g
- Fiber: 2 g
- Protein: 5 g
- Cholesterol: 60 mg