Skip to content
If you’ve been dreaming of that gorgeous, spiced aroma of a perfect autumn pie but the sugar content always makes you pause, then listen up! I’m Anna Kowalska, and here I share tried-and-true homemade recipes that you and your family will love. Everything I make is done with heart and flavor, and this recipe is proof you don’t need refined sugar to enjoy the classics.
I spent years trying to nail that perfect fall dessert without the usual sugar crash. That journey finally led me to this incredible No-Sugar Pumpkin Pie. Trust me, you can have that comforting slice of tradition that feels completely guilt-free. It’s the secret weapon for keeping holiday treats delicious while staying mindful of what we’re eating.
We’re talking about a pie that tastes exactly like the real deal—rich, creamy, and perfectly spiced—but lets you enjoy every bite without worry. It’s fast, too! You’ll have this whipped up in less than 15 minutes, making it perfect for busy weeknights or unexpected guests.
Jump to:
Why You’ll Love This No-Sugar Pumpkin Pie
I designed this recipe so you don’t have to compromise on flavor just because you’re cutting back on sugar. It’s all about enjoying those familiar tastes you crave this time of year. Here’s what makes this pie a permanent fixture on my family’s dessert table:
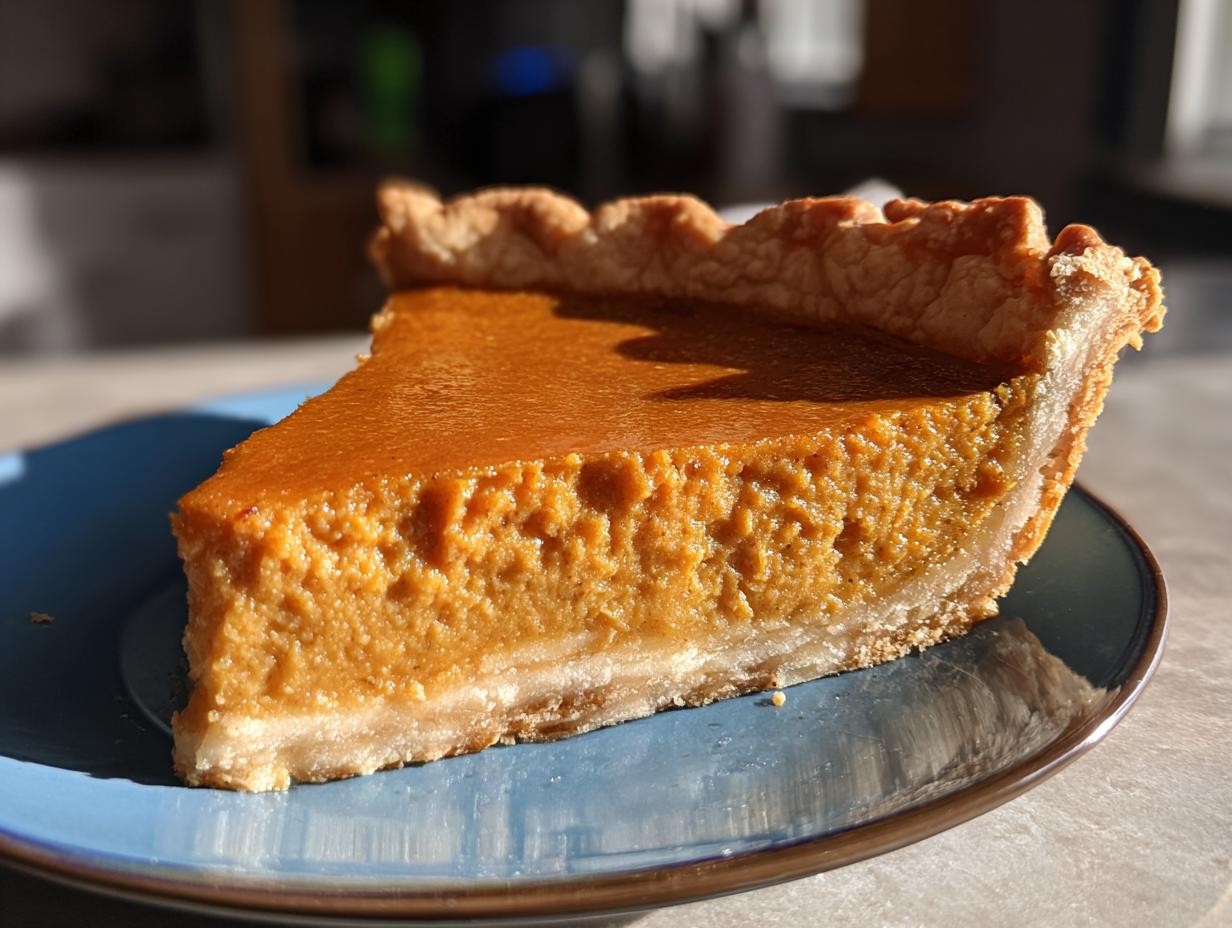
- It delivers that classic, creamy pumpkin texture you expect.
- You get all the warm spice notes—cinnamon, nutmeg—without the heavy sweetness.
- It’s incredibly fast to put together; you probably have most of these things already!
- This is a wonderful option for guests who are watching their sugar intake.
A Healthier Twist on Tradition
Isn’t it wonderful to bring a classic dessert to the table knowing it fits your dietary goals? This sugar-free pie is perfect if you’re managing blood sugar or just trying to eat a little cleaner this fall. It honors tradition while being smart about ingredients.
Simple Ingredients, Incredible Taste
You don’t need fancy, hard-to-find items here, which I absolutely love. We use standard pantry staples, and the artificial sweetener does a fantastic job mimicking sugar’s role. Honestly, the flavor payoff for such minimal effort is huge!
Gathering Your No-Sugar Pumpkin Pie Ingredients
Okay, let’s get this pie put together! The beauty of this recipe is that everything you need is pretty standard, which is a huge win when you’re in a rush. I always keep canned pumpkin puree on hand during the fall because you just never know when a pie craving is going to hit. Make sure you grab your favorite zero-calorie sweetener; I used the granulated packets, but you can substitute based on what you usually use.
We’re keeping the ingredient list short and sweet. Seriously, you can have this mixed up and in the oven before you even finish your coffee. Here’s exactly what you’ll need to grab from the pantry and fridge.
| Ingredient | Amount |
|---|---|
| Prepared Pie Shell (9-inch) | 1 (ready to use) |
| Large Egg | 1 |
| Granulated Artificial Sweetener Packets | 6 packets |
| Pumpkin Pie Spice | 1 teaspoon |
| Pumpkin Puree (not pie filling!) | 1 cup |
| Evaporated Milk | 1 cup |
Core Components for Your No-Sugar Pumpkin Pie
The filling is where the magic happens! You need that smooth pumpkin puree, the evaporated milk for richness, one egg to bind it all up, and of course, your sweetener and that essential pumpkin pie spice blend. Don’t skip the spice—it’s what makes it taste like a holiday!
The Foundation: Your Pie Shell
For speed, I always use a 9-inch prepared, unbaked pie shell. If you want to make your own crust from scratch, go for it! Just make sure it’s ready to go into the oven before you start whisking the filling.
Step-by-Step Guide to Making Your No-Sugar Pumpkin Pie
This is where everything comes together, and I promise you, it’s so straightforward you’ll wonder why you ever bought a canned pie filling! We’re moving fast here because the preheating time is actually longer than the mixing time. Don’t rush the steps, though; a little patience ensures that creamy texture we are aiming for in this sugar-free pie.
Preparing for Baking Success
First things first, get your oven warming up! Set that temperature to 350 degrees F, which is exactly 175 degrees C. While that’s heating, make sure your 9-inch pie shell is sitting nicely in its pie plate, ready to go. I like to put the whole thing on a sturdy baking sheet—this just makes moving it in and out of the hot oven much safer later on. Trust me, juggling a full pie dish is never fun!
Creating the Creamy No-Sugar Pumpkin Filling
Grab a medium bowl—no need for the stand mixer here, a simple whisk works perfectly! Start by whisking that single egg until it’s nice and frothy. Then, sprinkle in your six packets of granulated artificial sweetener and the teaspoon of pumpkin pie spice. Whisk this mixture really well until it looks uniform; you want those sweetener grains totally dissolved or blended in before adding the wet stuff. Next, stir in your cup of pumpkin puree and the cup of evaporated milk. Keep stirring gently until the whole mixture is completely smooth. If you see any lumps of spice or pumpkin, just keep going until it looks like liquid velvet.
Assembling and Baking Your No-Sugar Pumpkin Pie
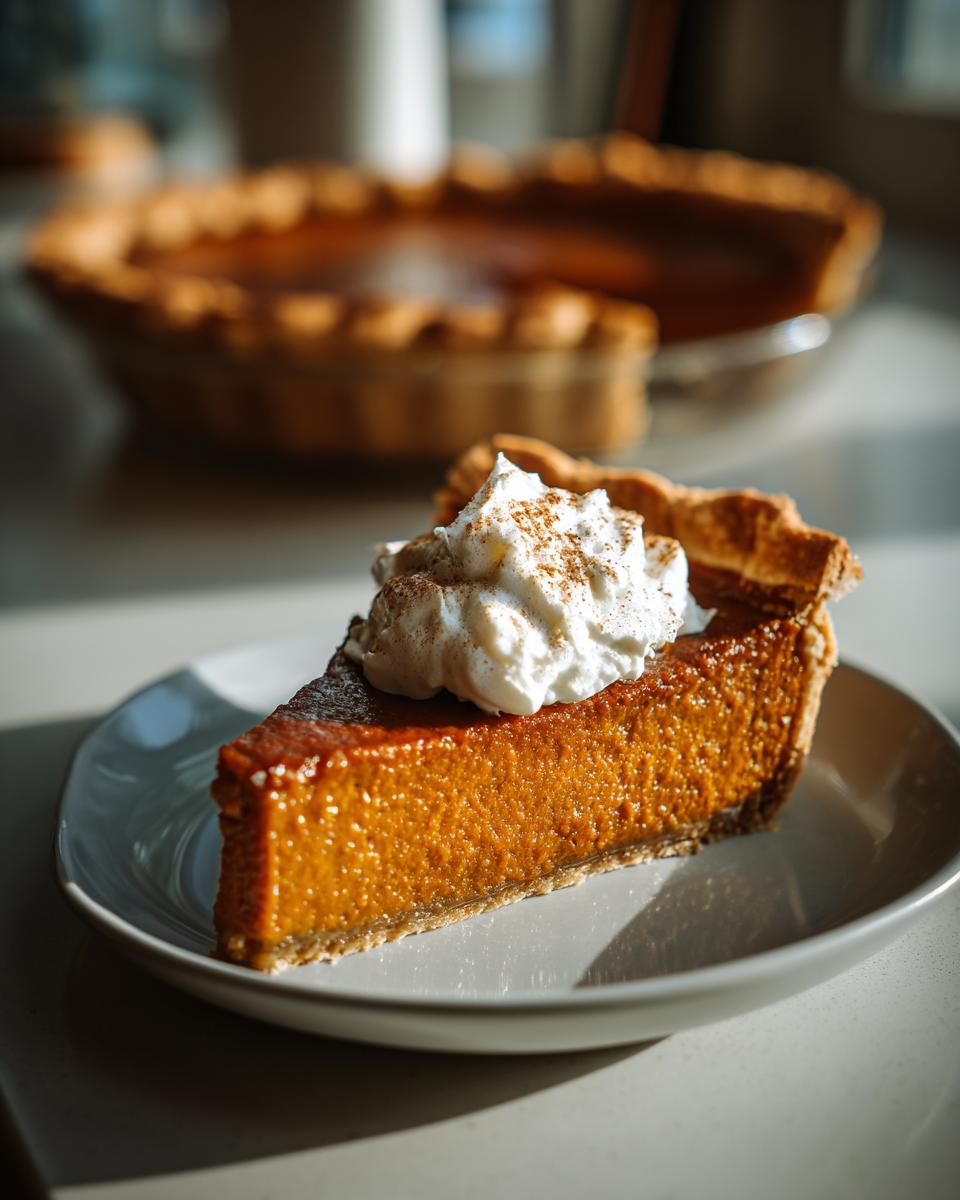
Now, carefully pour that beautiful, creamy filling right into your prepared pie shell. Don’t fill it right to the very top, just leave a little room for expansion. Place the baking sheet holding the pie onto the middle rack of your preheated oven. We’re baking this for about 30 to 35 minutes. You’ll know it’s done when the edges are set solid, but the very center still has a slight, gentle jiggle when you nudge the pan. That little wobble is key for that perfect low-calorie dessert texture!
The Crucial Cooling Process
This is the step everyone wants to skip, but you absolutely must not! As soon as you pull that pie out, set the whole thing—baking sheet and all—onto a wire cooling rack. It needs to cool completely. If you try to slice into it warm, the filling will run everywhere because it hasn’t had time to fully set up. Give it a good hour or two on the counter before you even think about the fridge!
Tips for the Best No-Sugar Pumpkin Pie Experience
Even with a simple recipe like this sugar-free pie, a few little tricks can take it from good to absolutely amazing. Since I’ve made this low-calorie dessert more times than I can count, I’ve learned a few things about handling the filling and the bake time. Don’t worry if your first try isn’t perfect; baking is just science mixed with a little bit of love!
Achieving the Perfect Pie Texture
That jiggle in the center is your best friend! If you bake it until the entire surface is firm, you’ve gone too far, and the pie will be grainy instead of creamy. Remember, it continues to set up as it cools on the rack. If you see that slight wobble, pull it out immediately! That’s how you avoid over-baking your no-sugar pumpkin pie.
Sweetness Adjustment for Your No-Sugar Pumpkin Pie
Everyone’s palate is different, especially when moving away from traditional sugar. Taste your filling mixture right before you pour it into the shell. If you feel it needs a little more zip, add another half packet of sweetener, whisk it in well, and taste again. It should taste slightly sweeter than you think it needs, as the pumpkin mellows the flavor during baking.
Spice Balance for Maximum Flavor
Pumpkin pie spice is a mix, but sometimes the cinnamon isn’t strong enough, or maybe you love clove! If you have extra spice on hand, I sometimes add an extra quarter teaspoon of just cinnamon or ginger to the mix for depth. It really brings out the earthy flavor of the pumpkin puree beautifully. Just don’t overdo the cloves, or it gets bitter!
Frequently Asked Questions About No-Sugar Pumpkin Pie
I know you might have a few questions, especially if you’re new to baking with artificial sweeteners or making a sugar-free pie. That’s totally normal! I’ve collected the ones I get asked the most about this healthy pumpkin pie recipe. Don’t stress if you’re worried about the texture; we’ve got this solved!
Q1. Can I use real sugar instead of the artificial sweetener packets?
Oh, absolutely, you can! If you decide to use regular granulated sugar instead of the packets, you’ll likely need about a half cup. However, remember that this changes the nutritional profile considerably, moving it out of the low-calorie dessert category. If you use real sugar, you might also need an extra minute or two of baking time, so keep checking that jiggle!
Q2. My filling seems too thin after baking. What did I do wrong?
This usually happens for one of two reasons: either you didn’t bake it long enough, or you didn’t let it cool completely. Remember, the center should be slightly jiggly, not liquid. If it’s runny, it needs more time. If you baked it correctly and it’s still too loose after cooling overnight, try using one large egg yolk next time to add a bit more structure to your mixture.
Q3. Can I substitute the evaporated milk for regular milk or cream?
I really suggest sticking to evaporated milk for this specific recipe if you want that classic richness. Regular milk is too thin and will make your pie watery. If you absolutely can’t find evaporated milk, you can substitute it with heavy cream cut with an equal amount of water. That gets you close to the fat content needed for a good, creamy texture in this sugar-free pie.
Q4. What’s the best way to store leftovers?
Because this recipe uses dairy (evaporated milk), you must keep this pie refrigerated! Cover the cooled pie loosely with plastic wrap or foil and keep it in the fridge for up to three or four days. It tastes fantastic chilled straight from the fridge!
Storing and Reheating Your No-Sugar Pumpkin Pie
Once you’ve managed to save some of this delicious, healthy pumpkin pie—which is always the hardest part!—proper storage is key to keeping that creamy filling perfect. Since we used evaporated milk, this definitely needs to stay cold. Don’t leave slices sitting out on the counter for more than two hours, especially if your kitchen is warm. I always cover mine loosely so the plastic wrap doesn’t stick to the surface.
Reheating is easy, but you have to be gentle so you don’t cook the filling further. I actually prefer this low-calorie dessert cold, but if you want it room temperature, just let a slice sit on the counter for about 20 minutes before serving. If you want it slightly warm, use the microwave for just 10 to 15 seconds—any longer and the texture can get a little weird.
| Storage Method | Duration |
|---|---|
| Refrigerated (covered) | 3 to 4 days |
| Freezer (wrapped tightly) | Up to 1 month |
Freezing works great too! Wrap individual slices tightly in plastic wrap, then slip them into a freezer bag. Thaw them overnight in the fridge before enjoying.
Estimated Nutritional Information for No-Sugar Pumpkin Pie
I always like to give you an idea of what’s in the slice you’re enjoying, especially since this is a healthier pumpkin pie option. Since we cut out the refined sugar, the numbers look pretty good! Remember, these figures are estimates based on the ingredients listed, and they can shift a little depending on the specific brand of evaporated milk or sweetener you use.
| Nutrient | Amount (Per Slice) |
|---|---|
| Calories | 146 |
| Sugar | 5g |
| Fat | 8g |
| Protein | 5g |
See? A delicious, satisfying slice of this sugar-free pie comes in at only 146 calories. It’s a wonderful way to treat yourself this fall!
Print
Amazing No-Sugar Pumpkin Pie in 15 Minutes
- Total Time: 45 minutes
- Yield: 8 servings 1x
- Diet: Low Calorie
Description
This no-sugar pumpkin pie offers a delightful and guilt-free way to enjoy a classic fall dessert. It’s made with simple ingredients and a sugar substitute for a healthier option.
Ingredients
- 1 (9-inch) prepared pie shell
- 1 large egg
- 6 packets granulated artificial sweetener
- 1 teaspoon pumpkin pie spice
- 1 cup pumpkin puree
- 1 cup evaporated milk
Instructions
- Preheat oven to 350 degrees F (175 degrees C).
- Whisk egg, sugar substitute, and pumpkin pie spice in a medium bowl until well blended.
- Add pumpkin and milk to egg mixture; stir until smooth.
- Pour mixture into prepared pie shell.
- Place pie on a baking sheet and bake until center is set but still slightly jiggly, about 30 to 35 minutes.
- Remove from oven and cool completely on a wire rack before slicing.
- Prep Time: 10 minutes
- Cook Time: 35 minutes
- Category: Dessert
- Method: Baking
- Cuisine: American
Nutrition
- Serving Size: 1 slice
- Calories: 146
- Sugar: 5g
- Sodium: 219mg
- Fat: 8g
- Saturated Fat: 3g
- Carbohydrates: 14g
- Fiber: 1g
- Protein: 5g
- Cholesterol: 32mg