Skip to content
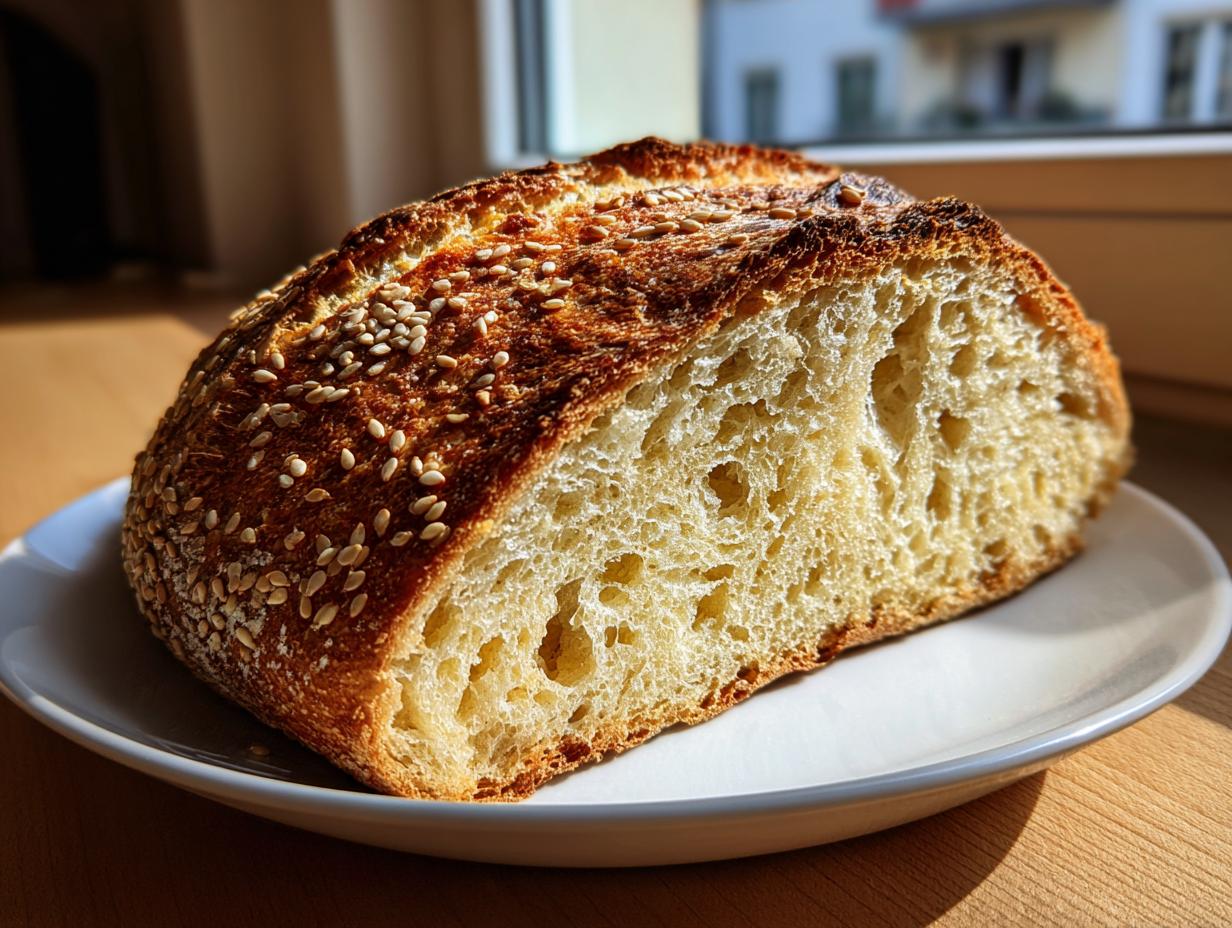
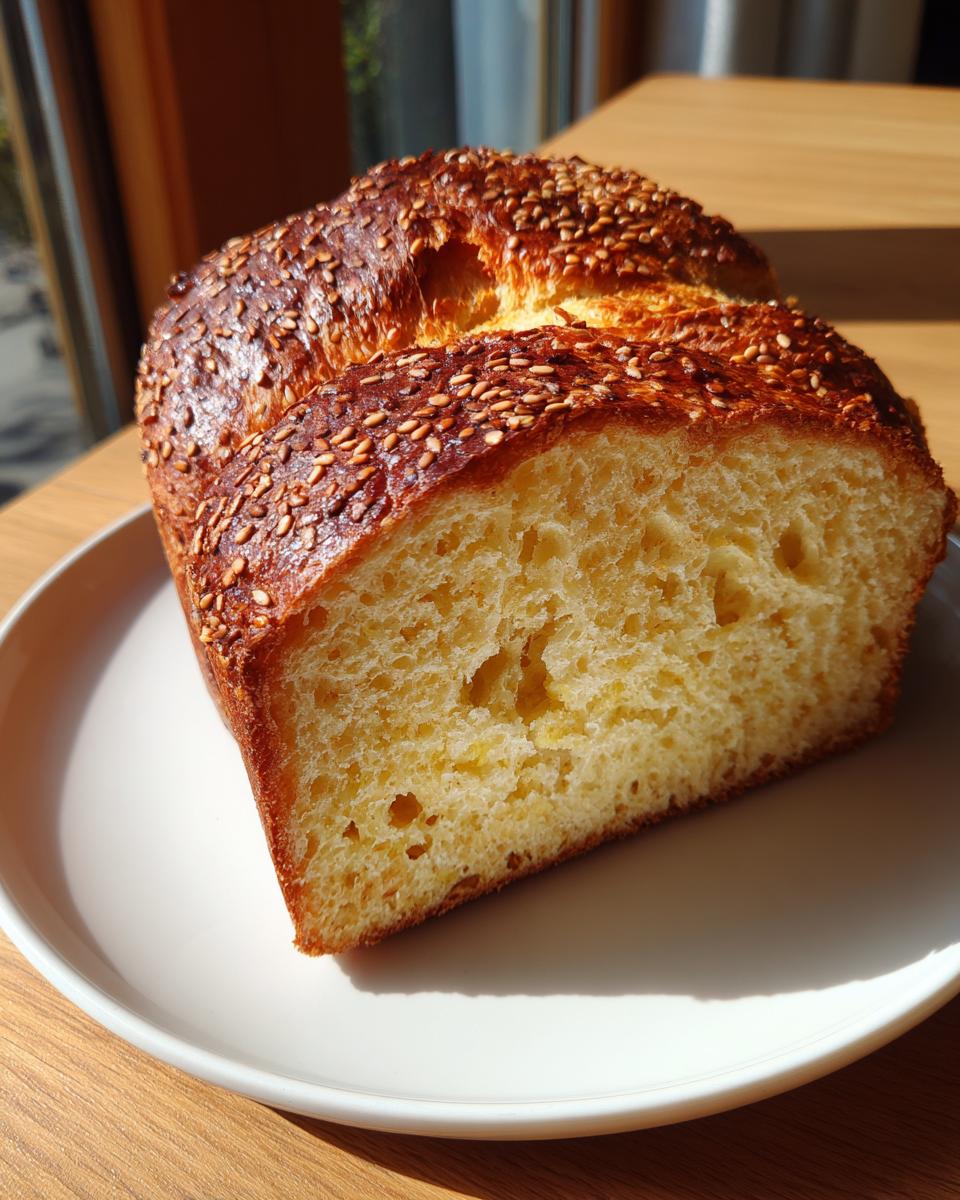
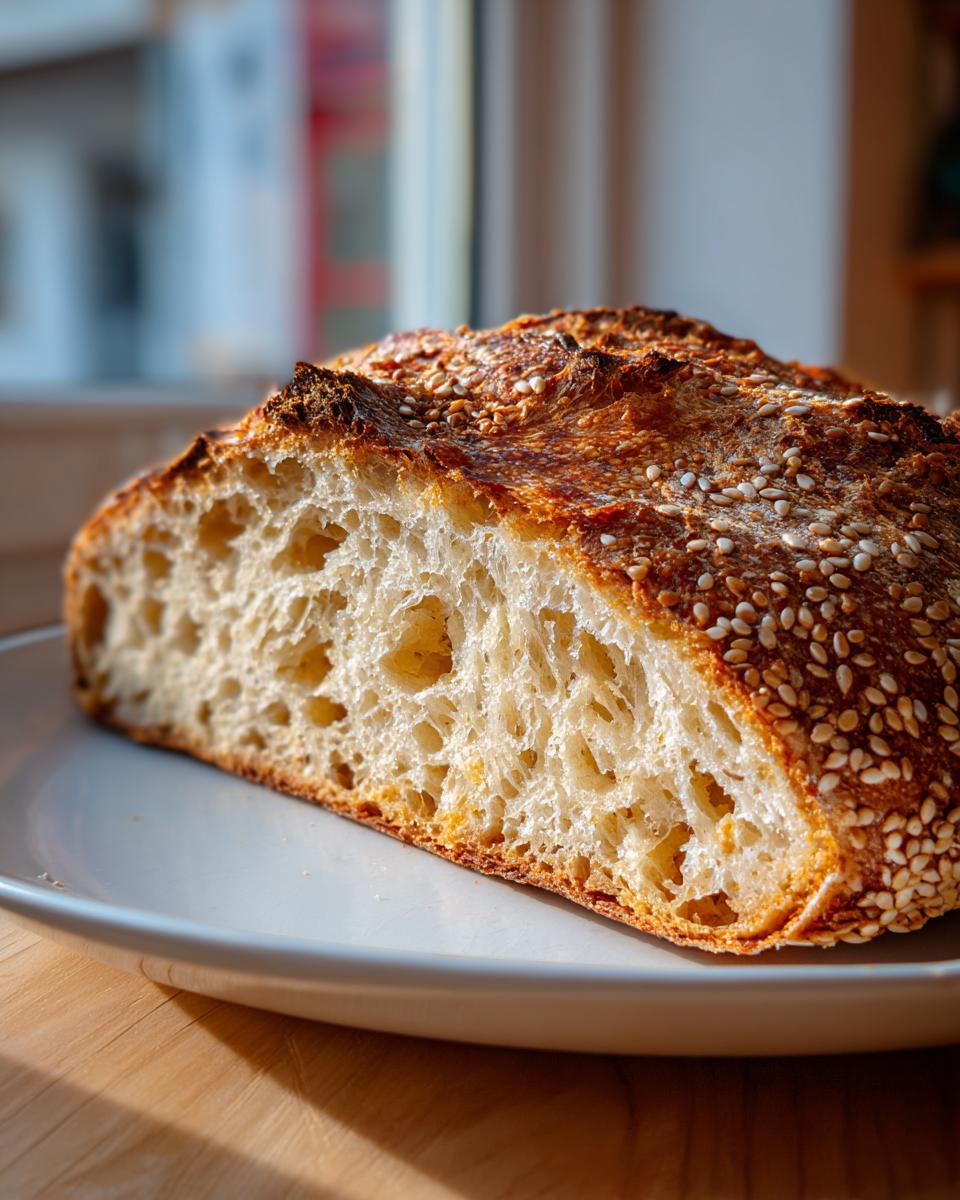
If you’re looking for that perfect loaf—the kind with a shatteringly crisp crust and an interior so soft it practically melts—then you’ve landed in the right spot for **Semolina Bread with Sesame Seeds**. I’m Anna Kowalska, and here I share tried-and-true homemade recipes that you and your family will love. Everything I bake is made with heart and flavor, and this durum semolina bread is proof of that! I discovered this recipe when I wanted a heartier bread than the usual soft sandwich loaf, something with real character.
Jump to:
Why You Will Love This Semolina Bread with Sesame Seeds
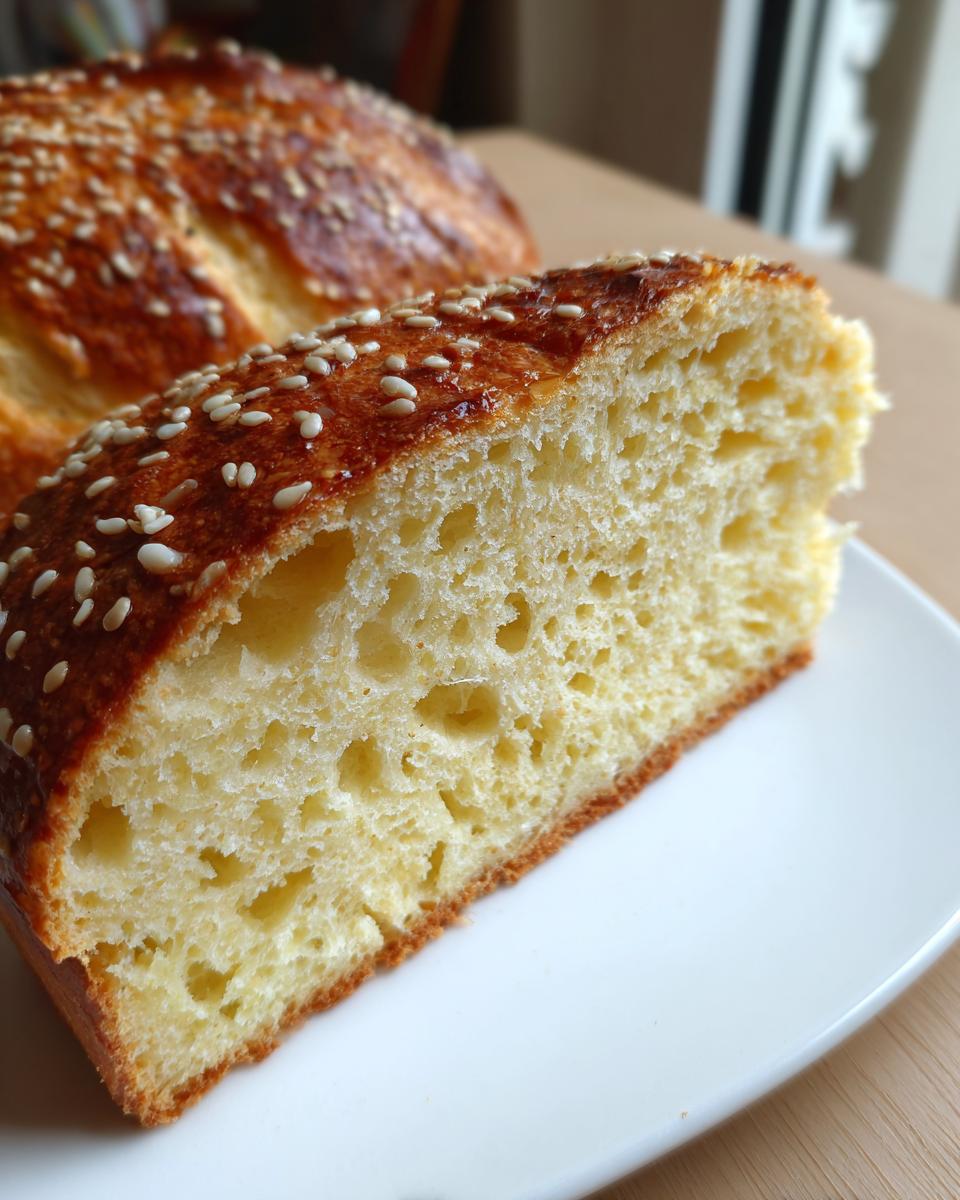
This isn’t just any bread; it’s a showstopper that tastes like it took all day to make, but honestly, the active time is surprisingly low. That beautiful golden crust you see? It’s real, and you get it every time thanks to a little trick with steam in the oven. Inside, the texture is just dreamy—soft, slightly toothsome from the semolina, and absolutely perfect for dipping into olive oil or piling high with cheese.
I know what you’re thinking: bread is a commitment. But trust me, this recipe is designed for real life. Once the dough is mixed, the machine does most of the hard work developing that gorgeous elasticity. It’s the kind of homemade bread that makes your kitchen smell incredible and makes everyone ask what special occasion it is!
Quick Preparation Benefits for Your Family
- You get that amazing, satisfying crust without needing a special Dutch oven or stone.
- The shaping process is fast—just a quick fold and roll—which means less time wrestling with sticky dough.
- It freezes beautifully! You can bake it once and have amazing crusty bread ready for toast all week long.
- The flavor payoff is huge for the minimal hands-on effort required. It’s real satisfaction in every slice.
The Secret to the Perfect Dough Rise
The first rise takes a couple of hours, but don’t worry, that’s hands-off time. You can clean the kitchen, set the table, or just enjoy the aroma filling your house. If you’re in a real pinch, you can even pop this dough in the fridge after the first hour of rising, and finish it the next day. That slow, cold fermentation actually develops deeper flavor, too!
Gathering Ingredients for Your Semolina Bread with Sesame Seeds
Getting ready to bake this crusty delight is simple, but paying attention to the flour really matters here. We’re building flavor from the ground up, so make sure your yeast is happy and your semolina is ready to go! This recipe is straightforward, but those two types of flour work together to create that signature interior texture we talked about. Get everything measured out before you turn on the mixer—it moves quickly once you start combining those wet and dry ingredients.
| Ingredient | Amount |
| Dry Yeast | 1 envelope (8 grams) |
| Water | 1/3 cup |
| Honey | 2 teaspoons |
| Durum Semolina Flour | 1 3/4 cups |
| All-Purpose Flour | 3/4 cup |
| Salt | 1 teaspoon |
| Sesame Seeds | 2 tablespoons |
Ingredient Clarity and Specifics
Now, about that semolina flour—if you can find double milled semolina, go for it! But honestly, regular semolina flour works just fine if that’s what you have on hand. Don’t stress! Also, we are using standard dry yeast here, which we activate with warm water and honey. The honey isn’t just for flavor; it’s what wakes up that yeast, so make sure it dissolves completely before you add the yeast. Remember, the dough will feel much wetter than what you might expect from a typical homemade bread recipe. Resist the urge to dump in more flour!
Equipment Needed for Perfect Semolina Bread with Sesame Seeds
You’ll definitely want a stand mixer for this one, as beating that wet dough for eight full minutes really develops the structure. Make sure you have a good, sturdy mixing bowl for that. You’ll also need a standard baking sheet lined with parchment paper, a small bowl for proofing the yeast, and a sharp knife for scoring the top before the final rest. And don’t forget that essential pan for the bottom of the oven!
Step-by-Step Instructions for Homemade Semolina Bread with Sesame Seeds
Okay, let’s get baking! This process is straightforward, but you have to trust the dough, especially when it feels too sticky. Follow these steps exactly, and you’ll have that stunning loaf ready for the oven in no time.
Activating the Yeast and Mixing the Dough
First things first: we need to wake up that yeast. Heat your water until it’s just tepid—not hot enough to burn your finger, just pleasantly warm. Pour that into a small bowl. Stir in your honey until you can’t feel any granules left. Now, sprinkle the yeast right on top, give it a gentle stir, and just let it sit there for about ten minutes. If it gets foamy and bubbly on top, success! That means your yeast is alive and ready to work its magic.
While that’s happening, grab your stand mixer bowl. Combine your semolina flour, all-purpose flour, and salt. Just mix them briefly so they are incorporated. Once the yeast is foamy, pour that entire mixture right into your dry ingredients. Start mixing on the lowest speed until everything comes together into a shaggy mass. I need you to know right now: this dough will be very wet. Seriously, don’t panic and don’t add extra flour yet! That wetness is what gives us that soft crumb later on.
Developing the Dough Structure
This is where the mixer earns its keep. Once the dough has just come together, bump the speed up to medium. You need to let it run—and this is critical—for a full eight minutes. Don’t stop early! You are looking for the dough to clean the sides of the bowl somewhat and become smooth and elastic. It might still look a little tacky, but it shouldn’t be slapping aggressively against the sides anymore. Eight minutes builds the strength needed to hold the shape later.
The First Rise and Shaping the Semolina Bread with Sesame Seeds
Once it looks smooth, transfer that beautiful dough into a greased bowl. Cover it tightly—I use plastic wrap—and find a warm spot in your kitchen. Let it rise until it has doubled in bulk. This usually takes about two hours, but if your kitchen is cool, it might take longer. Be patient!
When it’s puffy, gently punch the air out of it. Turn it out onto a surface that’s only *very lightly* floured. Use your fingertips to gently press the dough out into a rectangle, aiming for about 13 inches long by 9 inches wide. Now for the shaping: take the long edge closest to you and fold it about two-thirds of the way toward the center. Take the other long edge and fold it right over the first fold, like you are folding a business letter. Finally, tuck in those ends by making a tiny fold inward just to seal them up tight. Flip the whole thing over so the seam is facing down, and carefully lift it onto a baking sheet that you’ve already lined with parchment paper.
Final Proofing and Baking Temperatures
Now for the final touches before the oven! Lightly brush the top surface of the loaf with water. This helps the sesame seeds stick! Sprinkle those two tablespoons of sesame seeds all over the top. Using a very sharp knife—be careful!—make three or four horizontal cuts across the top, about half an inch deep. Cover the loaf loosely with a clean tea towel. Let it rest there for thirty minutes; this is the final proof.
While it rests, preheat your oven to 425 degrees Fahrenheit. Crucially, place a pan of water on the bottom rack while it preheats. That steam is what guarantees that fantastic crust. Bake the bread at 425F for 20 minutes. Then, reduce the heat down to 375F and keep baking for another ten to fifteen minutes. You’ll know it’s done when it’s golden brown and sounds hollow when you tap the bottom. Transfer it immediately to a wire rack and, please, let it cool completely before slicing. That waiting is the hardest part, I know!
Tips for Success Baking Semolina Bread with Sesame Seeds
Baking this semolina bread is rewarding, but there are a few key moments where you just have to trust the process, even if it feels a little weird. The dough consistency is the number one place people get nervous, and the crust development is the second. Follow these little bits of advice I’ve picked up over the years, and you’ll nail that perfect homemade bread texture.
If you don’t have a stand mixer, don’t worry! You can mix the initial raggedy dough with a wooden spoon in a bowl. Then, turn it out and knead by hand for about five minutes. Just be ready to add flour sparingly—only what you absolutely need to handle it.
Managing Dough Consistency Expert Advice
I really need to stress this point: this dough is supposed to be sticky! It’s softer than most bread doughs because of the semolina content, and if you try to force it by adding extra flour during the mix or when you turn it out, you’ll end up with a heavy, tight loaf instead of that soft, airy interior we want. If it’s sticking to your hands when you try to shape it, just lightly wet your hands instead of flouring them again. Remember, the eight minutes of mixing builds the elasticity needed to hold the shape, not extra flour.
Achieving the Signature Crust
That beautiful, crisp exterior on your Semolina Bread with Sesame Seeds comes almost entirely from the steam you create in the oven. Make sure you put a pan—an old metal one works great—on the bottom rack while the oven preheats to 425F. When you slide the bread in, pour about a cup of hot water into that hot pan. Be careful when you do this, as steam will shoot up! This burst of humidity keeps the crust soft just long enough for the bread to expand fully, and then when the steam clears, it sets into that shatteringly crisp exterior.
Frequently Asked Questions About Your Semolina Bread with Sesame Seeds
I get so many questions about this recipe because people are always worried about getting that crust just right, or what to do if they don’t have durum semolina on hand. Don’t fret! Most issues are easy fixes. This crusty bread is forgiving if you know the little secrets. Here are a few things I hear most often from folks baking their first loaf.
Can I Substitute the Durum Semolina Flour
That’s a great question, especially since durum semolina gives a specific texture. If you cannot find the double milled variety, regular semolina flour works just fine; don’t let that stop you from baking! However, I really wouldn’t suggest swapping it out entirely for something like white bread flour. The semolina provides structure and that slight chewiness we love in this homemade bread. It’s the star ingredient, so try to stick close to the required amount of it for the best results.
How Long Does This Homemade Bread Stay Fresh
This is the best part about having a fresh loaf! If you store it well sealed at room temperature—and I mean really well sealed—it stays fantastic for up to three days. If you know you won’t eat the whole thing right away, slice it up and pop it into a freezer bag. It freezes beautifully for up to a month. When you want some, just toast a slice straight from the freezer, or if you have a larger chunk, you can refresh it briefly in a warm oven.
Storing and Reheating Your Delicious Semolina Bread with Sesame Seeds
Once you manage to wait for this Semolina Bread with Sesame Seeds to cool completely—which is tough, trust me—you need to store it correctly to keep that crust happy. The biggest enemy for crusty bread is moisture trapped against the exterior, so avoid plastic bags for short-term storage!
For short-term keeping, wrap it loosely in a clean tea towel or place it cut-side down on a cutting board, covered with a large bowl. If you want it to last longer than a couple of days, freezing is your best friend for this homemade bread. Just make sure it’s completely cool before wrapping it tightly in freezer bags so you don’t get ice crystals.
| Storage Method | Duration |
| Room Temperature (Loosely covered) | Up to 3 days |
| Freezer (Airtight bag) | Up to 1 month |
Share Your Experience Baking Semolina Bread with Sesame Seeds
I truly hope this recipe brings that wonderful aroma of fresh yeast bread into your home! Did you get that perfect crust? Let me know how your loaf turned out in the comments below. I love hearing about your baking adventures!
I truly hope this recipe brings that wonderful aroma of fresh yeast bread into your home! Did you get that perfect crust? Let me know how your loaf turned out in the comments below. I love hearing about your baking adventures!
Print
Amazing 8-Minute Semolina Bread with Sesame Seeds
- Total Time: 3 hours 5 minutes (plus 2 hours rise time)
- Yield: 1 loaf 1x
- Diet: Vegetarian
Description
Make this Semolina Bread with Sesame Seeds for a delicious, crusty loaf perfect for your table. This recipe yields a soft interior and a satisfying sesame seed topping.
Ingredients
- 1 envelope dry yeast (8 grams)
- 1 ⅓ cups water
- 2 teaspoon honey
- 1 ¾ cups durum semolina flour
- ¾ cups all purpose flour
- 1 teaspoon salt
- 2 tablespoon sesame seeds
Instructions
- Heat water until tepid and place in a small bowl. Stir in honey until it dissolves. Add yeast, stir gently, and let sit until foamy, about 10 minutes.
- In your stand mixer bowl, combine semolina flour, all purpose flour, and salt. Mix until combined.
- Pour in the yeast mixture. Mix on low speed until combined and a dough forms. The dough will be very wet.
- Mix on medium speed for 8 minutes until the dough is smooth and elastic.
- Transfer the dough to a greased bowl, cover, and let rise in a warm area until doubled in bulk, about two hours.
- Transfer the risen dough to a lightly floured surface. Punch down the dough.
- Flatten the dough into a rectangle, about 13 x 9 inches, using your fingertips.
- Fold the long edge 2/3 of the way toward the center. Fold the other long edge over the first fold.
- Tuck in the ends by making a small fold toward the interior to seal them.
- Turn the dough over and carefully lift onto a parchment paper covered baking sheet, seam side down.
- Lightly brush the surface with water and top with sesame seeds.
- Use a sharp knife to make three or four horizontal cuts on the dough.
- Cover with a clean tea towel and let rest for thirty minutes.
- Preheat oven to 425F. Place a pan of water on the bottom rack of your oven.
- Bake for 20 minutes. Reduce oven to 375F and continue baking for ten to fifteen minutes longer, until the bread is golden and sounds hollow when tapped.
- Transfer to a wire rack and allow it to cool completely before slicing.
Notes
- If you do not have a stand mixer, combine flours and salt in a bowl. Make a well, stir in proofed yeast with a wooden spoon until a raggedy dough forms. Knead on a floured surface for about 5 minutes, adding flour only as needed. Shape into a ball and proceed.
- If you cannot find double milled semolina flour, regular semolina flour works.
- The dough will be slightly sticky and softer than most bread doughs; do not add extra flour.
- Placing a pan of water on the lower rack gives the bread a crusty exterior.
- Wait until the bread has cooled completely before slicing.
- Store the bread well sealed at room temperature for up to three days or freeze it in a freezer bag for up to a month.
- You can refrigerate the dough overnight after a 1-hour room temperature rise. Let it warm up for 2 hours before shaping.
- Prep Time: 30 minutes
- Cook Time: 35 minutes
- Category: Bread
- Method: Baking
- Cuisine: International
Nutrition
- Serving Size: 1/12 of loaf
- Calories: 1568kcal (Total)
- Sugar: 12g
- Sodium: 2353mg
- Fat: 13g
- Saturated Fat: 2g
- Unsaturated Fat: Not specified
- Trans Fat: Not specified
- Carbohydrates: 304g
- Fiber: 18g
- Protein: 53g
- Cholesterol: Not specified