Skip to content

It’s one of those Tuesday afternoons, right? The kids are home from school, the energy level in the house is dipping, and you just need something warm and fast to fix everyone’s mood. That’s when I turn to my absolute favorite quick fix: Sweet Milk Oven Dough Bites. I’m Anna Kowalska, and here I share tried-and-true homemade recipes that you and your family will love. Everything I post here is made with heart and flavor, never anything too fussy!
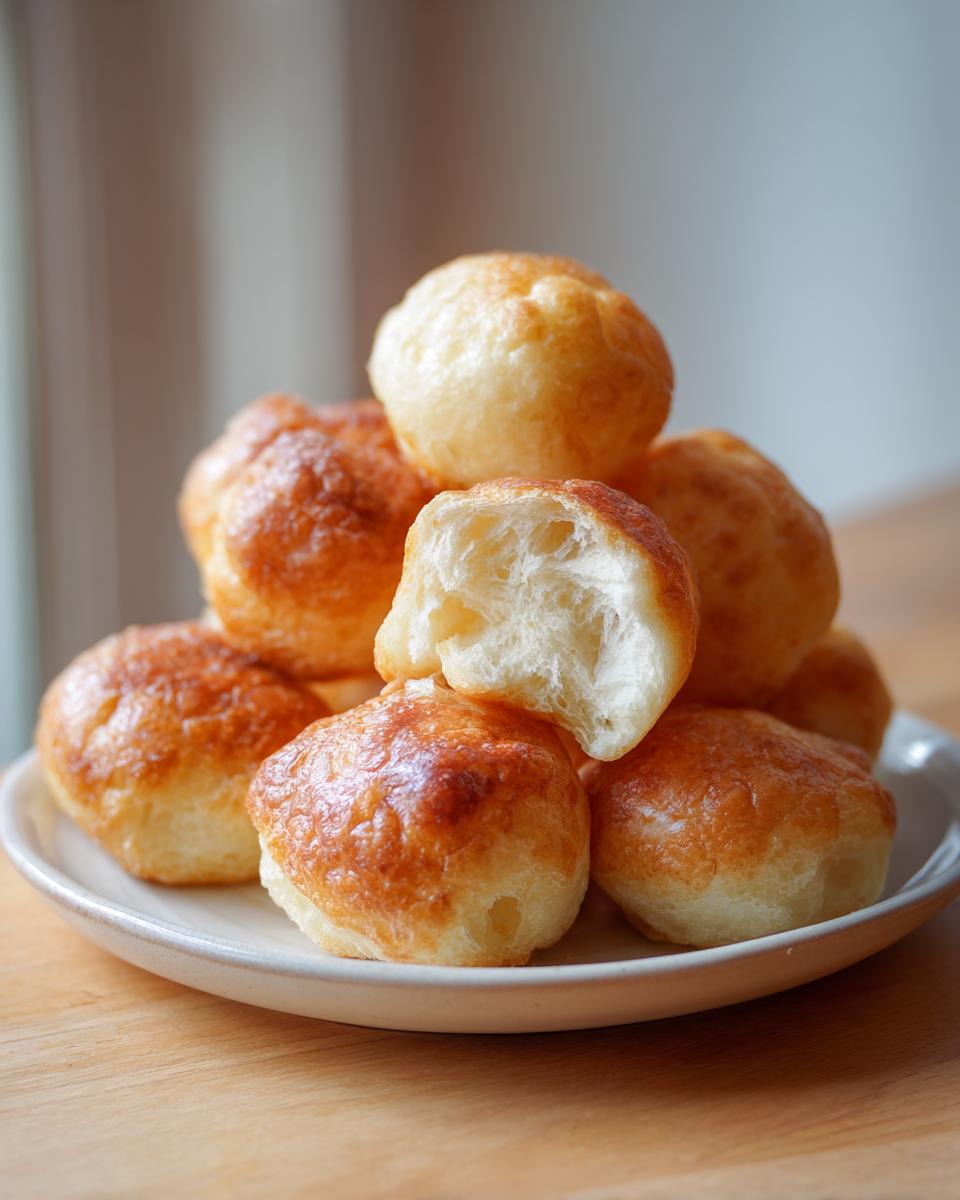
I’ve spent years perfecting recipes that don’t require a whole Saturday commitment but still deliver that incredible, comforting taste. These little bites are pure magic—soft, tender, and they bake up in minutes. They are the easiest baked treats I know, and trust me, they vanish the second they come out of the oven. If you need a simple, satisfying snack that tastes like it took hours, you’ve found it!
Jump to:
Gathering What You Need for Sweet Milk Oven Dough Bites
Getting ready for these Sweet Milk Oven Dough Bites is almost as fun as eating them, honestly! You don’t need a pantry full of fancy stuff, which is why I love this recipe for busy weeknights. The secret to getting that perfect soft dough texture we talked about starts right here with getting the right ingredients ready to go.
Don’t just grab things out of the fridge! A few small prep steps make a massive difference in the final outcome, especially making sure your eggs aren’t ice cold. When everything is measured and ready to go, the actual mixing process flies by, and we can get these treats into the oven faster. Here’s the list of what you need to gather up!
Precise Ingredients for Sweet Milk Oven Dough Bites
| Ingredient | Amount & Preparation |
|---|---|
| Flour | 1 cup all-purpose flour, spooned and leveled |
| Milk | 1/2 cup whole milk, warmed slightly |
| Butter | 4 tablespoons unsalted butter, cubed |
| Sugar | 1/2 cup granulated sugar |
| Eggs | 2 large eggs, room temperature |
| Salt | 1/4 teaspoon fine sea salt |
Essential Equipment for Perfect Sweet Milk Oven Dough Bites
You don’t need a massive stand mixer for these little guys, which is a blessing! Having the right tools just makes the process smoother. I always grab my medium saucepan for heating the liquids, as it keeps everything contained nicely. A sturdy rubber spatula is crucial for mixing the initial dough without overworking it.
- Medium saucepan
- Heat-safe mixing bowl
- Rubber spatula or wooden spoon
- Small baking sheet
- Parchment paper
Step-by-Step Instructions for Sweet Milk Oven Dough Bites
Okay, now for the fun part! We’re turning these simple ingredients into those incredible, soft Sweet Milk Oven Dough Bites. Remember, speed isn’t the goal here; gentleness is. This process is broken down into three easy parts so you can focus on technique rather than rushing.
Preparing the Milk and Butter Base
First things first: preheat your oven to 375 degrees Fahrenheit. We want it nice and ready when the dough is. Grab your medium saucepan. Gently heat the milk, the cubed butter, and the granulated sugar over medium-low heat. You absolutely do not want this mixture to boil! It should just be warm enough that the butter melts completely and the sugar dissolves into the milk. Swirl it occasionally with a wooden spoon. Once that butter is fully melted and everything is smooth, take the saucepan right off the heat immediately. Scorched milk equals sad dough, and we don’t want that!
Combining Dough Ingredients and Cooling
Now, move quickly while the mixture is warm, but not hot. Pour that warm milk mixture into your heat-safe mixing bowl. Dump in all the flour all at once. Using your rubber spatula, mix this until it just comes together into a shaggy dough. Stop mixing the second you stop seeing dry flour streaks. Seriously, stop! Overmixing here is what makes them tough later. Now, this next step is non-negotiable: cover that bowl with plastic wrap and let the dough cool completely to room temperature. This takes about 20 minutes, but you must wait so the dough doesn’t cook your eggs in the next step.
Shaping and Baking Your Sweet Milk Oven Dough Bites
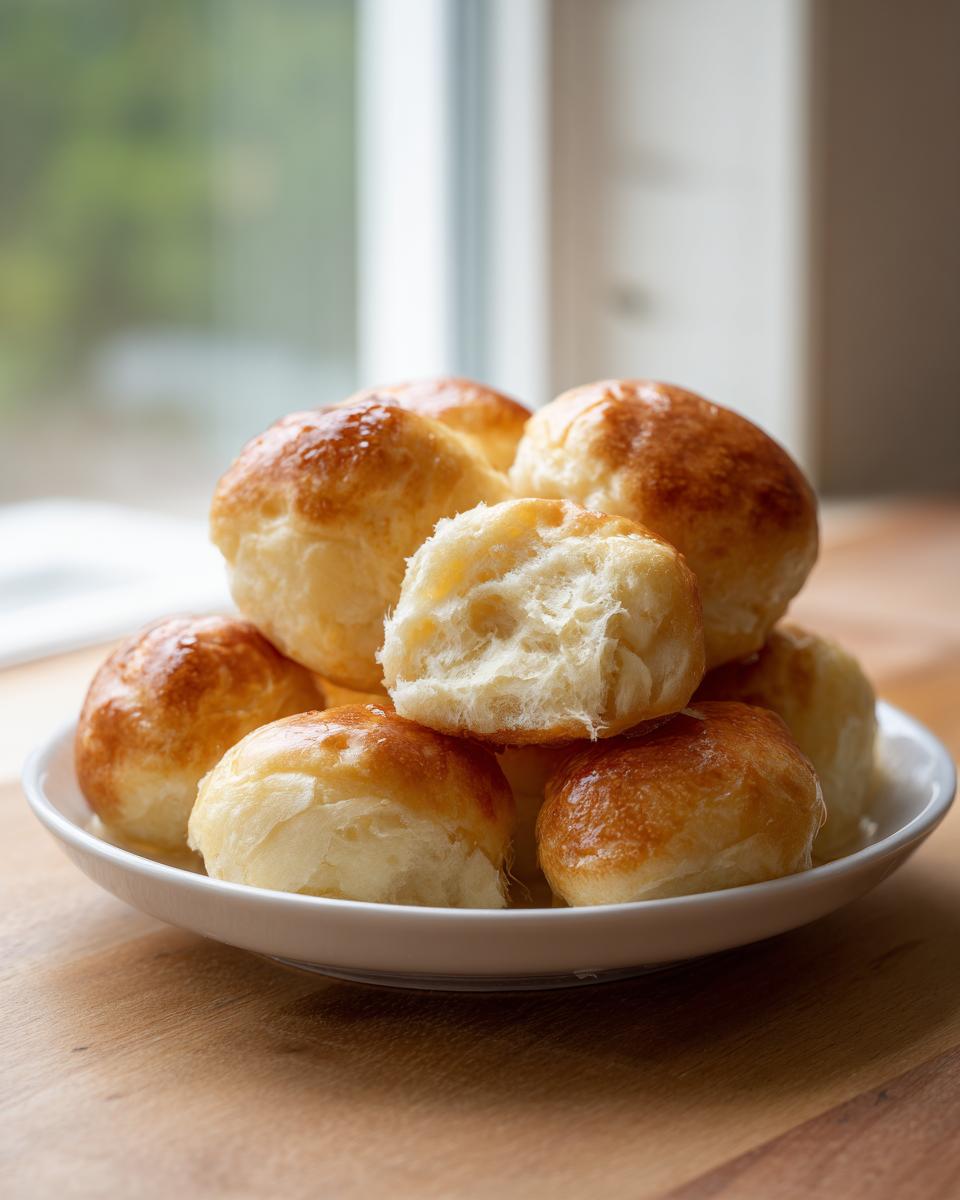
Once the dough is cool to the touch, add in your two room-temperature eggs and the salt. Mix gently until they are just incorporated. Don’t beat it—just fold everything together until it looks uniform. Line a small baking sheet with parchment paper. Scoop small amounts of dough—think about the size of a large marble or a small walnut—and gently roll them into balls. Place them about an inch apart on the sheet. Bake for about 12 to 15 minutes. You’re looking for them to puff up nicely and achieve a light, beautiful golden color on the edges. They should feel slightly springy when you lightly tap them.
Tips for Achieving Truly Tender Sweet Milk Oven Dough Bites
If you want these Sweet Milk Oven Dough Bites to melt in your mouth, texture is everything. The absolute biggest mistake people make is overmixing once that flour hits the wet ingredients. Seriously, stop mixing when you still see a tiny bit of flour clinging to the sides! That gentle handling is what keeps the gluten relaxed and results in that unbelievably tender bite. Gluten development is key here.
Another key thing I learned early on is the cooling step. You cannot rush letting that initial dough cool down. If you mix in the eggs when the dough is even slightly warm, you’re essentially scrambling them a bit, which ruins the structure. We need those eggs to bind things together perfectly, not cook prematurely. Also, make sure your butter is fully melted into the milk mixture before adding the flour, but don’t let it get hot again once you add the eggs. It’s a dance, but it’s worth it for the softest baked treats!
Customizing Your Sweet Milk Oven Dough Bites
While these Sweet Milk Oven Dough Bites are wonderful just as they are, sometimes you want to switch things up a little bit without complicating the recipe. You have to be careful not to add anything too heavy, though, or you’ll mess up that delicate texture we worked so hard for!
My favorite small tweak is adding a teaspoon of vanilla bean paste right in with the eggs. Wow, does that deepen the flavor! If you want a little warmth, try mixing half a teaspoon of ground cinnamon into your flour mixture before combining it with the wet ingredients. That gives you a lovely spiced snack. You can even try a tiny pinch of nutmeg if you’re feeling adventurous. Keep these additions small, and you’ll have fantastic, personalized baked treats every time! If you enjoy spiced baked goods, you might also love my recipe for the best zucchini bread recipe.
Serving Suggestions for Sweet Milk Oven Dough Bites
These little dough bites are so versatile, which is one of the reasons I adore them! Right out of the oven, they are perfect on their own, maybe just with a light dusting of powdered sugar—it catches the light beautifully. If you’re serving them warm, a small bowl of fresh berries, like raspberries or sliced strawberries, adds a lovely bright contrast to the sweetness.
For a real treat, serve them alongside a cup of hot coffee or even a small glass of cold milk, just like the recipe suggests! They are simple snacks, so keep the pairings clean and easy. They don’t need heavy sauces or toppings to shine. For another easy snack idea, check out these baked cranberry brie bites.
Storing and Keeping Your Sweet Milk Oven Dough Bites Fresh
These Sweet Milk Oven Dough Bites are truly best enjoyed the day they are made, but they keep well enough for a few days if you store them properly. The key here is keeping the air out, otherwise, they dry out fast! Don’t even think about putting them in the fridge uncovered; they’ll turn into little rocks.
If you want to save some for later snacks, place them in a single layer in an airtight container, maybe with a small paper towel on the bottom to catch any extra moisture release. For reheating, just pop a few on a microwave-safe plate for about 10 seconds. They fluff right back up! If they’ve been sitting for a couple of days, 20 seconds in the microwave works wonders.
| Storage Method | Duration | Notes |
|---|---|---|
| Airtight Container | Room Temperature | Up to 3 days; best texture |
| Airtight Container | Refrigerated | Up to 5 days; reheat before eating |
| Freezer Bag (Airtight) | Up to 2 months | Thaw on counter, then reheat |
Answers to Common Questions About Sweet Milk Oven Dough Bites
I get so many sweet notes from people trying out these Sweet Milk Oven Dough Bites, and usually, the questions are about timing or texture. It’s totally normal when you’re trying a new recipe! I’ve gathered the most common ones here so you can get that perfect batch on your first try.
Can I make Sweet Milk Oven Dough Bites ahead of time?
Yes, you absolutely can prep the dough ahead of time, which is a lifesaver! You should complete Step 1 and Step 2—heating the milk base and mixing in the flour—and then cool that dough completely. Once cooled, cover it and pop it in the fridge for up to 24 hours. Just remember, when you’re ready to bake, you still need to incorporate the eggs and salt and shape them before putting them in the oven. Don’t try to bake the pre-mixed dough straight from the fridge!
What is the best way to measure flour for these baked treats?
This is so important for these specific baked treats! If you scoop the flour directly out of the bag with your measuring cup, you end up packing it down, and you might add 25% too much flour. That will make your dough dense! Always use the spoon-and-level method. Lightly spoon the flour into your cup until it overflows, then use the back of a knife to level off the excess. That way, you get exactly 1 cup of perfectly aerated flour, which keeps our bites soft.
Why did my Sweet Milk Oven Dough Bites not puff up?
If your little bites came out flat, it usually points to two things. First, check if your oven temperature was accurate. If the oven wasn’t fully preheated to 375°F, the outside sets before the inside has a chance to rise. Second, and this is more common, you might have overmixed the dough after adding the flour. Overmixing develops gluten, making the dough tough and preventing it from expanding properly in the heat. Remember, stop mixing when it’s just combined! For more baking science tips, you can check out resources on baking science.
Sharing Your Experience with Sweet Milk Oven Dough Bites
I truly hope you loved making these easy baked treats as much as I do! If these Sweet Milk Oven Dough Bites brightened up your afternoon, please leave a quick star rating below. I’d love to hear how they turned out for your family—drop a comment if you have any extra tips to share!
Print
Shocking 12 Sweet Milk Oven Dough Bites
- Total Time: 35 minutes
- Yield: 20 bites
- Diet: Vegetarian
Description
Sweet Milk Oven Dough Bites are soft, tender baked treats perfect for a simple, satisfying snack. You will love their light texture straight from the oven.
Ingredients
- Flour
- Milk
- Butter
- Sugar
- Eggs
- Salt
Instructions
- Heat milk, butter, and sugar gently.
- Remove from heat and add flour, mixing until combined.
- Allow the dough to cool completely.
- Mix in the eggs and salt.
- Shape the mixture into small bites.
- Bake until the bites are puffed and golden.
Notes
- Achieve a soft and tender texture by not overmixing the dough.
- Prep Time: 20 minutes
- Cook Time: 15 minutes
- Category: Dessert
- Method: Baking
- Cuisine: American
Nutrition
- Serving Size: 1 bite
- Calories: 110
- Sugar: 6g
- Sodium: 80mg
- Fat: 5g
- Saturated Fat: 3g
- Unsaturated Fat: 2g
- Trans Fat: 0g
- Carbohydrates: 14g
- Fiber: 1g
- Protein: 3g
- Cholesterol: 30mg