Skip to content
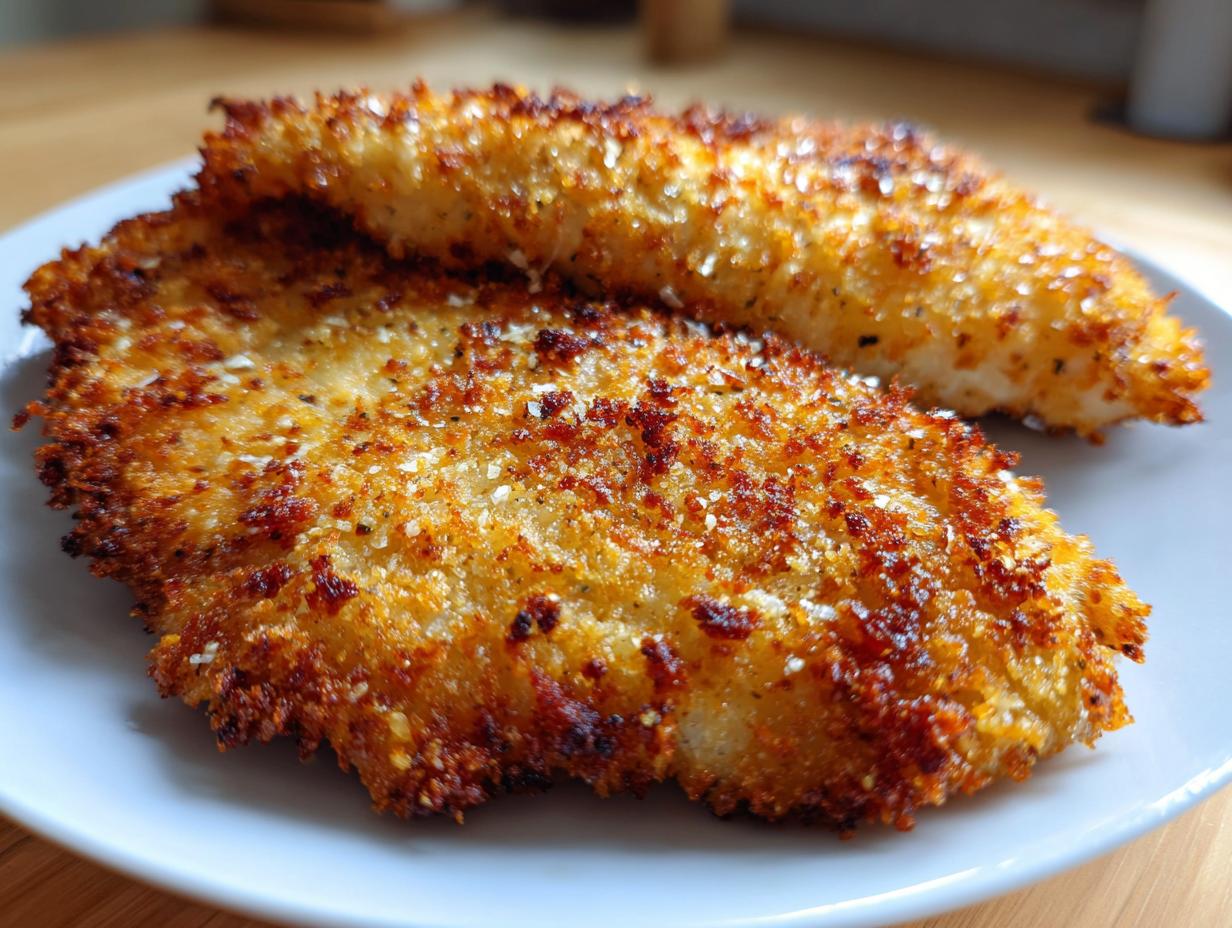
Do you ever crave that incredible, shatteringly crisp texture of fried chicken but absolutely dread the mess and the oil? Me too! That’s why I perfected this Garlic Parmesan Air Fryer Chicken recipe. It’s the weeknight magic wand you need—all the buttery, garlicky flavor you dream of, but unbelievably crispy and ready faster than delivery.
Hi there, I’m Anna Kowalska, and here I share tried-and-true homemade recipes that you and your family will love. Everything I post has been tested until it’s perfect, and believe me, it’s all made with heart and flavor. Forget fussy frying; this is restaurant-quality chicken made simple in your kitchen appliance.
This recipe focuses on getting that deep flavor profile without any guilt. You get the juicy interior and the crunchy coating every single time. Trust me, once you try this air fryer method, you’ll be making it weekly!
Jump to:
Gathering What You Need for Garlic Parmesan Air Fryer Chicken
Okay, let’s get real about ingredients. You can’t fake flavor, especially when we are aiming for that amazing crispy coating. For this Garlic Parmesan Air Fryer Chicken, precision matters! I know it seems like a lot of components, but they all work together to create that perfect crust and juicy center in just minutes. Don’t skip the olive oil toss—it helps everything stick!
Here is the exact list you need to pull together before you start prepping the chicken. Write it down, check your pantry, and get ready!
Essential Ingredients for This Garlic Parmesan Air Fryer Chicken
The key here is making sure the Parmesan is fine—shredded stuff just doesn’t adhere the same way. That fine powder mixes into the panko beautifully!
| Amount | Ingredient | Preparation Note |
| 1.5 lbs (680 g) | Boneless, skinless chicken breasts | Sliced into cutlets |
| 1 tbsp | Olive oil | |
| \u00bd cup | Grated Parmesan | Fine grind is best for coating |
| \u00be cup | Panko breadcrumbs | |
| 1 tsp | Garlic powder | |
| 2 tbsp | Butter, melted | For finishing |
| 2 cloves | Garlic | Finely minced or use paste |
Necessary Equipment for Perfect Garlic Parmesan Air Fryer Chicken
You absolutely need an air fryer for this to work its magic! Beyond that, we just need everyday mixing bowls and a way to press that coating onto the meat. Having a good set of tongs handy is a lifesaver when dealing with hot air fryers!
- Air Fryer (preheated!)
- Two medium mixing bowls
- Whisk or fork for mixing breading
- Small bowl for the garlic butter finish
- Silicone brush for applying the final butter
Preparing the Chicken for Coating
Before we introduce any of that gorgeous Parmesan mixture, we have to set the stage for success. If your chicken is wet, the coating slides right off, and you end up with soggy spots instead of crispy edges. We want maximum adhesion here, so pay attention to these first two simple steps!
This quick prep work is what separates a decent weeknight chicken from the best Garlic Parmesan Air Fryer Chicken you’ve ever made at home.
Slicing and Drying the Chicken
Take those thick chicken breasts and slice them horizontally into thinner cutlets. This ensures they cook evenly and quickly in the air fryer basket—nobody wants thick, raw spots! Once sliced, grab a stack of paper towels. You need to pat every single piece completely dry. I mean it! Press down firmly until the paper towels stop looking damp. This step is non-negotiable for crispiness.
Tossing Chicken with Olive Oil
Next, we introduce just a tiny bit of olive oil. It doesn’t need to be swimming, just a light coating on all sides. Why do we do this? The oil acts like the glue holding our dry, savory breading mixture onto the meat. Without it, that beautiful panko crust would just fall off during the flipping process in the air fryer.

Mastering the Coating Process for Crispy Results
Now for the fun part—building that amazing crust! This coating is what transforms plain chicken into show-stopping Garlic Parmesan Air Fryer Chicken. We aren’t just sprinkling this on; we are building a flavorful armor around every piece. Make sure your dry mix is ready to go before you move the oiled chicken over.
Don’t rush this step, because the way you apply the breading determines how golden and crunchy your final product will be. It takes just a minute longer, but the texture reward is huge!
Mixing the Panko and Parmesan Blend
Grab your first mixing bowl—this is where the crunch meets the savory notes. You need that half-cup of fine Parmesan mixed thoroughly with the three-quarters cup of panko breadcrumbs. Now, layer in your flavor boosters: one teaspoon of garlic powder, one teaspoon of Italian seasoning, that half-teaspoon of paprika for color, and your salt and pepper. Whisk this all together really well so that the seasonings are evenly distributed throughout the panko. You want every single crumb to taste amazing!
Applying the Flavorful Coating to the Chicken
Take those lightly oiled chicken cutlets and drop them right into that bowl of seasoned panko. Now, here’s the secret: don’t just toss them around. Use your hands and press down firmly onto the chicken pieces, turning them over and really pressing the mixture into the meat. You want to make sure the coating sticks everywhere, especially the sides. If you press hard, you won’t have any coating fallout when the air fryer starts circulating that hot air!
Step-by-Step Air Frying Instructions for Garlic Parmesan Air Fryer Chicken
We’ve prepped the chicken and coated it beautifully; now it’s time to use that amazing machine! The key to getting that perfect, golden crust on our Garlic Parmesan Air Fryer Chicken is getting the temperature right from the jump. Don’t just toss it in a cold basket—that leads to steaming, not crisping!
Follow these timings exactly, and you’ll have juicy, restaurant-quality chicken on your plate in under 15 minutes cooking time. Remember, air fryers vary slightly, so keeping an eye on the color helps!
Preheating and Initial Air Fryer Cook Time
First things first: Preheat your air fryer to 400\u00b0F (200\u00b0C) for about three minutes while you finish coating the last pieces. Once it’s hot, lightly spray the basket floor with cooking spray so the panko doesn’t stick while it’s cooking. Arrange your coated chicken cutlets in a single layer—don’t overcrowd the basket, or they won’t crisp up properly! If you have too much, you’ll need to cook in batches. Give the tops of the chicken a very light spray of oil too—this is my little trick for extra golden color. Cook the first side for 6 to 7 minutes.
Flipping and Finishing the Cook
After the first 6 or 7 minutes, carefully pull out the basket. You should already see some lovely browning starting! Use tongs to flip every single piece over. Pop the basket back in and cook for another 6 to 7 minutes. We are looking for an internal temperature of 165\u00b0F (74\u00b0C) in the thickest part of the chicken. Always check with a meat thermometer; that’s the only way to know for sure it’s safe and perfectly done. Always check with a meat thermometer; that’s the only way to know for sure it’s safe and perfectly done.
Creating and Applying the Garlic Butter Finish
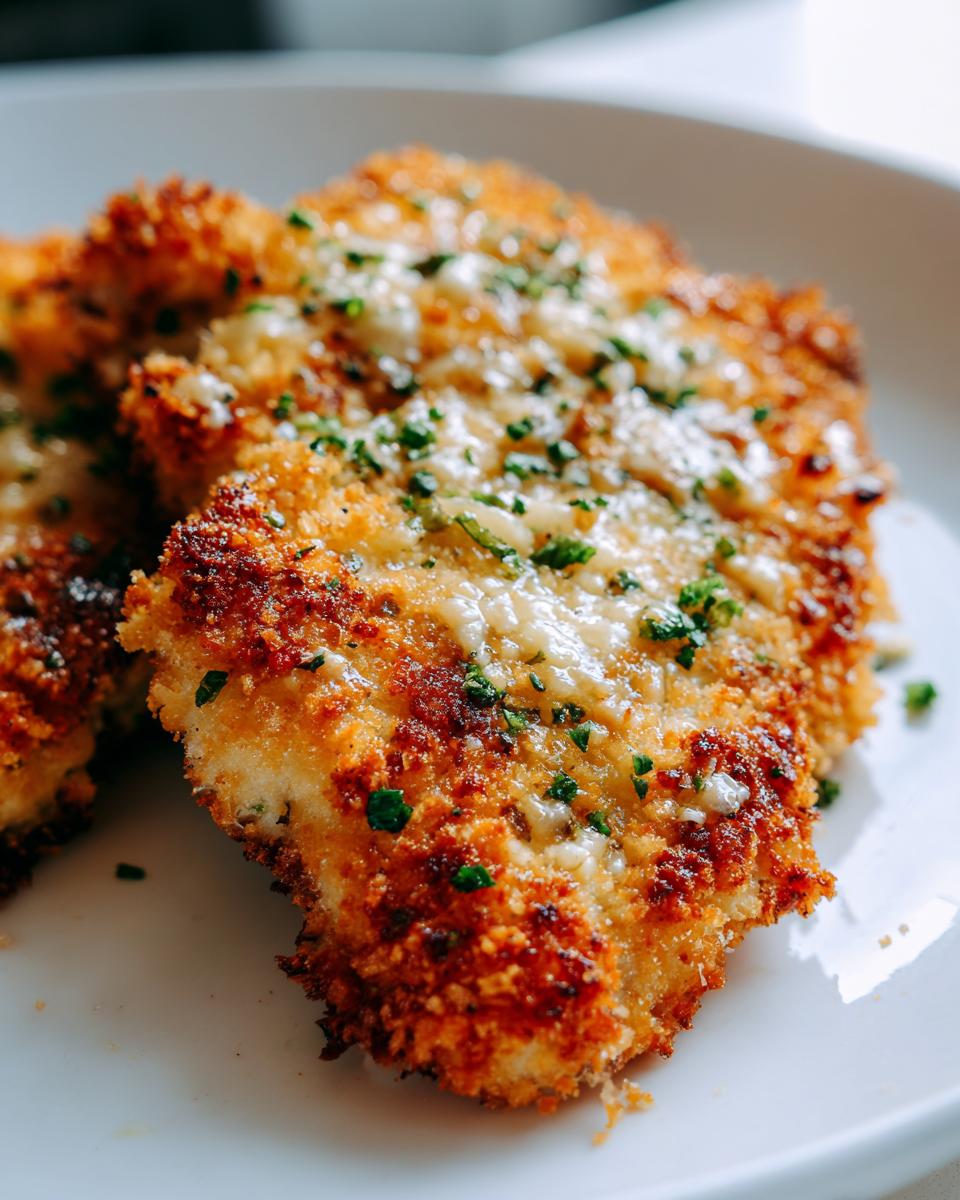
While that last batch is finishing up, we make the flavor bomb! In a tiny bowl, mix together the 2 tablespoons of melted butter with your 2 cloves of finely minced garlic. As soon as the chicken comes out of the air fryer, immediately brush this magical garlic butter mixture all over the hot, crispy coating. This warms the garlic flavor and really locks in the moisture. Finish it off with a generous sprinkle of the extra Parmesan and that optional fresh parsley for color, and serve it while it’s sizzling!
Tips for Achieving Expert Garlic Parmesan Air Fryer Chicken
Even with a great recipe, sometimes things go a little sideways, right? That’s why I want to give you my best tips to troubleshoot and ensure every single time you make this Garlic Parmesan Air Fryer Chicken, it comes out perfectly crispy and juicy. The main issues usually revolve around thickness or ingredient choice, but we can fix those easily!
Remember, the air fryer is cooking hot and fast, so small adjustments make a huge difference in the final texture. Don’t panic if your chicken isn’t exactly 1.5 pounds; just adjust the time based on how thick those cutlets ended up being!
Adjusting Cook Time for Thicker Cuts
If you ended up with chicken breasts that were just too thick—maybe they are closer to an inch or more—that 400\u00b0F blast will burn the coating before the inside is safe. If your pieces are thick, drop the temperature down to 380\u00b0F (193\u00b0C). You’ll need to cook them longer, probably 16 to 18 minutes total, flipping halfway through. Always trust your thermometer over the clock when dealing with thicker proteins!
Selecting the Right Parmesan for Adhesion
I mentioned this earlier, but it bears repeating because it’s crucial for the crust! You absolutely must use finely grated Parmesan cheese, the kind that flows like powder, not the shredded stuff you buy for pasta topping in a bag. The fine grind melts slightly and bonds with the panko, creating a solid, cohesive crust. The shredded stuff just falls off into the bottom of your basket, leaving you with sad, plain chicken underneath.
Serving Suggestions for Your Meal
This rich, savory chicken doesn’t need much to shine, but a couple of simple sides balance out that buttery Parmesan flavor perfectly. Since this is a quick weeknight meal, we want easy pairings!
I always pair my Garlic Parmesan Air Fryer Chicken with something bright and green. Steamed asparagus tossed with a little fresh lemon juice is fantastic. Or, if you need carbs, some creamy mashed potatoes soak up any extra garlic butter beautifully. A simple Caesar salad also works wonders if you want to keep the Parmesan vibes going strong!
Storing and Reheating Leftover Garlic Parmesan Air Fryer Chicken
Oh, leftovers! If you managed to have any of this incredible Garlic Parmesan Air Fryer Chicken left over, you’ll want to treat it right so it stays crispy. Trust me, microwaving this is a crime against good cooking—it makes the coating go sad and soft instantly. The air fryer is your best friend for bringing that crunch back to life.
Make sure the chicken is completely cooled before storing, and keep it in an airtight container. Here’s the quick guide for keeping it tasty for days:
| Action | Condition / Time |
| Refrigerate | Airtight container for up to 4 days |
| Reheat (Air Fryer) | 350\u00b0F (175\u00b0C) for 3–5 minutes |
| Freeze | Airtight, freezer-safe container for up to 2 months |
| Reheat from Frozen | 360\u00b0F (182\u00b0C) for 8–10 minutes |
Frequently Asked Questions About This Recipe
I get so many questions whenever I post a new air fryer favorite! It’s natural to want to tweak things, but remember, this Garlic Parmesan Air Fryer Chicken is balanced just right. Here are the most common things folks ask me when they’re getting ready to cook!
Can I use chicken thighs instead of breasts?
Yes, you absolutely can use boneless, skinless chicken thighs! Thighs are naturally more forgiving and stay juicier, which is great. Since they are often a bit thicker and have more fat, you might need to drop the heat down a touch, maybe to 380\u00b0F (193\u00b0C), and cook them for maybe 16 to 18 minutes total. Just make sure they hit that safe internal temperature!
What if I don’t have an air fryer?
If your air fryer is out of commission, don’t worry! You can still make this delicious chicken. Preheat your oven to 400\u00b0F (200\u00b0C). Place the coated chicken cutlets on a wire rack set over a baking sheet—the rack helps air circulate underneath. Bake them for about 18 to 20 minutes, flipping halfway through, until golden brown and cooked through. It won’t be quite as intensely crunchy, but it’s still fantastic! Bake them for about 18 to 20 minutes, flipping halfway through, until golden brown and cooked through.
How can I make the coating extra spicy?
That’s an easy fix, and I love a little heat myself sometimes! To kick up the spice level in your Garlic Parmesan Air Fryer Chicken coating blend, just add about a quarter to a half teaspoon of cayenne pepper right in with your panko and seasonings. Start small; you can always add more heat next time, but you can’t take it away once it’s mixed in!
Share Your Experience with This Recipe
I truly hope you loved making this recipe as much as I love sharing it with you! Did your coating come out perfectly crisp? I’d be thrilled if you rated this Garlic Parmesan Air Fryer Chicken below and left a comment telling me how it went. Don’t forget to snap a picture and share it! Don’t forget to snap a picture and share it!
Print
Amazing 9-Minute Garlic Parmesan Air Fryer Chicken
- Total Time: 25 minutes
- Yield: 4 servings 1x
- Diet: Low Fat
Description
This Garlic Parmesan Air Fryer Chicken delivers a crispy exterior and a juicy interior. It is full of buttery garlic-parmesan taste, achieved without deep frying. This makes it a quick weeknight meal rivaling restaurant quality.
Ingredients
- 1.5 lbs (680 g) boneless, skinless chicken breasts (sliced into cutlets)
- 1 tbsp olive oil
- ½ cup grated Parmesan (fine)
- ¾ cup panko breadcrumbs
- 1 tsp garlic powder
- 1 tsp Italian seasoning
- ½ tsp paprika
- ¾ tsp salt
- ½ tsp black pepper
- 2 tbsp butter, melted
- 2 cloves garlic, finely minced (or 1 tsp garlic paste)
- 1 tbsp chopped parsley (optional)
- 2 tbsp extra Parmesan (for topping)
Instructions
- Preheat the air fryer to 400°F (200°C) for 3 minutes.
- Slice chicken breasts into thinner cutlets and pat them dry.
- Toss chicken with olive oil.
- In a bowl, mix Parmesan, panko, garlic powder, Italian seasoning, paprika, salt, and pepper.
- Press each chicken piece into the coating until it is well covered.
- Lightly spray the air fryer basket and the top of the chicken with cooking spray.
- Air fry at 400°F (200°C) for 6–7 minutes, then flip.
- Cook for 6–7 more minutes, or until the internal temperature reaches 165°F (74°C).
- While the chicken cooks, mix the melted butter and minced garlic together.
- When the chicken is done, brush it with the garlic butter.
- Sprinkle with the extra Parmesan and parsley, then serve right away.
Notes
- Fine grated Parmesan adheres better than shredded Parmesan.
- Spray the coated chicken lightly with oil before cooking for extra crispiness.
- If your chicken pieces are thick, cook at 380°F (193°C) for 16–18 minutes total to prevent the coating from burning.
- Store cooked chicken in an airtight container in the fridge for up to 4 days.
- Reheat in the air fryer at 350°F (175°C) for 3–5 minutes to restore crispness.
- Freeze cooked chicken for up to 2 months, reheating from frozen at 360°F / 182°C for 8–10 minutes.
- Prep Time: 10 minutes
- Cook Time: 12–14 minutes
- Category: Main Dish
- Method: Air Frying
- Cuisine: American
Nutrition
- Serving Size: 1 serving
- Calories: Not provided
- Sugar: Not provided
- Sodium: Not provided
- Fat: Not provided
- Saturated Fat: Not provided
- Unsaturated Fat: Not provided
- Trans Fat: Not provided
- Carbohydrates: Not provided
- Fiber: Not provided
- Protein: Not provided
- Cholesterol: Not provided