Skip to content
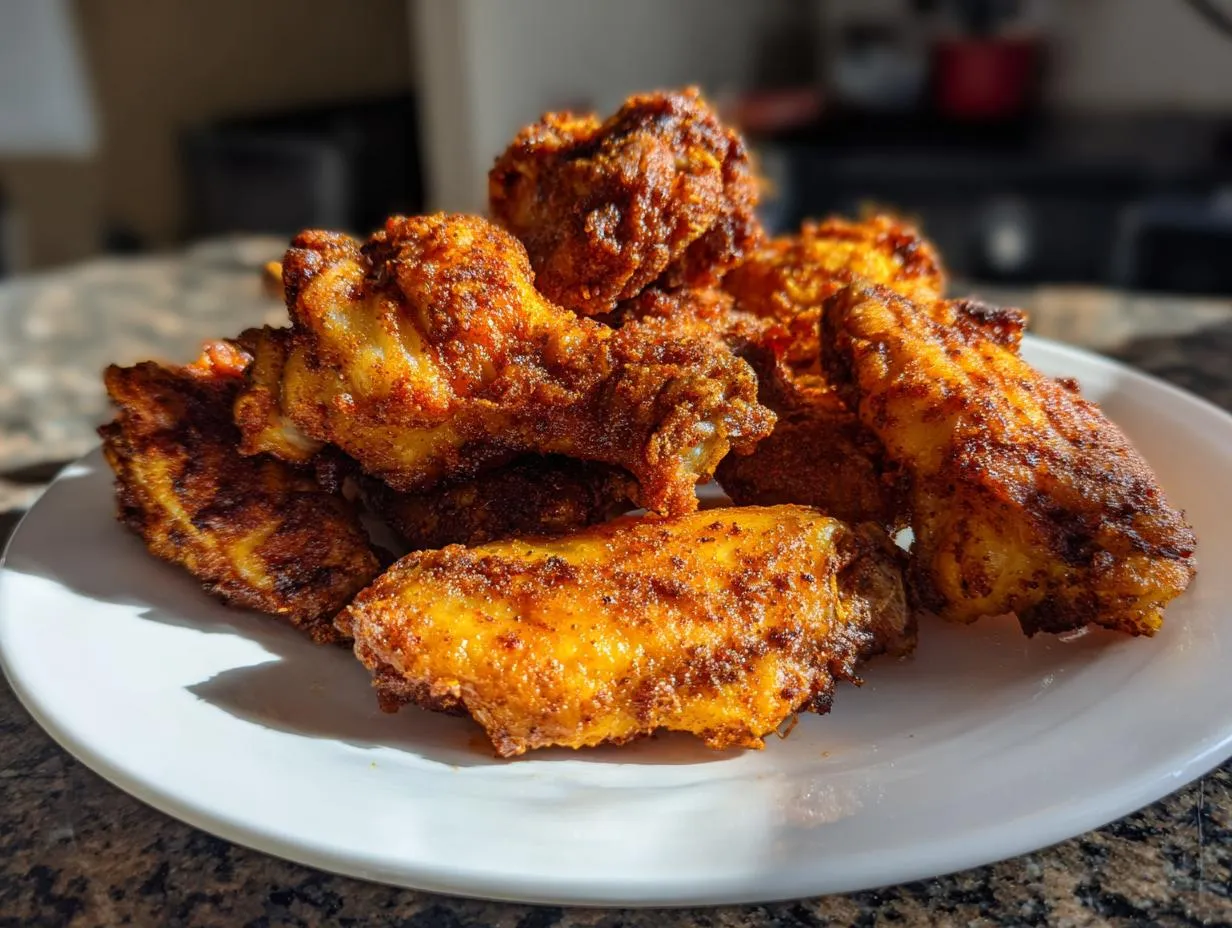
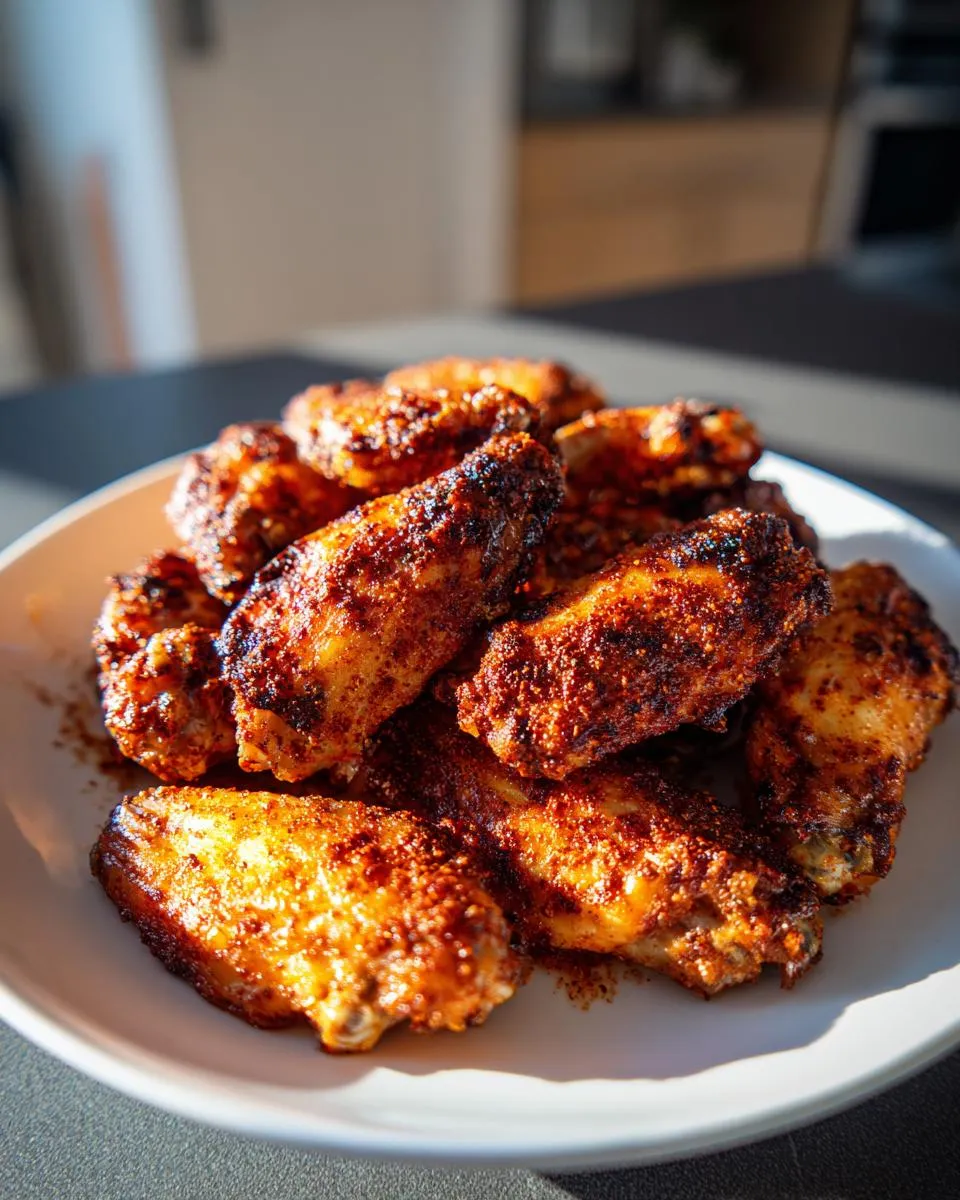
It’s Friday night, the game is on, and you suddenly need crispy, amazing wings without dealing with a huge pot of oil. Trust me, I’ve been there! That’s why I am so excited to share my foolproof Beginner Air Fryer Chicken Wings recipe with you today. I’m Anna Kowalska, and here at my kitchen corner, I share tried-and-true homemade recipes that you and your family will absolutely love—everything is made with heart and maximum flavor, no complicated fuss allowed.
When I first got my air fryer, I thought wings would be too messy or too difficult for a weeknight snack. Wrong! This method completely changed the game. We skip the deep frying entirely, yet these wings come out shatteringly crisp on the outside and perfectly juicy inside. Seriously, if you’ve been hesitant about using your air fryer for meat, these Beginner Air Fryer Chicken Wings are the perfect place to start. They take about 30 minutes total, and the flavor payoff is huge!
Jump to:
Essential Ingredients for Beginner Air Fryer Chicken Wings
Honestly, the ingredient list for these **Beginner Air Fryer Chicken Wings** is so short, it almost feels like cheating! You don’t need a ton of fancy stuff to get that restaurant-quality crunch. We’re keeping the seasoning profile classic so you can easily toss them in your favorite sauce later, whether that’s spicy Buffalo or sweet BBQ.
The only real prep you need is making sure you have both the drumettes and the flats—that mix of parts is what makes a great wing platter. Also, pay attention to the baking powder; it’s optional, but trust me, it’s the secret ingredient that helps draw out moisture for that legendary crispiness!
Gathering Your Simple Wing Components
Here is everything you need laid out before you start seasoning. Get your parts ready!
- 2 lbs (900 g) chicken wings – make sure this is a mix of both the drumettes and the flats.
- 1 tablespoon olive oil – optional, but it helps the spices stick nicely.
- 1 teaspoon salt – essential for drawing out moisture.
- 1 teaspoon garlic powder
- 1 teaspoon paprika – I love using smoked paprika for an extra layer of flavor!
- ½ teaspoon black pepper
- 1 teaspoon baking powder – This is crucial for extra crispy skin; just remember, it must be baking powder, not baking soda!
Why You’ll Love This Beginner Air Fryer Chicken Wings Recipe
If you’re looking for the easiest way to get wings on the table fast, this recipe is your new best friend. Forget messy oil splatters and complicated double-frying techniques. These **Beginner Air Fryer Chicken Wings** rely on simple science to deliver huge flavor and amazing texture without the mess.
You get all the satisfaction of perfectly cooked wings with almost none of the stress. Honestly, it’s the recipe I turn to when company shows up unexpectedly!
- Speedy Cooking: Ready to eat in about 30 minutes total, making them perfect for weeknights or last-minute cravings.
- No Deep Frying Required: You get truly crispy skin using just hot air and a tiny bit of oil (or none at all!).
- Incredibly Simple Seasoning: We use pantry staples to prep the wings, keeping the process straightforward.
- Perfect Base for Sauces: The crisp exterior holds up beautifully when you toss these **Beginner Air Fryer Chicken Wings** in your favorite glaze or dry rub post-cook.
- Minimal Cleanup: Since the air fryer does all the heavy lifting, cleanup is usually just washing the basket!
Equipment Needed for Perfect Air Fried Wings
You don’t need much specialized gear for this recipe, which is another reason I love it so much! The air fryer is, of course, the star of the show here. Make sure you have a basket big enough to avoid overcrowding, though.
- Your Air Fryer (basket style works best!)
- A large mixing bowl for tossing the wings.
- Paper towels—you’ll use a lot of these for drying!
- Tongs for safely flipping the hot wings.
Step-by-Step Instructions for Beginner Air Fryer Chicken Wings
Okay, let’s get cooking! This process is shockingly fast once you have your ingredients prepped. I always tell people that the success of these **Beginner Air Fryer Chicken Wings** comes down to two things: making sure they are dry before seasoning, and letting the air fryer get nice and hot before they go in. Don’t rush those first couple of steps; they make all the difference!
Preparation and Seasoning Your Wings
First things first: we need bone-dry wings. Take your 2 lbs of wings, drumettes and flats included, and lay them out on a few layers of paper towels. I press down firmly, sometimes even using a second towel on top. You want to wick away every bit of surface moisture possible. If they are wet, they steam instead of crisping up, and nobody wants a soggy wing!
Once they are dried out, toss them into a large bowl. Add your salt, garlic powder, paprika, pepper, and that magical baking powder if you’re going for maximum crunch. If you want the spices to really cling, drizzle that optional tablespoon of olive oil over everything and toss until every piece is lightly coated. Make sure the seasoning is evenly distributed!
Air Frying Technique for Beginner Air Fryer Chicken Wings
Now for the air fryer magic! Step three is crucial: you must preheat the machine to 400°F (204°C) for at least three minutes. A hot environment is what sets the skin immediately. Once preheated, arrange your seasoned wings in the basket. And here is rule number one for **Beginner Air Fryer Chicken Wings**: single layer only! If they are piled up, they won’t crisp. Cook in batches if you have to—it’s worth the extra time.
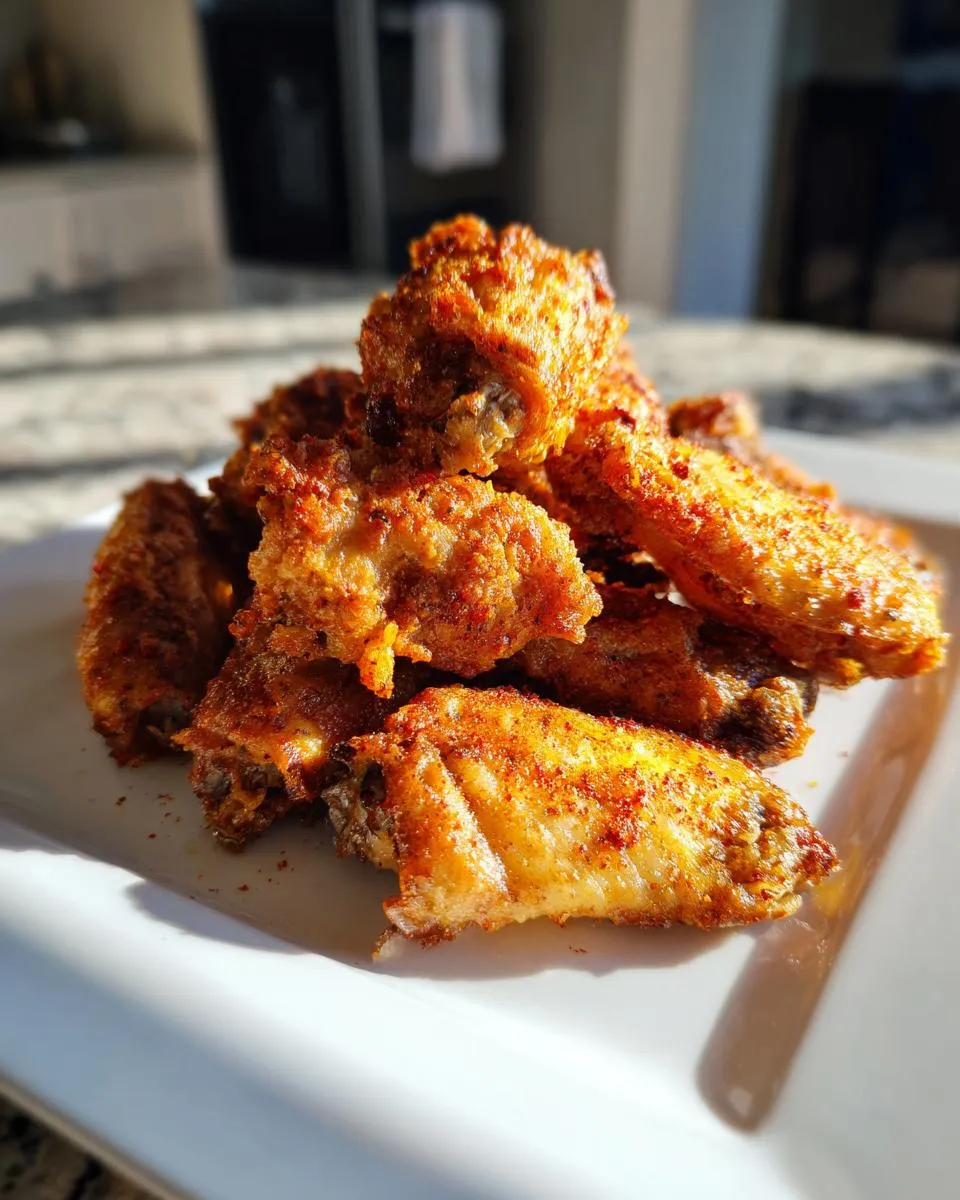
Start the timer for 10 to 12 minutes. When that timer goes off, use tongs to flip every single wing. Pop them back in and cook for another 10 to 12 minutes. If they aren’t looking quite golden brown enough for your liking, give them another two to four minutes on that high heat. You’re looking for that gorgeous, deep golden exterior!
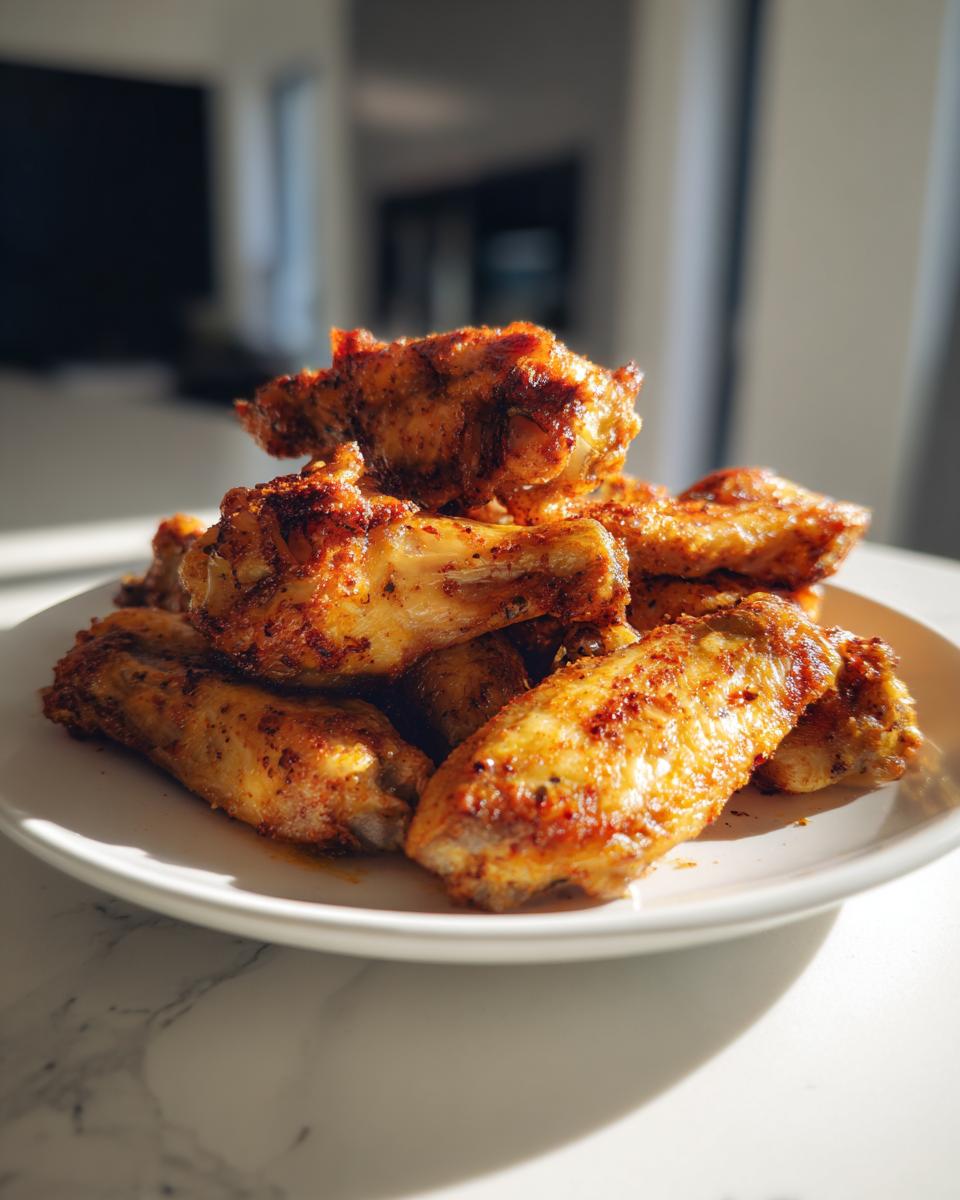
Finalizing and Serving Your Wings
The only way to know for sure that your **Beginner Air Fryer Chicken Wings** are safe and perfectly cooked is to check the temperature. Stick a meat thermometer into the thickest part of a drumette—you are aiming for 165°F (74°C) internally. If you hit that number, they are done! If you’re planning on saucing them, take them straight out of the air fryer while they are piping hot and toss them immediately in your favorite sauce. The heat helps the sauce adhere beautifully. If you like them dry, you can just sprinkle with a little extra salt and serve them right away!
Tips for Success with Beginner Air Fryer Chicken Wings
Getting that perfect crispiness every single time takes just a few little tricks, but they are non-negotiable if you want the best results from your **Beginner Air Fryer Chicken Wings**. My biggest piece of advice, which I cannot stress enough, is about basket space. Seriously, do not overcrowd the basket! If the wings are touching or stacked, they steam, and you end up with sad, rubbery skin instead of that beautiful crunch we are after.
If your wings look too cozy in there, just run a second batch. It’s much better than trying to cram them all in at once. Also, if you notice a lot of fat rendering out, just quickly pull the basket out and give it a good shake halfway through cooking. That helps drain off some of the excess grease.
Remember that baking powder tip? Use it! It works wonders for texture. But please, never substitute it with baking soda. Baking soda is much stronger, and if you use it in your **Beginner Air Fryer Chicken Wings**, the skin will end up tasting distinctly bitter, and nobody wants that! Stick to the powder, keep them spaced out, and you’ll have perfect wings every time.
Frequently Asked Questions About Crispy Air Fryer Wings
I get so many questions after people try this recipe for the first time! It’s usually about how to make them even crispier or if they can skip steps. Since this is such an easy wings recipe for beginners, people are always surprised how much they love the results. Let’s tackle the most common concerns so you can nail that perfect texture!
Can I cook frozen wings using this Beginner Air Fryer Chicken Wings method?
Oh, honey, please don’t try to cook them straight from the freezer! If you try to use frozen wings in your air fryer, they will never get properly crispy. The exterior will burn before the inside thaws and cooks through safely. For this recipe to work best, you absolutely need to thaw your wings first. I usually move them to the fridge the night before. If you’re in a real rush, you can thaw them in a bowl of cold water, changing the water every 30 minutes until they are fully defrosted. Then, you must pat them completely dry before seasoning!
What is the best way to sauce the wings after air frying?
This is key to getting truly **crispy chicken wings**! You must wait until the wings are completely cooked—165°F internally—and then take them out of the air fryer immediately. Place them in a large, clean bowl. Pour your sauce over the hot wings and toss them quickly to coat. The residual heat helps the sauce stick to the skin without making it soggy right away. If you sauce them too early or put sauced wings back into the air fryer, the sugar in the sauce will burn, and the crispness will vanish. Serve them right away after saucing for the best experience!
Storing and Reheating Your Delicious Air Fryer Wings
Even though these wings disappear fast, sometimes you have leftovers! And that’s totally fine. Cooked wings store much better than fried ones, but you still need to treat them right so they don’t get rubbery.
The main thing to remember is that you want to reheat them using the air fryer again, not the microwave. We are chasing that crispiness we worked so hard for! Storing them in an airtight container in the fridge is the best way to keep them fresh for a few days.
Storage Guidelines and Reheating Table
Here’s a quick reference guide so you know exactly how long they last and the best way to bring them back to life!
| Storage Method | Duration | Reheating Tip |
|---|---|---|
| Airtight Container (Fridge) | Up to 4 days | Air fry at 375\u00b0F (190\u00b0C) for 5–7 minutes. |
Share Your Experience Making Beginner Air Fryer Chicken Wings
I just know you’re going to be thrilled with how easy these turned out. Did you try the baking powder trick? Did you stick with a classic Buffalo sauce or try something new? Let me know how your first batch of **Beginner Air Fryer Chicken Wings** turned out in the comments below. I love hearing what you all think!
Print
Amazing 30-Min Beginner Air Fryer Chicken Wings
- Total Time: 30 minutes
- Yield: 4 servings 1x
- Diet: None
Description
These Beginner Air Fryer Chicken Wings come out crispy, juicy, and perfectly seasoned. You skip the deep frying and complicated steps. This is the simplest reliable method, and you can toss them in any sauce after cooking.
Ingredients
- 2 lbs (900 g) chicken wings (drumettes + flats)
- 1 tbsp olive oil (optional)
- 1 tsp salt
- 1 tsp garlic powder
- 1 tsp paprika (smoked or regular)
- ½ tsp black pepper
- 1 tsp baking powder (optional, for crispiness)
Instructions
- Pat wings very dry with paper towels. This step helps achieve crispiness.
- In a bowl, toss wings with salt, garlic powder, paprika, pepper, and optional baking powder. Add olive oil if you choose.
- Preheat your air fryer to 400°F (204°C) for 3 minutes.
- Arrange wings in a single layer in the air fryer basket. Cook in batches if necessary.
- Air fry at 400°F (204°C) for 10–12 minutes.
- Flip the wings.
- Cook for another 10–12 minutes until they look golden and crispy.
- For extra crunch, add 2–4 extra minutes.
- Wings are ready when the thickest part reaches 165°F (74°C) internally.
- Toss hot wings in your chosen sauce right before serving, if desired.
Notes
- Do not overcrowd the basket; this prevents the wings from getting crispy.
- Shake the basket once during cooking if your wings seem very fatty.
- Use baking powder for crispier skin; avoid baking soda as it can taste bitter.
- Store cooked wings in an airtight container in the fridge for up to 4 days.
- Reheat best by air frying at 375°F (190°C) for 5–7 minutes.
- Prep Time: 8 minutes
- Cook Time: 20–24 minutes
- Category: Appetizer
- Method: Air Fry
- Cuisine: American
Nutrition
- Serving Size: 1 serving (approx. 1/4 of recipe without sauce)
- Calories: Estimate needed
- Sugar: Estimate needed
- Sodium: Estimate needed
- Fat: Estimate needed
- Saturated Fat: Estimate needed
- Unsaturated Fat: Estimate needed
- Trans Fat: Estimate needed
- Carbohydrates: Estimate needed
- Fiber: Estimate needed
- Protein: Estimate needed
- Cholesterol: Estimate needed