Skip to content
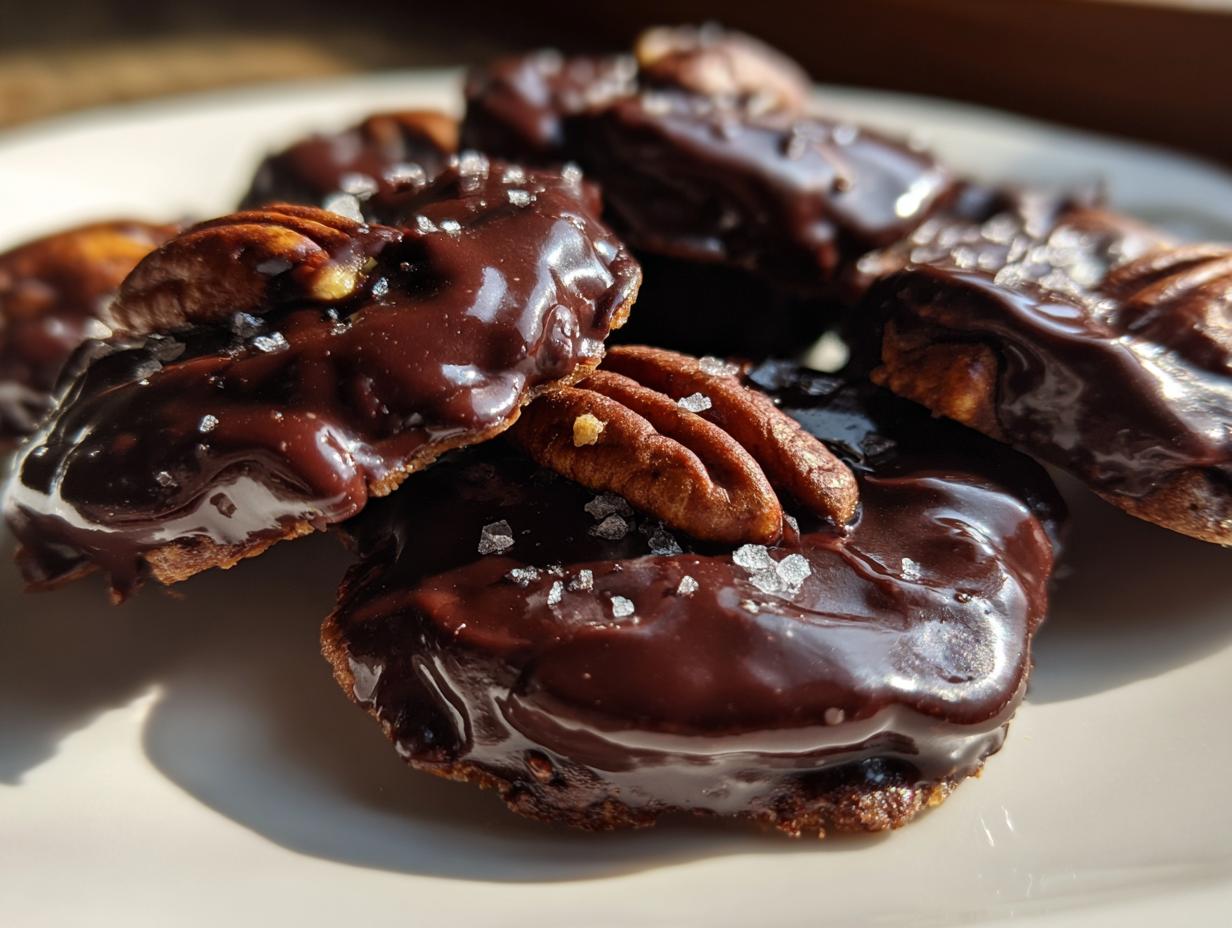
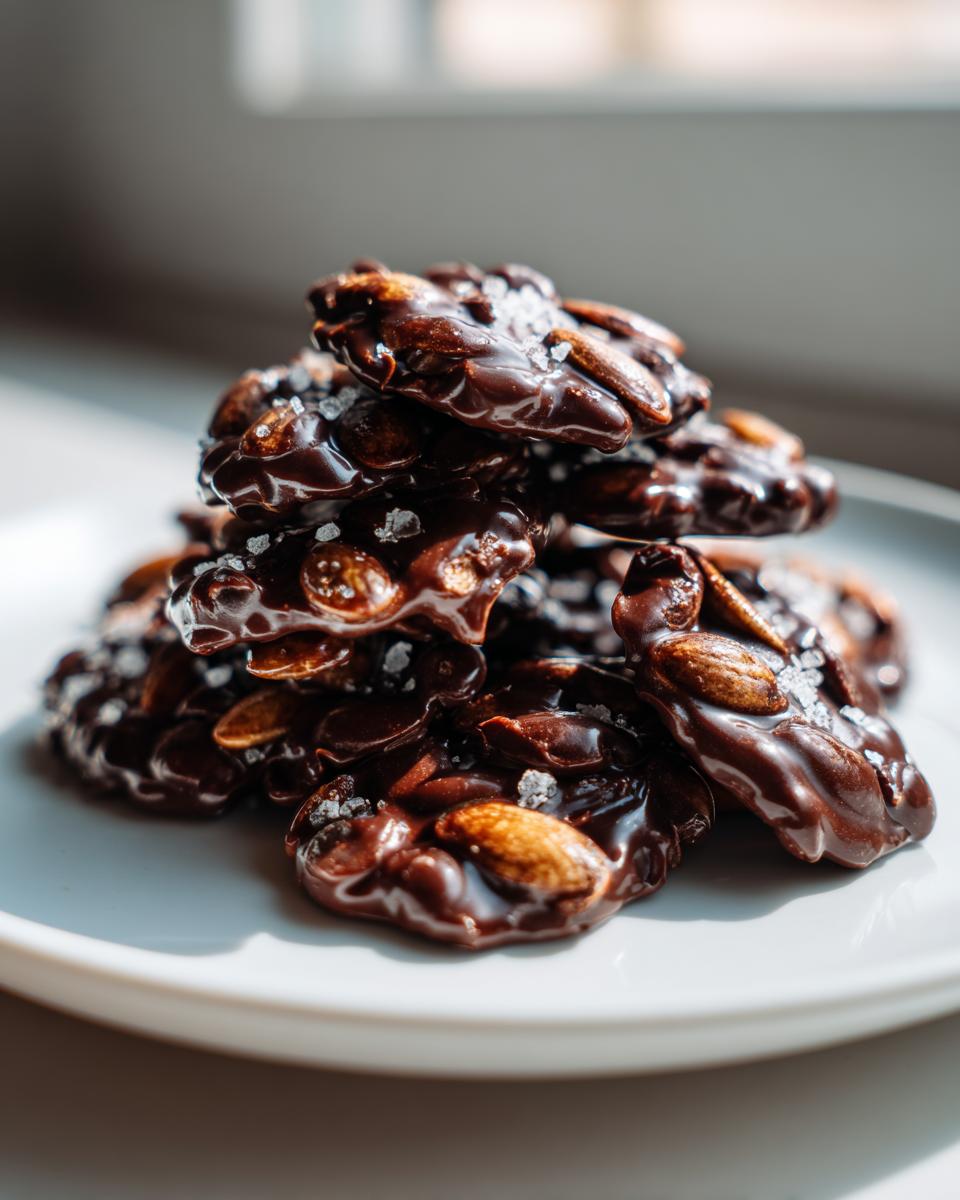
Chocolate Covered Pumpkin Seeds (Easy and Delicious)—they are the snack you didn’t know you needed until right now! It’s that time of year when the kitchen starts smelling wonderfully autumnal, and I, Anna Kowalska, am here to share tried-and-true homemade recipes that you and your family will absolutely love. Everything I make here is done with heart and flavor, and I promise you won’t find anything complicated on my site.
I remember last fall, I had a huge pile of leftover toasted seeds after making soup. I didn’t want them to go to waste! I started messing around with some dark chocolate, and what resulted was this incredible, crunchy, slightly salty candy cluster. It’s the perfect thing to set out when guests drop by unexpectedly, or just when you need a little something sweet after dinner.
This recipe for Chocolate Covered Pumpkin Seeds (Easy and Delicious) is my go-to because it takes less active time than it takes to brew a pot of coffee. Forget those complicated homemade candies that require tempering or special thermometers. We are keeping this super simple, focusing on that perfect snap and salty finish. Trust me, once you try these, you’ll be making them all year long!
Jump to:
Why You’ll Love This Chocolate Covered Pumpkin Seeds (Easy and Delicious) Recipe
Seriously, these little clusters are magic! They solve the problem of leftover seeds and satisfy that sudden sweet craving without any fuss. You don’t need any fancy skills or equipment for these, which is what I love most. They come together so fast, you’ll wonder why you didn’t make them sooner.
- They are incredibly fast to assemble—we’re talking minutes of active work!
- The ingredient list is so short, you probably have everything right now.
- They offer that perfect sweet and salty crunch in every bite.
- They look beautiful drizzled on a platter or packed up in a cute little bag for gifting.
Quick Assembly Time
You only have about five minutes of actual hands-on time here. You melt the chocolate, stir in the seeds, and dollop them out. That’s it! The rest of the time is just waiting for the fridge to do its job, which is the best kind of waiting.
Simple Ingredient List
If you can count to three, you can make this recipe. We are using just three primary items: good quality chocolate, shelled seeds, and a tiny pinch of salt if you’re feeling fancy. There are no weird binders or stabilizers needed for these Chocolate Covered Pumpkin Seeds (Easy and Delicious).
Perfect for Snacking or Gifting
These clusters are so versatile. They are perfect for an afternoon pick-me-up, a movie night treat, or honestly, they make fantastic little homemade gifts during the fall or holidays. They travel well too, as long as you keep them cool!
Equipment Needed for Perfect Chocolate Covered Pumpkin Seeds (Easy and Delicious)
You don’t need a huge arsenal of gadgets for this recipe—thank goodness! Since this is a simple stovetop melt, we keep things minimal. Having the right tools just makes the scooping and setting process smooth, so you don’t end up with a giant chocolate puddle instead of cute little clusters. Keep things handy before you start melting, because once the chocolate is ready, you have to move fast!
Essential Tools
- A small saucepan for gentle melting.
- A silicone spatula or wooden spoon for stirring the chocolate.
- A baking sheet or large plate that fits easily in your refrigerator.
- Parchment paper or a silicone baking mat—this is crucial so they don’t stick!
- Measuring spoons for scooping out uniform clusters.
Gathering Your Ingredients for Chocolate Covered Pumpkin Seeds (Easy and Delicious)
Getting ready for this recipe is almost as easy as eating them! Since there is so little active time, make sure everything is measured out and ready to go before you even turn on the stove. The quality of your chocolate really matters here, as it’s the main flavor, so pick something you genuinely enjoy eating on its own. Don’t worry about fancy chocolate tempering equipment; we are keeping this straightforward and delicious!
Ingredient Preparation Notes
The seeds are the star texture, so please make sure they are toasted and shelled—we don’t want any shells in our final treat! If you buy them already toasted, great! If not, it only takes a few minutes in a dry pan. The most important part of the prep is dividing the seeds: we use most of them *in* the chocolate, but we save a small portion to sprinkle on top for extra crunch and visual appeal. Don’t forget to separate those out before you start melting!
Ingredients for Chocolate Covered Pumpkin Seeds (Easy and Delicious)
| Ingredient | Amount |
|---|---|
| Dark Chocolate (chopped or chips) | 3/4 cup |
| Toasted, Unsalted, Shelled Pumpkin Seeds | 1 cup (divided) |
| Sea Salt | Optional topping |
Step-by-Step Instructions for Chocolate Covered Pumpkin Seeds (Easy and Delicious)
Okay, this is where the magic happens, and I promise you, it moves quickly once the chocolate starts to melt! Because we aren’t tempering the chocolate, we have to be very careful with the heat. Too hot, and your beautiful chocolate will seize up into a useless, grainy mess. We want smooth, glossy coating, so pay close attention to this first part.
Melting the Chocolate Base
Get your small saucepan ready and set the heat to low—I mean *low*. You want gentle warmth, not a sizzle. Add your 3/4 cup of chopped dark chocolate or chips right into that pan. Now, you must stir constantly! Don’t walk away for even a second while the chocolate melts. You’ll see it go from hard chunks to a thick, shiny liquid in just a couple of minutes. The second it’s completely smooth—and I mean zero lumps—pull that pan right off the burner. Leaving it on the heat, even residual heat, can ruin the texture. We want it off the heat before we add anything else.
Coating the Pumpkin Seeds Mixture
Once the chocolate is off the heat, we move fast! Immediately add 3/4 cup of your toasted pumpkin seeds into the melted chocolate. Remember, you set aside that last 1/4 cup for topping, so don’t dump them all in yet! Now, stir gently. You don’t want to crush the seeds, but you do need to make sure every single one of those seeds is coated in that rich, dark chocolate. This shouldn’t take more than about 30 seconds of gentle mixing.
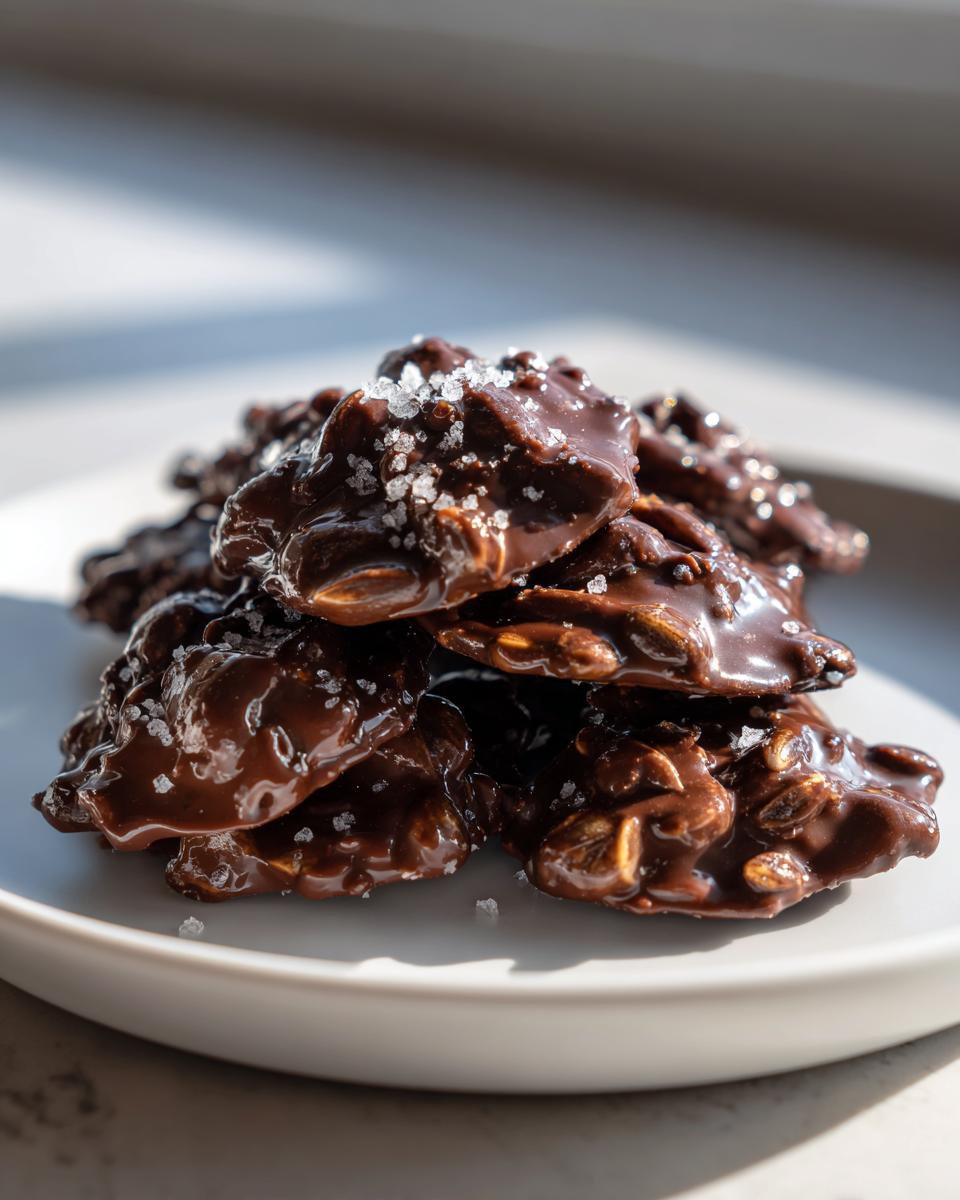
Forming and Topping the Clusters
Time to dollop! Grab a heaping teaspoon—a regular spoon works perfectly fine—and scoop a mound of the chocolate-seed mix onto your parchment-lined sheet pan. You are aiming for little mounds, not flat pancakes. You need to be quick here: while that dollop is still wet, grab some of the reserved plain pumpkin seeds and sprinkle them right on top. This gives the cluster a beautiful texture contrast. If you like that salty kick, add just a tiny, tiny pinch of sea salt over the top of the whole thing right now. Repeat this process for the rest of the mixture, trying to make about 20 nice clusters.
Setting and Chilling Your Chocolate Covered Pumpkin Seeds (Easy and Delicious)
Since we skipped the tempering, we rely on the fridge to set these treats perfectly. Once all your clusters are formed and sprinkled, they need a good, solid chill time. Pop that whole sheet pan right into the refrigerator. Let them hang out in there for at least one full hour. Don’t try to rush it by putting them in the freezer right away, or the chocolate might crack weirdly. After about 60 minutes, they should be firm to the touch, ready to pop right off the parchment paper!
Ingredient Notes and Simple Substitutions
One of the best parts about making these simple Chocolate Covered Pumpkin Seeds is that there’s really no room for error, and we aren’t dealing with any tricky ingredients here. No eggs, no dairy needed if you use dairy-free chocolate, and nothing complicated that needs special sourcing. It’s pure, simple snacking joy! My main advice revolves around the chocolate choice, as that dictates the final flavor profile.
Choosing the Right Chocolate
I always lean toward dark chocolate, usually 60% to 70% cacao, because that slight bitterness balances the sweetness perfectly, especially when you add that optional sea salt. You can absolutely use milk chocolate chips if that’s what you prefer, but know that the final cluster will be much sweeter overall. Either chips or a chopped baking bar works beautifully here; just make sure you melt them slowly!
Seed Preparation Alternatives
If you happen to have raw pumpkin seeds instead of toasted ones, don’t panic! Just spread them in a single layer on that dry saucepan over medium heat. Toast them for about 5 to 7 minutes, shaking the pan often until they smell nutty and turn a light golden brown. Watch them closely, though, because seeds burn faster than you think! Once toasted, let them cool completely before mixing them into the chocolate.
Tips for Success Making Chocolate Covered Pumpkin Seeds (Easy and Delicious)
Even with such an easy recipe, there are a couple of little tricks that separate an okay batch from a truly fantastic one. When you’re dealing with melted chocolate, temperature control is everything. Follow these quick pointers, and you’ll have perfect, snappy clusters every single time without any issues!
- Keep Water Away at All Costs: This is my biggest rule for melting chocolate. Even a tiny drop of steam or water hitting your saucepan will cause the chocolate to seize up instantly, turning it grainy and unusable. Make sure your pan and spatula are completely dry before you start.
- Work Quickly After Removing From Heat: As soon as the chocolate is melted, get it off that burner. If you spend too much time stirring in the seeds while it’s still hot, the residual heat can cause the chocolate to thicken too much before you can even dollop it out.
- Use Room Temperature Seeds: Make sure your toasted seeds are completely cool before you fold them into the chocolate. If the seeds are warm, they will melt the chocolate prematurely, making it runny and hard to scoop into neat little piles.
- Don’t Overmix the Clusters: When you stir the seeds into the chocolate, be gentle. You want them coated, not mashed! Overmixing can break up those beautiful toasted seeds, leading to a mushy texture instead of a satisfying crunch.
Storing Your Homemade Chocolate Covered Pumpkin Seeds (Easy and Delicious)
These little homemade candies are surprisingly sturdy, but because they are coated in real chocolate, the fridge is definitely their best friend, especially if your kitchen runs warm. They don’t really need “reheating,” but if you ever freeze them, just remember to let them thaw slowly so the chocolate doesn’t sweat when it comes back to room temperature. Keeping them in an airtight container is key to maintaining that perfect crunch!
Storage Guidelines for Chocolate Covered Pumpkin Seeds (Easy and Delicious)
| Storage Method | Duration | Notes |
|---|---|---|
| Airtight Container (Fridge) | Up to 1 Week | Keeps them firm and fresh. |
| Airtight Container (Freezer) | Up to 3 Months | Defrost in the fridge for 2 hours before serving. |
Frequently Asked Questions About Chocolate Covered Pumpkin Seeds (Easy and Delicious)
I get so many questions about these simple clusters! They are so easy that people often wonder if they missed a trick, but nope, that’s the beauty of it. This recipe is designed to be foolproof so you can have a delicious homemade candy ready in no time.
Can I use milk chocolate instead of dark chocolate in this Chocolate Covered Pumpkin Seeds (Easy and Delicious) recipe?
You absolutely can! If you prefer a sweeter treat, milk chocolate works just fine. Just remember, milk chocolate has more sugar and milk solids, so the final cluster will be significantly sweeter than the dark chocolate version. It also tends to set up a little softer, so make sure you give it the full hour in the fridge to firm up properly.
How do I ensure my pumpkin seeds are perfectly toasted before coating?
Toasting is key for that amazing crunch! If your seeds aren’t toasted, they can taste a bit raw. Just spread your shelled, unsalted seeds in a single layer in a dry (no oil!) skillet over medium heat. Shake the pan constantly for about five to seven minutes until you can really smell that nutty aroma. Pull them off the heat right away because they go from perfect to burnt in about ten seconds flat!
Are these Chocolate Covered Pumpkin Seeds (Easy and Delicious) suitable for a quick snack?
These are the definition of a quick snack! With only five minutes of active work, you can whip up a batch of these Chocolate Covered Pumpkin Seeds (Easy and Delicious) faster than you can run to the store. They are perfect for satisfying an afternoon craving or packing a few into a bag for a little energy boost. They truly are the easiest homemade candy you’ll ever make.
Share Your Chocolate Covered Pumpkin Seeds (Easy and Delicious) Creations
I just love hearing how you all put your own spin on my simple recipes! If you made these Chocolate Covered Pumpkin Seeds (Easy and Delicious), please let me know how they turned out in the comments below. Did you add a sprinkle of flaky salt or maybe some chopped nuts? Don’t forget to give the recipe a rating if you loved this easy snack!
Print
Amazing 5-Minute Chocolate Covered Pumpkin Seeds
- Total Time: 65 minutes
- Yield: Approximately 20 clusters 1x
- Diet: Vegetarian
Description
Make easy and delicious Chocolate Covered Pumpkin Seeds. These simple clusters are perfect for a quick treat.
Ingredients
- 3/4 cup chopped dark chocolate or chocolate chips
- 1 cup toasted, unsalted, shelled pumpkin seeds, divided
- Sea salt (optional topping)
Instructions
- Place the chocolate in a pot over low heat.
- Stir the chocolate continuously until it melts completely. Remove the pot from the heat immediately.
- Add 3/4 cup of the toasted pumpkin seeds to the melted chocolate. Keep the remaining 1/4 cup aside.
- Stir gently until the pumpkin seeds are fully coated in chocolate.
- Scoop one heaping teaspoon of the mixture onto parchment paper or a silicone mat on a plate or sheet pan.
- Sprinkle the reserved plain pumpkin seeds on top of the chocolate cluster right away.
- Add a small sprinkle of sea salt if you want.
- Repeat steps 5 through 7 for the rest of the mixture, aiming for about 20 clusters.
- Refrigerate the clusters for at least one hour until they are firm.
Notes
- Store the finished clusters in an airtight container in the fridge for up to one week.
- You can freeze them for up to three months. Defrost in the refrigerator for two hours before eating.
- Prep Time: 5 minutes
- Cook Time: 5 minutes
- Category: Dessert
- Method: Stovetop and Chilling
- Cuisine: American
Nutrition
- Serving Size: 1 Cluster
- Calories: 57.1kcal
- Sugar: 1.6g
- Sodium: 59.7mg
- Fat: 4.4g
- Saturated Fat: 1.9g
- Unsaturated Fat: 1.4g
- Trans Fat: 0g
- Carbohydrates: 3.4g
- Fiber: 0.9g
- Protein: 1.5g
- Cholesterol: 0.2mg