Skip to content
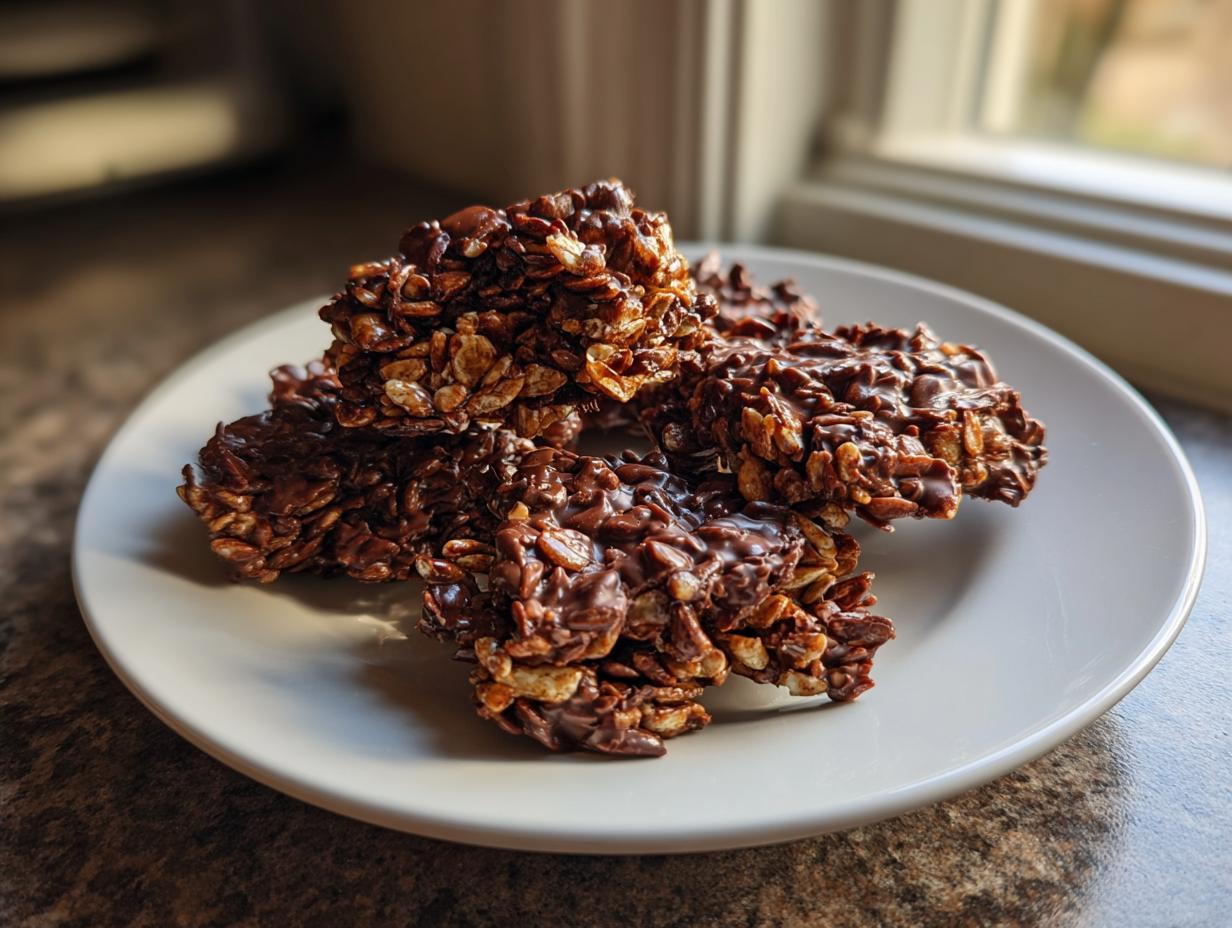
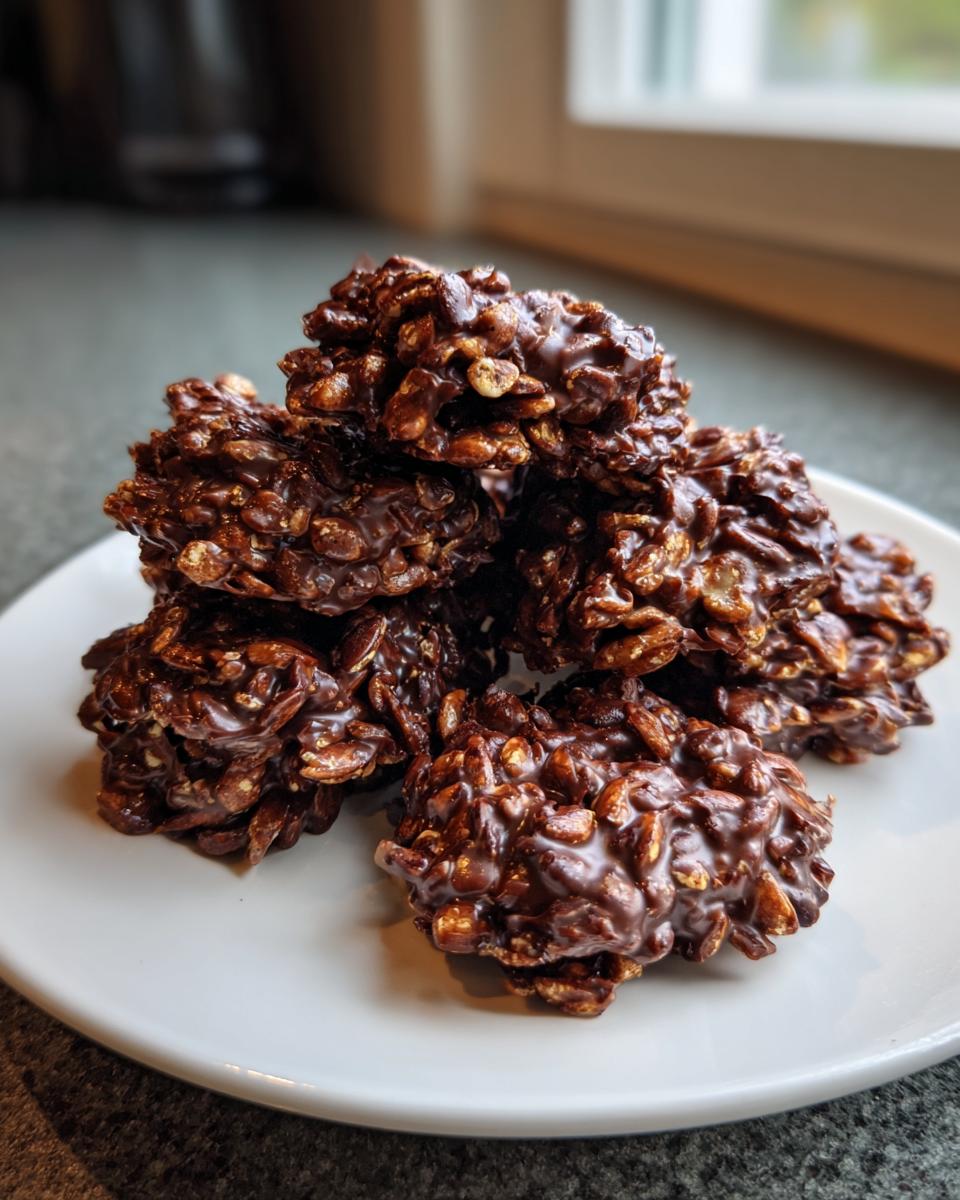
When you need a decadent, deeply satisfying treat without turning on the oven, my chocolate seed crunch crisps are the answer. Seriously, these little bursts of joy are my absolute go-to when a sweet craving hits fast. I’m Anna Kowalska, and here I share tried-and-true homemade recipes that you and your family will love. Everything I post here is made with heart and flavor, guaranteed.
I grew up in a household where baking was an event, but sometimes life just moves too quickly for long proofing times and layered cakes. That’s why I hunt down those perfect recipes—the ones that deliver huge flavor payoff with minimal fuss. These crisps are proof that you don’t need hours of work to create something truly special. They’re rich, they’re textural, and they come together quicker than you can decide what movie to watch.
I’ve tested this version dozens of times, making sure the ratio of dark chocolate to crunchy seeds is exactly right. Trust me, getting that perfect snap when you bite into a chocolate seed crunch crisp is pure magic. No heading needs to be written for the introduction.
Jump to:
Why You Will Love These Chocolate Seed Crunch Crisps
Honestly, these chocolate seed crunch crisps are a lifesaver for any home cook. They hit that sweet spot where effort meets reward perfectly. You get that deep, rich chocolate flavor that feels gourmet, but you don’t have to stand over a hot oven. They are vegetarian-friendly and come together so fast, which is why I keep the ingredients stocked almost all the time.
Quick Assembly for Busy Days
This is a no-bake recipe, plain and simple. You melt chocolate, you stir things in, and you chill them. That’s it. Active time is maybe fifteen minutes, tops. No fancy techniques are involved, so don’t stress about perfection here. They set up beautifully in the fridge in about half an hour. Great for last-minute gifts or sudden dessert emergencies!
Amazing Texture Profile
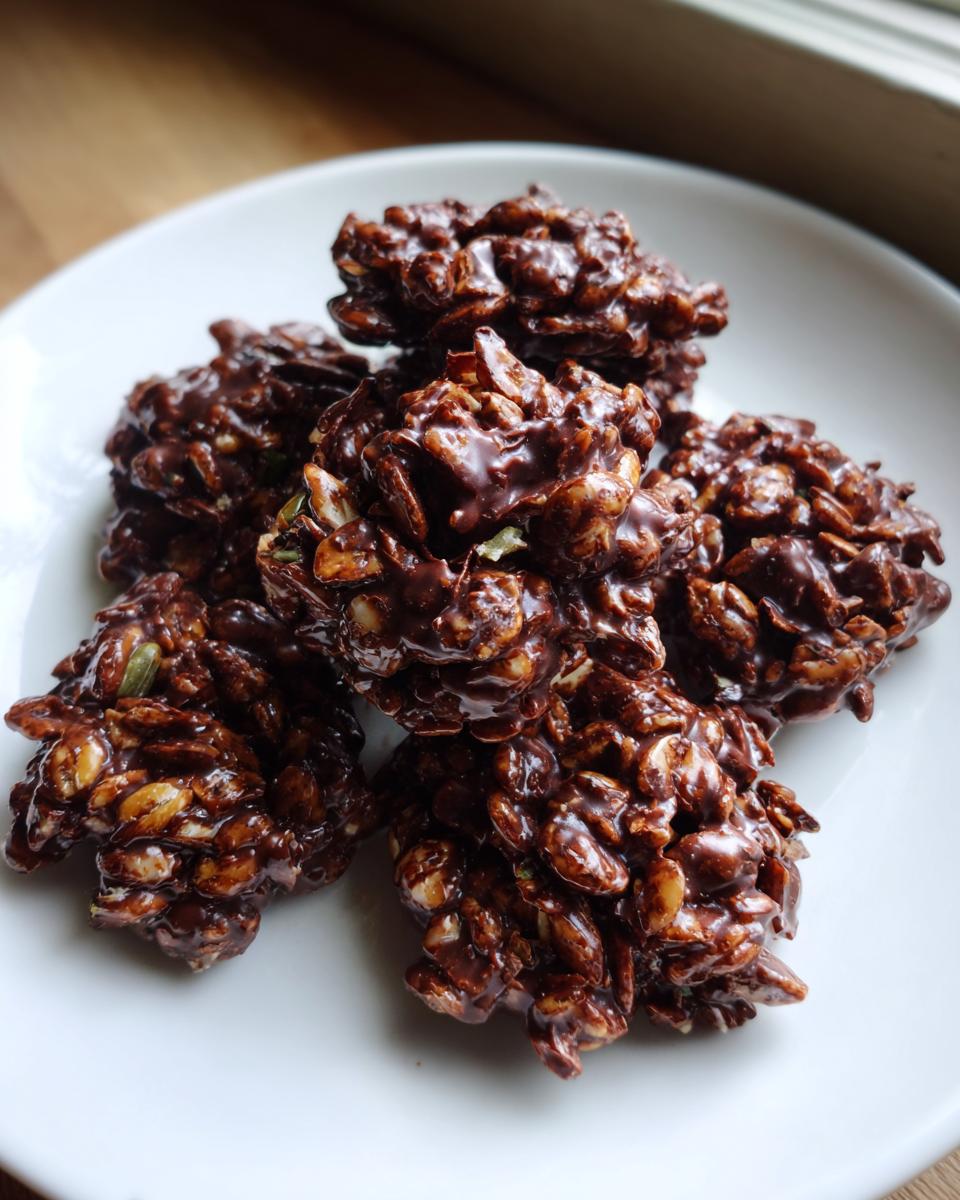
The texture is what makes these addictive. You have the smooth, slightly bitter dark chocolate coating everything. Then, BAM! You get the fantastic, satisfying crunch from the pumpkin and sunflower seeds. The crispy rice cereal adds a lighter, airy pop. It’s a symphony of textures in every single bite that keeps you reaching for just one more!
Gathering Your Ingredients for Chocolate Seed Crunch Crisps
When making simple treats like these chocolate seed crunch crisps, the quality of what you put in really matters. Since there’s no baking to hide behind, every ingredient needs to be spot on. I always lay everything out before I start melting the chocolate—I call it my mise en place, even for a no-bake recipe! It keeps me organized and ensures I don’t forget that crucial pinch of salt.
For these crisps, you’re working with just five core components, but clarity in how you prepare them is key to building that amazing texture. I want you to trust this recipe completely, so I’m very specific about the chocolate consistency and making sure your seeds are ready to go.
Precise Measurements for Perfect Chocolate Seed Crunch Crisps
Using dark chocolate gives these a more sophisticated flavor, but you must chop it finely so it melts evenly without burning. Every measurement here is designed to give you that perfect coating ratio. Don’t eyeball the seeds!
| Ingredient | Amount | Preparation Note |
|---|---|---|
| Dark Chocolate | 12 ounces | Finely chopped |
| Pumpkin Seeds | 1 cup | Raw or toasted (your preference) |
| Sunflower Seeds | 1 cup | Raw or toasted (your preference) |
| Crispy Rice Cereal | 1 cup | Plain |
| Flaky Salt | 1/4 teaspoon | For sprinkling on top |
Essential Equipment for Making Chocolate Seed Crunch Crisps
You don’t need a huge arsenal of fancy gadgets for these! Since this is a no-bake situation, the equipment is all about gentle handling and easy cleanup. Having the right tools makes the fifteen minutes of prep fly by. I always make sure these items are clean and ready before I even pull the chocolate out of the pantry.
Tools for Gentle Melting and Shaping
- A medium saucepan and a heat-safe bowl (for creating a makeshift double boiler setup).
- A sturdy rubber spatula or wooden spoon for folding.
- A standard baking sheet.
- Parchment paper or a silicone mat to line the sheet—this is non-negotiable for easy release!
- Two small spoons or a teaspoon for dropping the crisps onto the sheet.
Step-by-Step Instructions for Perfect Chocolate Seed Crunch Crisps
Follow these steps exactly, and you’ll have beautiful, snappy chocolate seed crunch crisps ready to eat in under an hour. Remember, the secret here is patience during the melting phase and speed once the chocolate is liquid!
Preparation and Chocolate Melting
First things first: get your baking sheet ready. Line it completely with parchment paper; this prevents sticking, which is a nightmare when you’re dealing with solid chocolate. Now, let’s melt that chocolate. You want to do this gently so it stays smooth and glossy. Set up a double boiler—that means placing your heat-safe bowl over a saucepan that has just a little bit of water simmering in it. The water should never touch the bottom of your bowl, or you risk scorching the chocolate! Scorching chocolate can ruin the texture.
Keep the heat low. Stir the finely chopped dark chocolate frequently until it’s almost completely melted. Once it looks smooth, take the bowl off the heat right away. Residual heat will keep melting it, and we need to stop the process before it gets too hot for the next step.
Mixing and Coating the Crunch Elements
This is where the crunch comes in! While the chocolate is still warm and liquid, quickly fold in your pumpkin seeds, sunflower seeds, and the crispy rice cereal. Use a spatula and work efficiently, but gently. You are aiming to coat every single seed and grain evenly with that gorgeous melted chocolate. Don’t overmix to the point of exhaustion, but make sure there are no dry pockets of cereal hiding at the bottom of the bowl. Speed is key here so the chocolate doesn’t start setting up on you.
Forming and Chilling Your Chocolate Seed Crunch Crisps
Once everything is coated, grab two spoons—or even a small cookie scoop if you want them uniform. Drop spoonfuls of the mixture onto your prepared, parchment-lined baking sheet. Try to keep them separate so they don’t all fuse together into one giant slab. Now, for the finishing touch: take your flaky salt and sprinkle just a tiny bit over the top of each crisp. This enhances the chocolate flavor beautifully.
The final, crucial step is chilling. Place the entire baking sheet into the refrigerator. You need to let them chill until they are completely firm. That usually takes about 30 minutes. Resist the urge to touch them or peek too often! Once they snap cleanly when you try to lift them, they are done and ready to enjoy.
Tips for Success with Chocolate Seed Crunch Crisps
Even though making chocolate seed crunch crisps is super easy, a few little tricks can take them from good to absolutely spectacular. I’ve learned these lessons the hard way, usually by ending up with seized chocolate or soggy seeds. Don’t worry, I’m sharing my hard-won wisdom so you get that perfect snap every time. These simple adjustments ensure your crisps are firm, glossy, and crunchy!
Controlling Chocolate Temperature
The biggest pitfall with any melted chocolate project is heat. If your chocolate gets too hot, it can scorch, turning grainy and dull. If you use the double boiler method, make absolutely sure the simmering water underneath isn’t boiling aggressively—it should be just barely bubbling. As soon as you remove the bowl from the heat, start stirring immediately. The residual heat is enough to finish the job, but watch carefully. If you see any streaks of unmelted chocolate, put it back over the *turned-off* heat source for just 15 seconds at a time until smooth.
Achieving Maximum Crunch
Since these are no-bake, moisture is the enemy of crunch! Before you start melting anything, make sure your seeds and your crispy rice cereal are completely dry. If you’re using raw seeds, you can briefly toast them in a dry pan first—this deepens the flavor and dries them out perfectly. Just let them cool completely before adding them to the chocolate. If the cereal absorbs any steam from the melting chocolate setup, it will turn chewy instead of crisp after chilling. Keep everything dry, and the crunch factor stays high!
Storage and Enjoying Your Chocolate Seed Crunch Crisps
Once you make these incredible chocolate seed crunch crisps, the biggest challenge is keeping them around long enough to enjoy later! Because they rely on chilling to set up, they really need to stay cool to maintain that signature snap. If they get warm, that beautiful dark chocolate softens, and your perfect crunch turns into a bit of a sticky mess. I always tell people these are best eaten the day they are made, but if you have leftovers, proper storage is key.
Optimal Storage Environment
For the best texture, you absolutely must keep these chilled. They don’t like room temperature one bit, especially if your kitchen runs warm. I keep mine in an airtight container in the fridge—this prevents them from absorbing any funky smells from the fridge, too. Since they are no-bake, reheating isn’t really a thing; you just want them cold and firm! If you are looking for other no-bake treats, check out my recipe for Buckeye Balls.
| Condition | Recommendation | Notes |
|---|---|---|
| Storage Temperature | Refrigerated (Chilled) | Must be kept cool for maximum crunch and structure. |
| Container Type | Airtight Container | Prevents moisture absorption and odor transfer. |
| Shelf Life | Up to 1 week | Texture is best within the first few days. |
| Reheating | Not Recommended | These are meant to be eaten cold; heat will melt the chocolate binder. |
Frequently Asked Questions About Chocolate Seed Crunch Crisps
I get so many questions about these quick treats! Since they are so simple, people often wonder about swapping ingredients. Here are the answers to the most common things folks ask me about perfecting their chocolate seed crunch crisps.
Can I Substitute the Dark Chocolate in Chocolate Seed Crunch Crisps
You absolutely can swap out the chocolate, but it changes the final taste! Milk chocolate works, but it’s much sweeter and won’t have that deep, satisfying flavor like the dark chocolate does. White chocolate is very soft when chilled, so your crisps might be a little less snappy. If you use milk or white chocolate, you might want to increase the flaky salt just a touch to balance the sweetness.
How Long Do Chocolate Seed Crunch Crisps Last
Because these are no-bake and rely on the chocolate binder, they are best enjoyed within four days. If you keep them consistently chilled in an airtight container, they should easily last up to a week. After that, the seeds might start to lose a tiny bit of their sharp crunch, but they are still perfectly safe to eat! For another quick dessert idea, see my Quick and Simple Fairy Cakes.
Are These Crisps Truly Nut-Free
This is an important one! The recipe calls for seeds (pumpkin and sunflower), not tree nuts. However, if you have severe tree nut allergies, you must be careful. I always recommend checking the packaging on your crispy rice cereal and your chocolate, as they are often processed in facilities that handle peanuts and tree nuts. If you buy certified nut-free ingredients, then yes, these chocolate seed crunch crisps are nut-free.
Nutritional Estimate for Chocolate Seed Crunch Crisps
I am Anna Kowalska, and while I focus on flavor and tried-and-true methods, I know many of you track macros, so I did some digging! Please know that these figures for the chocolate seed crunch crisps are just estimates. Since chocolate percentages vary, and the exact sodium/sugar content isn’t listed, treat this as a general guide rather than a strict lab result. I always say, the most important nutrition is the joy these bring! For more information on seed nutrition, you can check out resources on Harvard T.H. Chan School of Public Health.
| Nutrient | Estimated Amount |
|---|---|
| Calories | 122 |
| Total Fat | 8 g |
| Total Carbohydrates | 9 g |
| Protein | 4 g |
Share Your Homemade Chocolate Seed Crunch Crisps
I truly hope you enjoyed making these easy, delightful treats! If you whipped up a batch of these chocolate seed crunch crisps, I would absolutely love to see them. Snap a picture and tag me on social media, or better yet, leave a rating right here on the blog. Your feedback lets me know what recipes you want to see next from my kitchen! If you are looking for something savory next, try my Cucumber Everything Bagel Salad.
Print
Divine 12-Minute chocolate seed crunch crisps
- Total Time: 45 minutes
- Yield: 22 crisps 1x
- Diet: Vegetarian
Description
Chocolate seed crunch crisps offer a rich, textured bite. This is a fast, no-bake dessert idea.
Ingredients
- 12 ounces dark chocolate, finely chopped
- 1 cup pumpkin seeds
- 1 cup sunflower seeds
- 1 cup crispy rice cereal
- 1 quarter teaspoon flaky salt
Instructions
- Line a baking sheet and set aside.
- Melt dark chocolate gently over barely simmering water.
- Remove from heat and fold in seeds and cereal.
- Stir until evenly coated.
- Drop spoonfuls onto the baking sheet.
- Sprinkle lightly with flaky salt.
- Refrigerate until firm, about 30 minutes.
Notes
- Keep chilled for best crunch and structure.
- Prep Time: 15 minutes
- Cook Time: 30 minutes
- Category: Dessert
- Method: No Bake
- Cuisine: American
Nutrition
- Serving Size: 1 crisp
- Calories: 122
- Sugar: Unknown
- Sodium: Unknown
- Fat: 8 g
- Saturated Fat: Unknown
- Unsaturated Fat: Unknown
- Trans Fat: Unknown
- Carbohydrates: 9 g
- Fiber: Unknown
- Protein: 4 g
- Cholesterol: Unknown