Skip to content

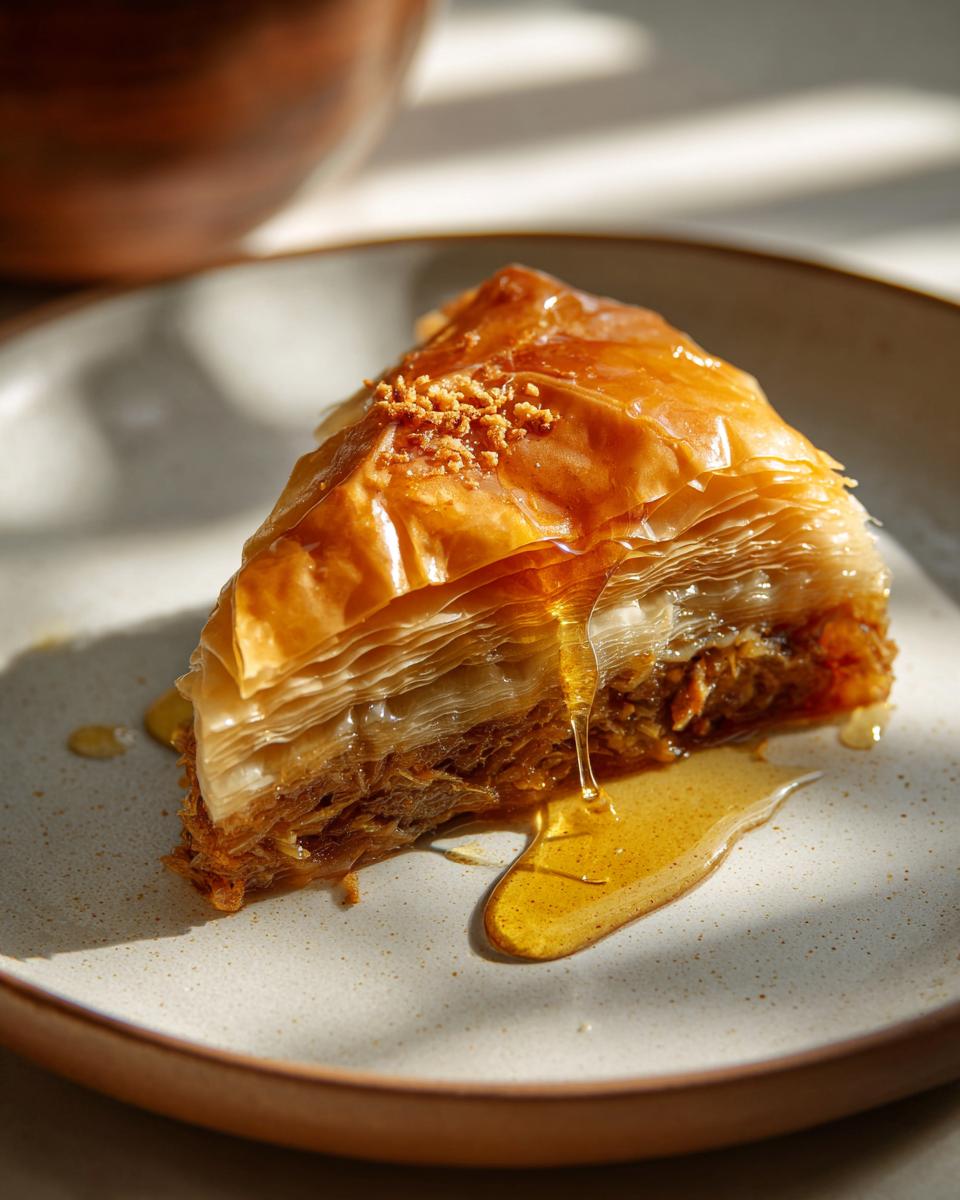
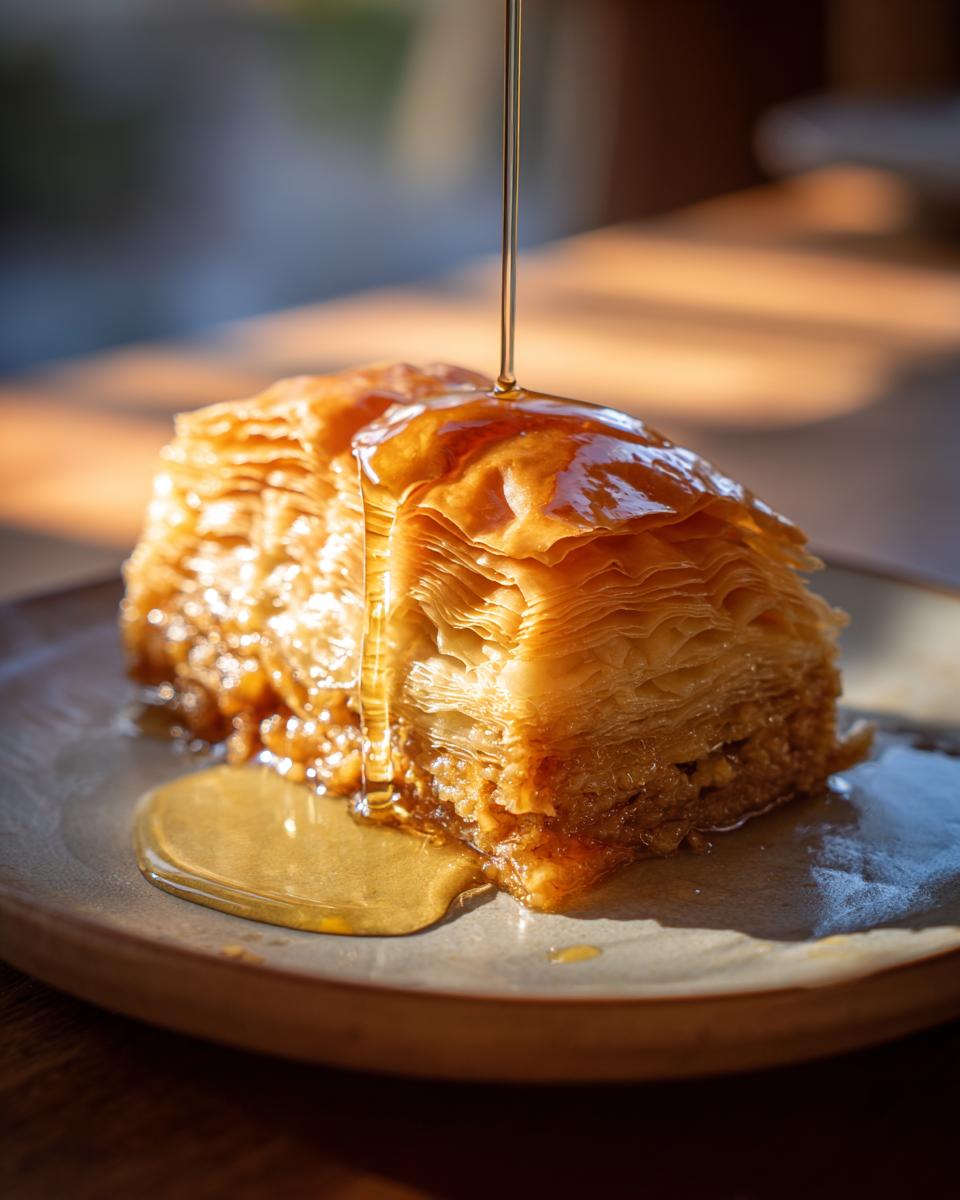
Oh, have I got a treat for you today! We’re diving headfirst into the sticky, sweet, utterly divine world of Greek Baklava. You know me, Anna Kowalska, and here I share tried-and-true homemade recipes that you and your family will love. For me, everything is made with heart and flavor, and this baklava is no exception. I remember the first time I tasted a truly authentic piece – it was like a little piece of heaven, all flaky layers and crunchy nuts drenched in that gorgeous honey syrup. It’s one of those desserts that just feels special, perfect for holidays or when you just need a little bit of magic in your day. This recipe has been tested and tweaked to bring that authentic taste right into your own kitchen, and trust me, it’s worth every single buttery, nutty bite!
Jump to:
Gather Your Ingredients for Authentic Greek Baklava
Alright, let’s get down to business! To make this incredible Greek Baklava, you’ll need a few key players. Don’t worry, they’re all pretty easy to find. Getting these right is half the battle, trust me. It’s all about the quality of your ingredients that really makes it sing!
| Phyllo Dough | 1 (16 ounce) package |
| Chopped Nuts | 1 pound (walnuts or pistachios work great!) |
| Butter | 1 cup, melted |
| Ground Cinnamon | 1 teaspoon |
| Water | 1 cup |
| White Sugar | 1 cup (granulated is perfect) |
| Vanilla Extract | 1 teaspoon |
| Honey | ½ cup |
Phyllo Dough and Nuts
You’ll need a standard 16-ounce package of phyllo dough. Make sure it’s nice and fresh! For the nuts, I like to use a mix of walnuts and pistachios, but you can totally go with just one or the other. Give them a good chop – not too fine, you want to get a nice crunch in every bite. About a pound should do it.
Sweeteners and Spices
For the syrup, we’re keeping it simple and classic. Granulated white sugar and good old water make up the base. Then, we’ll add some fragrant vanilla extract for that lovely aroma and, of course, honey! Honey is non-negotiable for authentic baklava, it just adds that depth of flavor. And don’t forget the cinnamon – just a teaspoon to spice things up a bit.
The Binding Agent
Butter, butter, butter! We need a whole cup of it, melted. This is what gives the phyllo those gorgeous, crispy, golden layers. Don’t skimp here; good quality butter really makes a difference in the final flavor and texture.
Crafting Perfect Greek Baklava: Step-by-Step Instructions
Okay, deep breaths! Making baklava might seem intimidating, but I promise, if you follow these steps, you’ll have a stunning dessert that tastes like it came straight from a Greek bakery. It’s all about patience and a little bit of love. Let’s get our hands sticky!
Preparing the Pan and Phyllo Layers
First things first, let’s get that oven preheated to 350 degrees F (175 degrees C). While it’s warming up, grab your 9×13-inch baking pan. Give it a good buttering on the bottom and all the sides. This is super important so nothing sticks later! Now, for the phyllo dough. Unroll it carefully and cut the whole stack in half so it fits nicely in your pan. Here’s a little trick: keep the phyllo you’re not using covered with a slightly damp cloth. Phyllo dries out FAST, and we don’t want brittle dough! Lay down two sheets of phyllo in the pan, then brush them thoroughly with that melted butter. Repeat this process until you’ve layered about 8 sheets. It sounds like a lot, but trust me, it makes for those amazing crispy layers.
Assembling the Nut Filling
While you’re layering, let’s get that nutty goodness ready. Just take your chopped nuts and toss them with the teaspoon of ground cinnamon. Give it a good stir so everything is evenly coated. Now, sprinkle about 2 to 3 tablespoons of this nutty mixture over the phyllo layers you’ve already buttered. Then, you’ll top that with another two sheets of phyllo, brush with butter, and add more nuts. Keep going like this, layering phyllo and butter, then nuts, until you’ve got about 6 to 8 sheets of phyllo on top. This makes for a beautiful, substantial top layer!
Achieving the Golden Crisp
Before this beauty even goes into the oven, you need to score it. Grab a really sharp knife and cut it all the way down to the bottom of the pan. You can do classic diamond shapes or just cut long rows and then make diagonal cuts. This makes serving SO much easier later! Now, pop that pan into your preheated oven. You’re going to bake it for about 50 minutes. Keep an eye on it – you’re looking for that gorgeous golden-brown color and a nice, crisp texture. It smells amazing while it’s baking, doesn’t it?
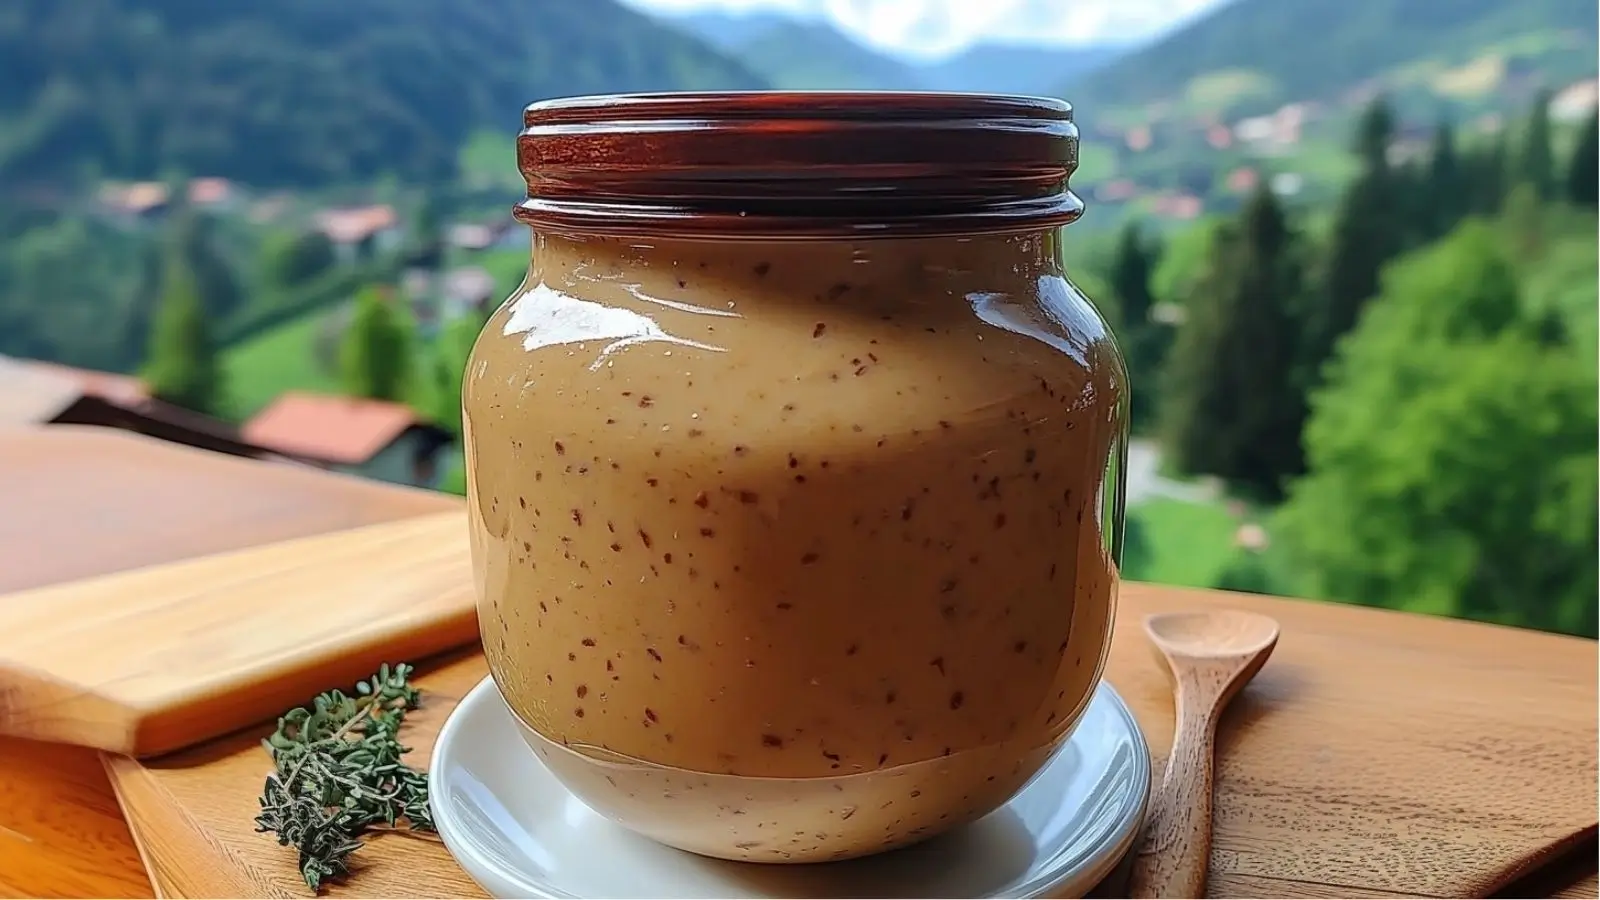
Crafting the Honey Syrup
While your baklava is busy getting all golden and delicious in the oven, it’s time to whip up that magical syrup. In a saucepan, combine the water and white sugar. Bring it to a boil, stirring just until the sugar is completely melted. Once it’s boiling and clear, add in your vanilla extract and that lovely honey. Let this mixture simmer gently for about 20 minutes. It should thicken up just a bit, becoming syrupy. Don’t let it get too thick, though – we want it to soak in nicely.
The Sweet Finish: Soaking the Greek Baklava
This is the moment of truth! As SOON as your baklava comes out of the oven, piping hot and looking amazing, you need to immediately spoon that hot syrup all over it. Don’t be shy! Pouring the hot syrup over the hot baklava is what creates that perfect contrast of crispy layers and syrupy sweetness. You’ll hear it sizzle, which is music to my ears! Now, and this is important, let it cool completely. Seriously, resist the urge to dig in right away. It needs time for the syrup to soak in and for the baklava to set up properly. This usually takes a few hours, but it is so, so worth the wait!
Why You’ll Love This Greek Baklava Recipe
- It brings authentic Greek flavor right into your kitchen!
- The layers are incredibly crispy and shatter delightfully with every bite.
- That sweet honey-nut syrup is just pure heaven.
- It looks super impressive, but it’s surprisingly straightforward to make.
- It freezes beautifully, so you can enjoy a piece whenever a craving strikes!
Essential Tools for Your Greek Baklava Success
To make this amazing Greek Baklava, you don’t need a whole lot of fancy gadgets, but a few key tools will make the process so much smoother. You’ll definitely want a good quality 9×13-inch baking pan – it’s the perfect size for this recipe. A pastry brush is a must-have for getting that butter evenly spread between all those delicate phyllo layers. You’ll also need a sharp knife for scoring the baklava before baking; a dull knife will just tear things up! For the syrup, a simple saucepan will do the trick. And don’t forget a good mixing bowl for your nuts and cinnamon, and maybe a handy wooden spoon.
Expert Tips for Perfect Greek Baklava
Alright, let’s talk secrets to making your Greek Baklava absolutely sing! First off, that phyllo dough? Work fast! It dries out super quickly, so keep it covered with a damp towel while you’re layering. If it cracks a little, don’t stress; just patch it up and keep going. The buttering is key here – be generous between each layer to ensure maximum crispiness. When you’re chopping your nuts, aim for a medium chop; too fine and they’ll disappear, too coarse and they might fall out. For the syrup, don’t boil it too long, or it’ll get hard like candy instead of a lovely glaze. And my biggest tip? Let it cool completely before cutting into it fully. Patience is a virtue, especially with baklava!
Understanding the Nutritional Value of Greek Baklava
Just a little note before we dive into enjoying this sweet treat: the nutritional information for homemade Greek Baklava can vary a bit. Things like the exact brands of ingredients you use and how generously you apply that syrup can change the numbers. So, think of any figures you see as a helpful estimate rather than a hard fact! For more information on general baking nutrition, you can check out resources like USDA’s FoodData Central.
Storing and Reheating Your Delicious Greek Baklava
Now, if by some miracle you have leftover Greek Baklava (a rare occurrence in my house!), storing it properly is key to keeping that incredible crispness. The best way? Leave it uncovered! Seriously, wrapping it up is a recipe for soggy baklava. Just place it in an airtight container at room temperature. It’s best eaten within a few days, but honestly, it rarely lasts that long. If you do find it has lost a bit of its crunch, don’t worry! You can revive it slightly. Pop a piece in a 300°F (150°C) oven for about 5-7 minutes. This helps crisp it back up beautifully.
| Storage Method | Room Temperature, Uncovered |
| Best By | 2-3 days |
| Reheating Tip | Oven at 300°F (150°C) for 5-7 minutes |
Share Your Greek Baklava Creations!
Have you tried making this Greek Baklava? I’d absolutely LOVE to hear how it turned out for you! Did you make any fun tweaks? Did your family devour it in minutes (mine always does!)? Snap a picture and share it in the comments below, or just drop me a line with your thoughts. Your feedback means the world to me and helps other home cooks feel confident trying out these recipes! If you’re looking for more dessert inspiration, check out my other sweet treats!
Print
Melted Greek Baklava Bliss: 1 Perfect Recipe
- Total Time: 80 minutes
- Yield: 12 servings 1x
- Diet: Vegetarian
Description
Greek Baklava is a classic sweet pastry made with layers of phyllo dough, chopped nuts, and a honey syrup. This recipe guides you through creating this delicious dessert at home.
Ingredients
- 1 (16 ounce) package phyllo dough
- 1 pound chopped nuts
- 1 cup butter, melted
- 1 teaspoon ground cinnamon
- 1 cup water
- 1 cup white sugar
- 1 teaspoon vanilla extract
- ½ cup honey
Instructions
- Gather all ingredients. Preheat the oven to 350 degrees F(175 degrees C). Butter the bottoms and sides of a 9×13-inch pan.
- Chop nuts and toss with cinnamon. Set aside.
- Unroll phyllo dough. Cut whole stack in half to fit pan. Cover phyllo with a dampened cloth to keep from drying out as you work. Place two sheets of dough in pan, butter thoroughly with a pastry brush. Repeat until you have 8 sheets layered.
- Sprinkle 2 to 3 tablespoons of nut mixture on top. Top with two sheets of dough, melted butter, nuts, layering as you go. The top layer should be about 6 to 8 sheets deep.
- Using a sharp knife cut into diamond or square shapes all the way to the bottom of the pan. You may cut into 4 long rows then make diagonal cuts. Bake for about 50 minutes until baklava is golden and crisp.
- Make sauce while baklava is baking. Boil sugar and water until sugar is melted. Add vanilla and honey. Simmer for about 20 minutes.
- Remove baklava from the oven and immediately spoon sauce over it. Let cool.
- Serve in cupcake papers.
Notes
- This freezes well.
- Leave it uncovered as it gets soggy if it is wrapped up.
- Lemon zest was added to the syrup in the Allrecipes magazine version of this recipe.
- Prep Time: 30 minutes
- Cook Time: 50 minutes
- Category: Dessert
- Method: Baking
- Cuisine: Greek
Nutrition
- Serving Size: 1 piece
- Calories: 393
- Sugar: 20g
- Sodium: 196mg
- Fat: 26g
- Saturated Fat: 9g
- Unsaturated Fat: 17g
- Trans Fat: 0g
- Carbohydrates: 38g
- Fiber: 3g
- Protein: 6g
- Cholesterol: 27mg