Skip to content
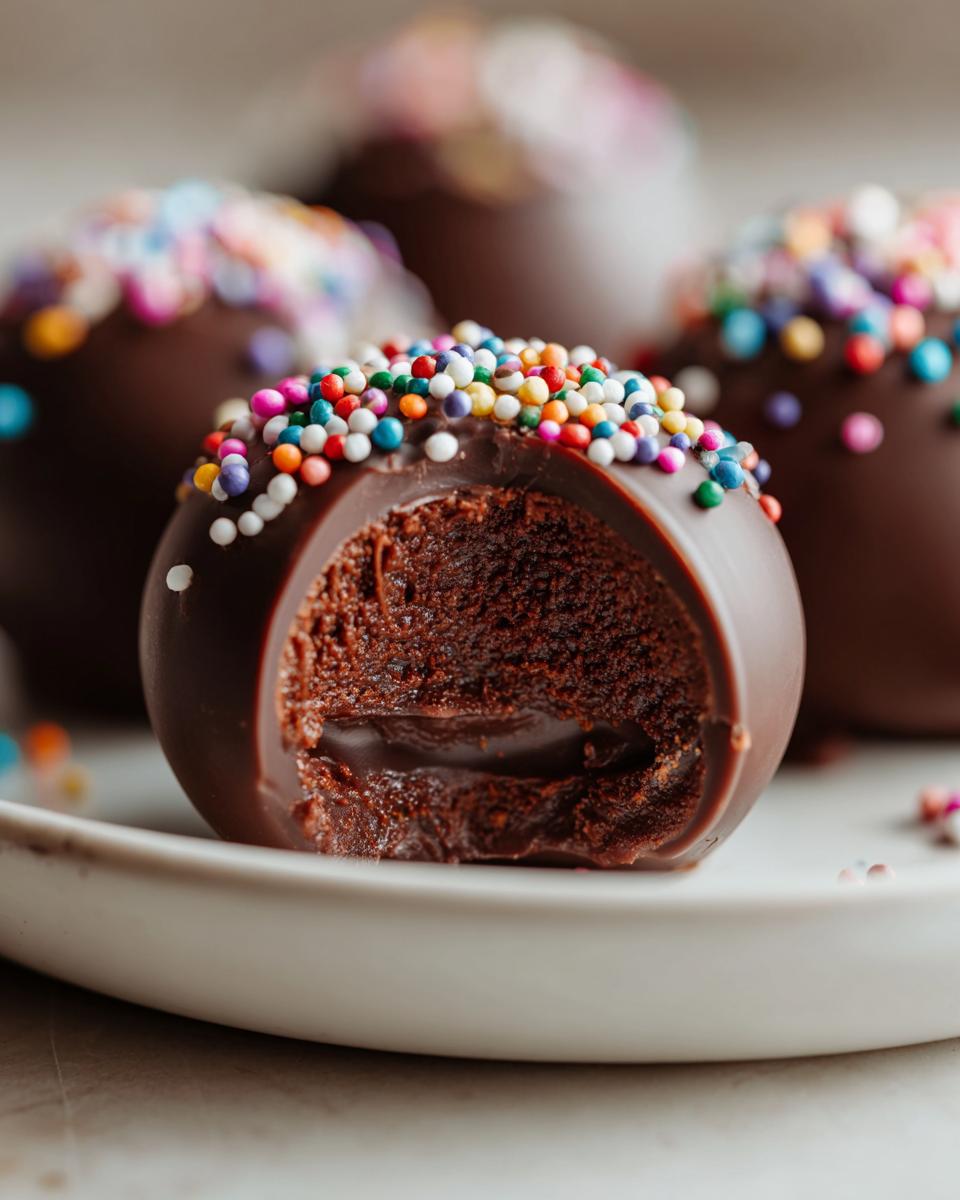
When the first real chill hits and you just want to curl up under a thick blanket, there’s nothing better than a rich, steaming mug of hot cocoa. Forget those dusty packets, friends! I’m Anna Kowalska, and here I share tried-and-true homemade recipes that you and your family will love—everything is made with heart and flavor. This year, we’re elevating that cozy feeling completely with the ultimate treat: the Hot Chocolate Bomb. Trust me, watching that sphere melt into your milk to create the richest cup of hot cocoa you’ve ever tasted is pure kitchen magic. It looks fancy, but I promise you, making these chocolate shells at home is surprisingly straightforward and deeply satisfying. Get ready to ditch the store-bought stuff because we’re making the best ones right now.

Jump to:
Essential Components for Your Hot Chocolate Bomb
Okay, let’s talk ingredients because this is where the heart of the Hot Chocolate Bomb lies. You can’t rush quality here, especially when it comes to the chocolate shell. We aren’t using candy melts, we are using real chocolate chips, and you’ll need a good bit of them—about three and a half cups total. High-quality chocolate makes all the difference; it melts smoother and tastes richer when it finally dissolves in your mug. Don’t skimp here, because this forms the structure!
The filling is a simple, decadent ganache. We use one 14-ounce can of sweetened condensed milk and half a cup of heavy whipping cream. That ratio gives us the perfect texture: thick enough to hold its shape when scooped, but soft enough to melt beautifully later. Remember, the secret to a great bomb isn’t just the shell; it’s what’s hiding inside!
Selecting Your Chocolate Base
You have three fantastic paths you can take here, depending on what you love most. Semi-sweet chips are my go-to for a classic, balanced flavor that appeals to everyone. If you like things a little deeper and less sweet, reach for the dark chocolate chips—they look stunning, too! And for those who adore pure sweetness, white chocolate chips make a beautiful, creamy shell. Whatever you choose, make sure they are good quality chips, because that’s what’s holding everything together.
Creating the Rich Ganache Filling
This is the part where you need to pay attention! We heat the sweetened condensed milk and cream together in a small saucepan. The key, and I mean the absolute key, is to watch it like a hawk. You want it just starting to boil—you’ll see tiny bubbles around the edges—and then pull it off the heat immediately. If you let it boil hard, it scorches easily, and then your ganache tastes burnt. No good! Pour that hot liquid right over your chocolate chips and stir vigorously until it’s completely smooth and glossy. That’s your filling ready!
Gathering Decorative Elements
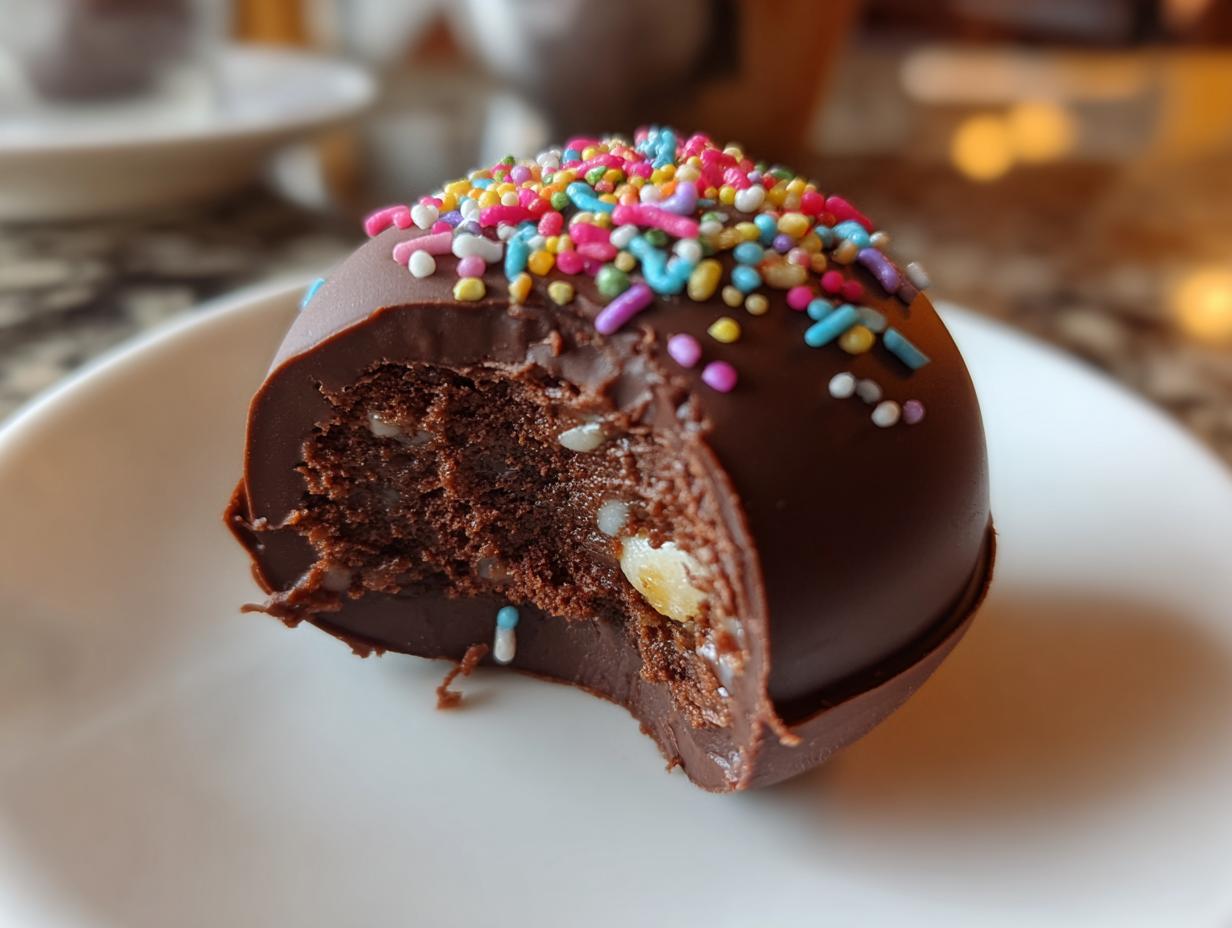
Once the ganache is scooped, you have about five minutes before it starts setting up, so have your decorations ready to go! This is where you can really have fun and personalize your hot chocolate bombs. I always have a jar of festive sprinkles on hand, and crushed candy canes are just perfect for the holidays. Little mini marshmallows scattered on top look adorable too. It’s all about making them look as fun as they taste!
Step-by-Step Guide to Making the Hot Chocolate Bomb
Now that we have our ingredients prepped, it’s time to actually build these beauties! Don’t feel intimidated; we are just working with melted chocolate and a thick filling. We’ll break it down into three easy phases: prepping the pans, mixing the filling, and getting them set up to chill. Remember, speed is your friend once the chocolate starts melting!
Preparing the Chocolate Shell Molds
First things first, grab your mini-cupcake pan. You can use liners, but honestly, if you are planning on making these often, skip the liners. Why? Because liners make it a little harder to get a clean, thick shell when you are molding the chocolate. If you leave them unlined, you just need to make sure the pan is super clean. We are going to use the chocolate ganache we just made to form the outer shell structure, so we need those wells ready to go! We’ll come back to this step after we mix the filling, but have the pan sitting right next to your stovetop so you’re ready to move fast.
Mixing and Scooping the Ganache
Go back to that saucepan where you mixed the sweetened condensed milk and heavy cream. Heat it over medium heat, stirring constantly. You absolutely cannot step away during this part because you risk scorching the bottom, which ruins the whole batch—we want smooth, not grainy! As soon as you see those first little bubbles starting to form around the edges, yank it off the heat immediately. Pour that hot mixture right over your three and a half cups of chocolate chips in that big bowl. Now, you stir. And I mean, you stir vigorously with your spatula. Keep stirring until every single chip is melted and the mixture is glossy and uniform. It will look thick, but it should flow nicely. Next, grab your medium cookie scoop—about a tablespoon and a half is perfect—and start dropping the ganache into your prepared mini-cupcake wells. Work quickly here!
Setting and Chilling the Hot Chocolate Bomb
This is the fun part where decoration comes in! As soon as that ganache hits the pan, you need to sprinkle your toppings on right away—sprinkles, crushed candy canes, whatever you chose. If you wait too long, the ganache sets up, and the toppings won’t stick. Once everything is decorated, move the whole pan straight into the refrigerator. They need at least one full hour to firm up completely. You want them rock solid so they don’t smoosh when you try to handle them later. Patience is key for this last step!
Tips for Success with Your Hot Chocolate Bomb
Look, I’ve made enough of these hot chocolate bombs to know where things can go wrong, so let me save you some heartache! The main issues usually boil down to heat management. If you rush the chocolate melting or the milk heating, you end up with a grainy texture or a burnt taste, and nobody wants that! Also, don’t try to decorate them once they start cooling down; that’s a rookie mistake I made the first few times.
The other big piece of advice is to have your workstation ready before you even turn on the stove. These things move fast once the chocolate melts! Have your scoops ready, your toppings sprinkled out, and the fridge door open. Speed is essential for getting those perfect, smooth shells and getting those cute decorations to stick before the ganache firms up.
Temperature Control in Hot Chocolate Bomb Making
This is the absolute make-or-break moment when making the ganache filling. When you heat the sweetened condensed milk and heavy cream, you need medium heat, and you must whisk constantly. I can’t stress that enough! If you see steam rising or hear it starting to bubble aggressively, take it off the burner right away. We are aiming for that gentle simmer around the edges—that’s the sweet spot. If it scorches even a little bit, that bitter flavor will ruin the richness of your chocolate. When you pour that hot liquid over the chips, stir it gently at first, then get vigorous until it’s perfectly smooth. That controlled heat ensures a silky, velvety filling that tastes amazing in your finished chocolate bombs.
Serving Your Homemade Hot Chocolate Bomb
The moment of truth! You’ve done the work, and now it’s time for the payoff. To get the absolute best experience from your homemade hot chocolate bomb, you need good, hot milk. Don’t use microwaved water; use real milk for the richness you deserve! Here’s the simple magic: bring about six ounces of milk just to a boil on the stovetop. Take it off the heat immediately once it starts bubbling. Carefully drop one of your beautifully decorated chocolate bombs into the hot milk. Watch it—it’s going to melt down beautifully, releasing all those goodies inside! Give it a gentle stir, and you’re done. If you’re feeling extra indulgent, go ahead and use two bombs for a super rich cup!
Storing Leftover Hot Chocolate Bomb Treats
So, you made too many incredible hot chocolate bombs? Lucky you! The good news is these keep really well, but you do have options depending on how long you need them to last. If you plan on eating them within a week or so, keeping them in an airtight container at room temperature is perfectly fine. They are pretty stable because of the high sugar content.
However, if you want them to last longer, or if your kitchen runs a little warm, I always suggest refrigeration. Pop them into a container—make sure it seals tight so they don’t absorb any weird fridge smells! Stored properly in the fridge, these chocolate treats are good for several weeks. Just remember to let them sit out for about 15 minutes before you serve them if they’ve been chilled, so they aren’t rock hard when you drop them in the milk!
Frequently Asked Questions About the Hot Chocolate Bomb
I get so many questions when I post these on social media! People always want to know if they can mess with the recipe, and I totally get it. It’s your kitchen, after all! I’ve gathered the most common things folks ask when they are making their own batch of hot cocoa bombs.
Can I use different types of chocolate chips for the Hot Chocolate Bomb?
Absolutely, yes! That’s one of the best parts of this recipe. You can use semi-sweet, dark, or white chocolate chips. If you mix them—say, half dark and half semi-sweet—you get a lovely layered flavor in your shell. Just make sure whatever you pick melts well. If you use milk chocolate chips, you might want to add a tiny extra bit of the cream mixture because milk chocolate has more sugar and can sometimes seize up easier. But yes, feel free to play around with your chocolate base! If you love chocolate treats, you might enjoy exploring other recipes too.
How long does it take for the Hot Chocolate Bomb to set?
You need patience for this part, just like with baking! Once you’ve scooped the ganache into your molds and decorated them, they need at least one full hour in the refrigerator to get firm enough to handle. If you try to pull them out too soon, they’ll squish, and you’ll end up with a mess instead of a perfect hot chocolate bomb.
Nutritional Estimates for the Hot Chocolate Bomb
Now, I always say that when you make things from scratch with real ingredients, you shouldn’t obsess over the numbers, but I know some of you like to keep track! Please remember that all these values are just approximate estimates. Changing your chocolate type or adding extra sprinkles will definitely change the final count. These estimates are based on using a standard scoop size for the ganache filling. For more detailed nutritional information, you can consult official databases.
| Serving Size | 1 pod |
| Calories | 99kcal |
| Sugar | 10g |
| Fat | 6g |
| Protein | 0.1g |

Amazing 99kcal Hot Chocolate Bomb
- Total Time: 1 hour 30 minutes
- Yield: Varies based on scoop size
- Diet: Vegetarian
Description
Make your own Hot Chocolate Bomb treats at home. This recipe uses semi-sweet, dark, or white chocolate chips to create rich, decadent chocolate shells filled with goodness for a perfect cup of hot cocoa.
Ingredients
- 3 and ½ cups (595g) chocolate chips (semi-sweet, dark, or white)
- 1 14-ounce can (420mL) sweetened condensed milk
- ½ cup (120mL) heavy whipping cream
- Assorted toppings (sprinkles, crushed candy canes, marshmallows, etc.)
Instructions
- Place chocolate chips in a large heat-safe bowl. Line a mini-cupcake pan with liners, or leave unlined. Set both aside.
- In a small saucepan over medium heat, whisk together the sweetened condensed milk and cream. Stir frequently to avoid scorching. Remove from heat when the mixture just starts boiling.
- Immediately pour the heated milk mixture over the chocolate chips. Stir vigorously with a spatula until the mixture is smooth.
- Using a medium cookie scoop (about 1 and ½ Tablespoons), scoop the chocolate ganache into the wells of the prepared pan. Decorate immediately while the chocolate is soft.
- Refrigerate the chocolate bombs for at least 1 hour until firm.
- To serve, bring 6oz of milk just to a boil. Stir in one chocolate bomb until completely dissolved. Use two bombs for an extra rich hot chocolate. Store bombs in the refrigerator or at room temperature; they last longer refrigerated.
Notes
- All nutritional values are approximate and provided as a courtesy.
- Changing ingredients or quantities will alter the estimated nutritional calculations.
- Prep Time: 20 minutes
- Cook Time: 10 minutes
- Category: Dessert
- Method: No-Bake Ganache Molding
- Cuisine: American
Nutrition
- Serving Size: 1 pod
- Calories: 99kcal
- Sugar: 10g
- Sodium: 1mg
- Fat: 6g
- Saturated Fat: 4g
- Unsaturated Fat: 0.3g
- Trans Fat: 0g
- Carbohydrates: 11g
- Fiber: 0g
- Protein: 0.1g
- Cholesterol: 4mg