Skip to content
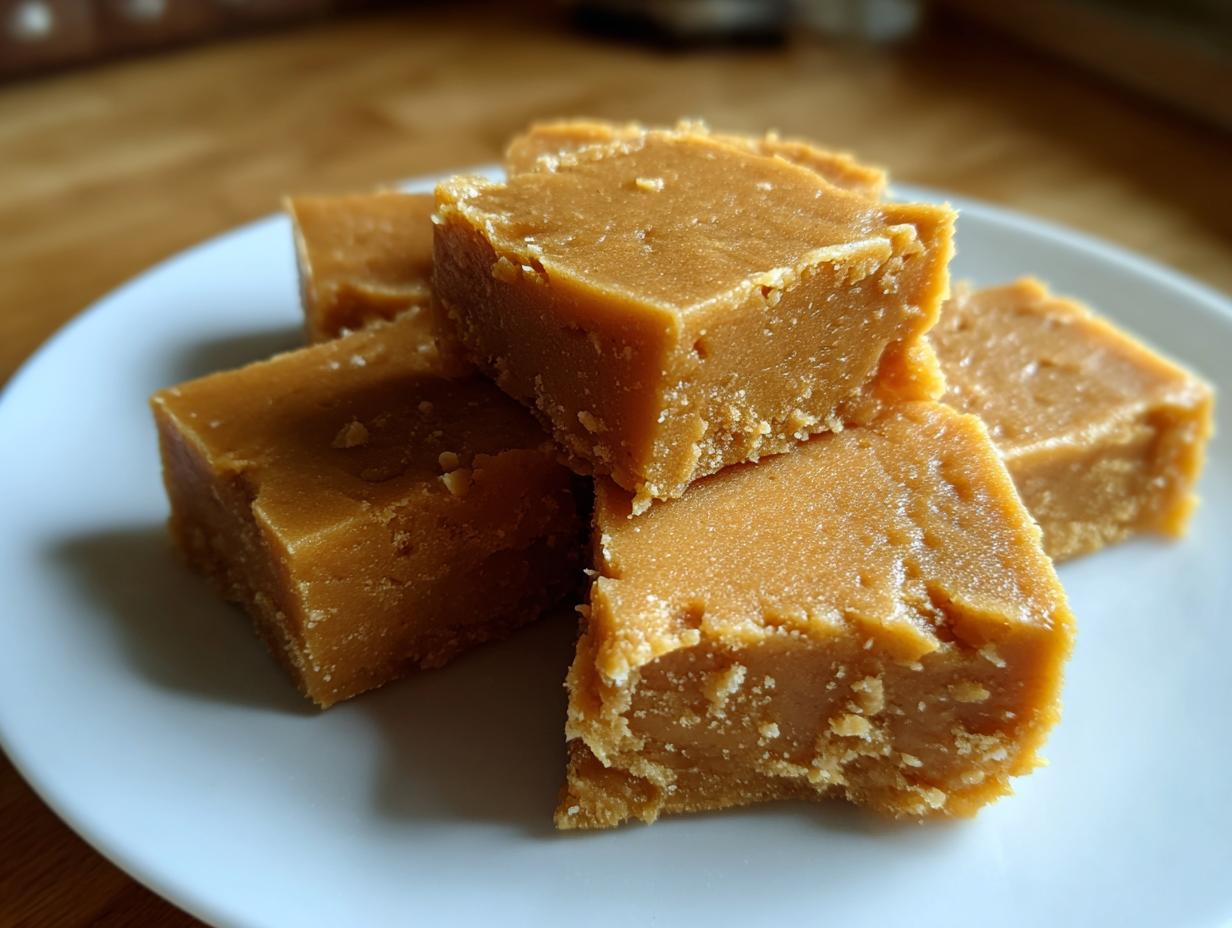
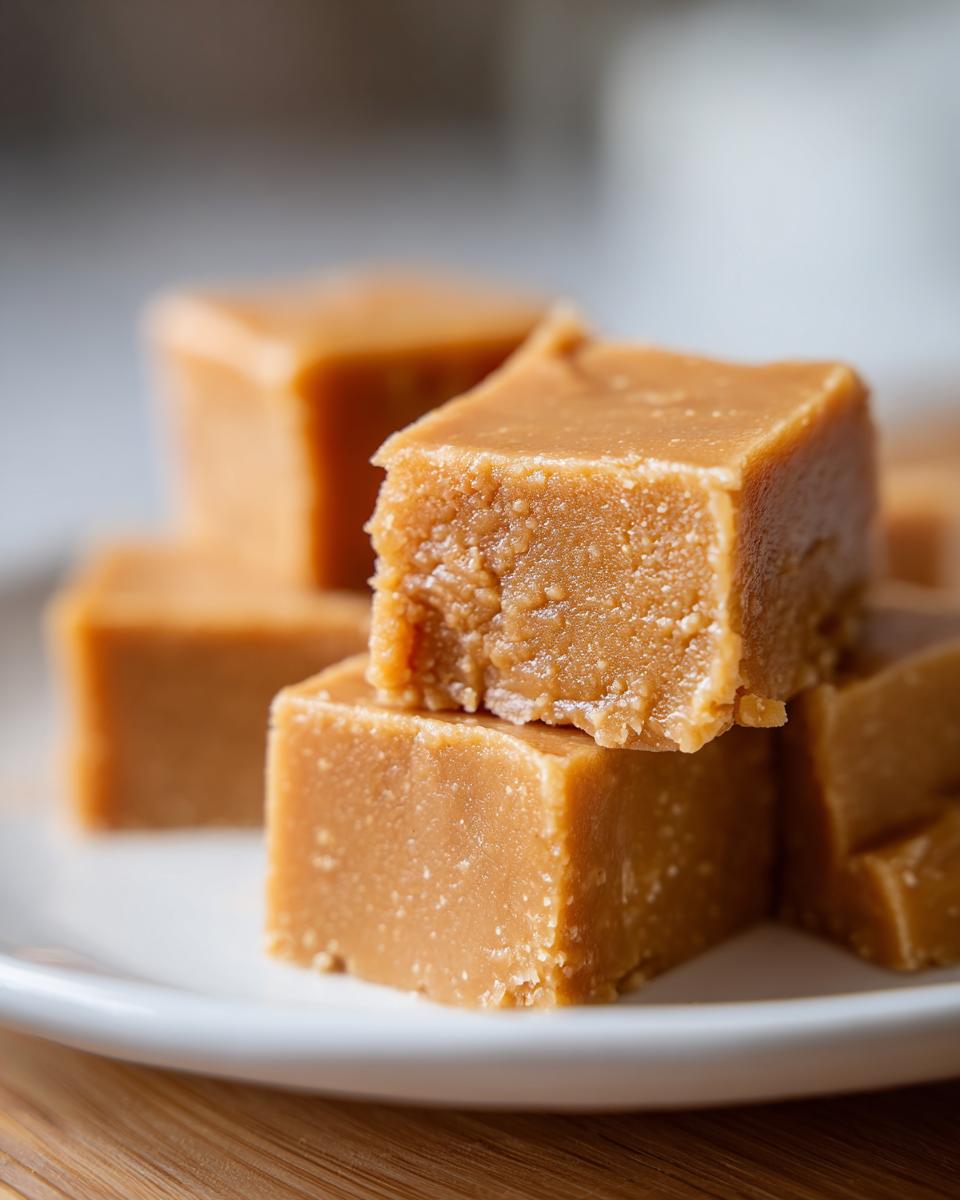
Peanut Butter Fudge—who doesn’t love that rich, melt-in-your-mouth sensation? If you’re searching for that perfect, no-fail candy recipe that tastes exactly like the good old days, you’ve absolutely landed in the right spot. I’m Anna Kowalska, and here I share tried-and-true homemade recipes that you and your family will love. For me, everything is made with heart and flavor, and that means ditching the complicated techniques for things that just *work* every single time.
Forget those grainy, crumbly attempts at homemade candy you might have struggled with before! This recipe is your ticket to achieving the creamiest, smoothest dessert imaginable without needing a fancy candy thermometer or hours of stirring. Seriously, the payoff for such little effort is just incredible. We’re talking about classic, rich Peanut Butter Fudge that sets up beautifully so you get those clean, satisfying squares.
I honed this recipe over years of trying to replicate that perfect childhood treat. It’s fast, it’s simple, and it delivers pure, unadulterated peanut butter bliss. Let’s get this unbelievably easy fudge made!
Jump to:
Why You’ll Love This Peanut Butter Fudge
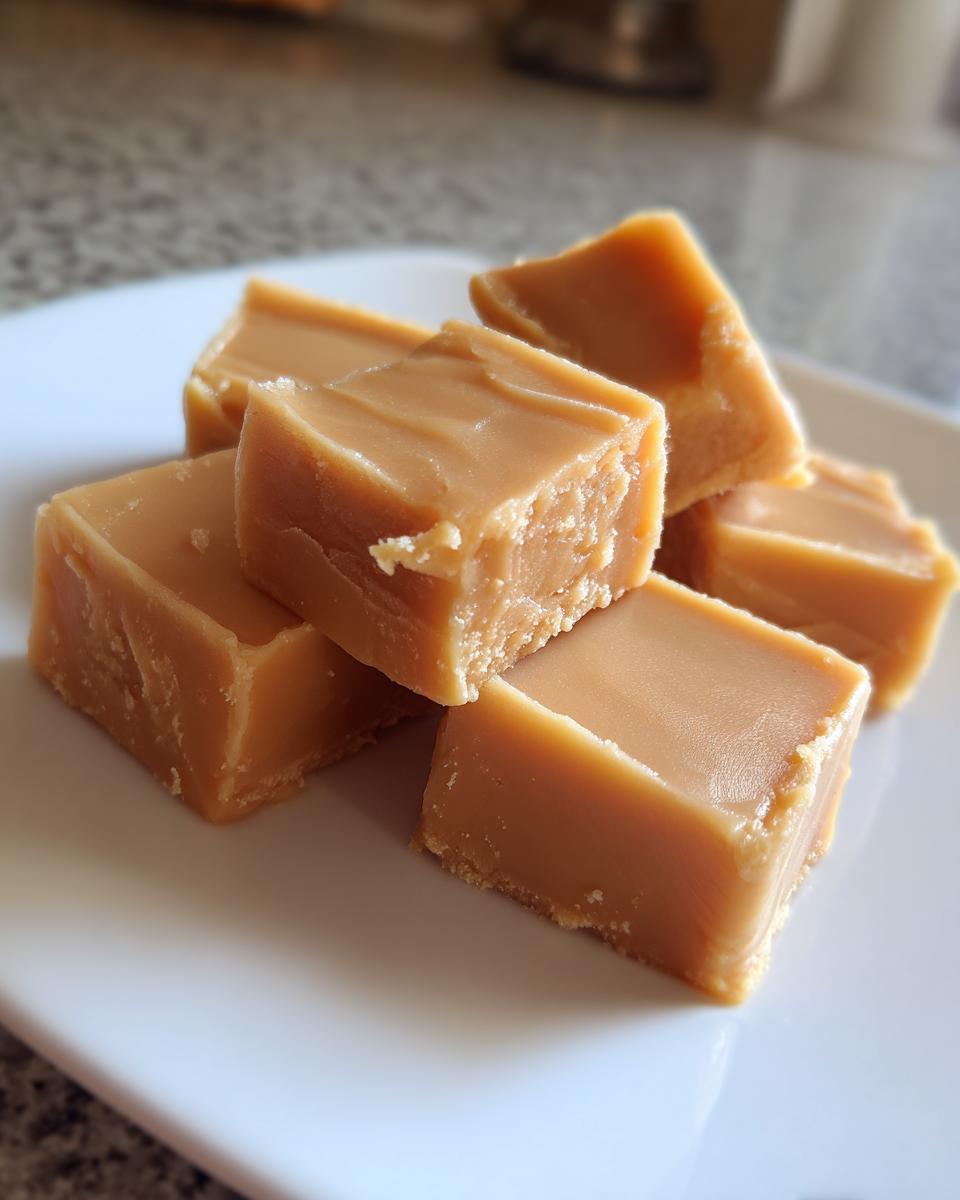
This is the kind of recipe you keep handy for last-minute gifts or when a serious sweet craving hits hard. Honestly, it’s almost impossible to mess up, which is why I keep coming back to it. The texture is what sets this Peanut Butter Fudge apart—it’s velvety smooth, not gritty or sticky. You’ll be shocked at how few ingredients you need to achieve this level of deliciousness.
- It sets up perfectly every time, giving you those clean, beautiful squares.
- The active cooking time is barely five minutes—that’s faster than ordering takeout!
- It uses pantry staples, meaning you can probably make it right now.
It’s pure, concentrated peanut butter joy, wrapped up in a simple package.
Quick Preparation for Amazing Peanut Butter Fudge
I love that this candy doesn’t demand your attention for hours on end. We’re talking 10 minutes of prep time and only 5 minutes of actual stovetop cooking! That’s the beauty of this classic Peanut Butter Fudge method. You’re boiling the sugar mixture for just 5 minutes, and then it’s just a quick stir and into the pan. The rest of the time is hands-off cooling, which means you can go watch a movie or clean up the kitchen while your amazing homemade candy firms up. It’s the ultimate low-effort, high-reward dessert.
Equipment Needed for Your Peanut Butter Fudge
You don’t need a professional kitchen setup for this candy, thankfully! Having the right basic tools makes the brief boiling time much less stressful, though. We aren’t doing anything too fancy here, so just grab what you usually use for stovetop cooking. Having everything ready before you turn on the heat is half the battle won when making quick candy like this.
Essential Tools for Smooth Peanut Butter Fudge
- An 8×8-inch baking pan. This size gives us those perfect, thick squares.
- Heavy-bottomed saucepan. This is important so the sugar mixture doesn’t scorch while boiling.
- Aluminum foil. You need this to line the pan so your Peanut Butter Fudge releases without sticking.
- A sturdy rubber or silicone spatula for stirring everything together quickly at the end.
Assembling the Ingredients for Peanut Butter Fudge
Getting your ingredients ready is key when you’re working with a quick-setting candy like this delicious Peanut Butter Fudge. Because the cooking time is so short, you need everything measured out and right by the stove before you even turn on the burner. Trust me on this—once you take the sugar mixture off the heat, things move fast! We want to ensure we have the absolute best texture, so pay close attention to the specifics in the preparation notes below. These little details are what separate amazing homemade candy from just okay candy.
When you gather these simple components, you’re setting yourself up for success. It’s amazing what just five ingredients can do when treated right!
| Ingredient | Quantity | Preparation Notes |
|---|---|---|
| Sugar | 2 cups | Granulated white sugar |
| Milk | 1/2 cup | Standard whole milk works perfectly here. |
| Unsalted Butter | 1/4 cup | Cut into uniform pieces so it melts evenly. |
| Peanut Butter | 1 cup | Creamy style is essential for that smooth finish. |
| Vanilla Extract | 1 teaspoon | Use pure extract if you can—it really makes the flavor pop. |
Step-by-Step Instructions to Make Perfect Peanut Butter Fudge
Okay, here is where the magic happens! Making this Peanut Butter Fudge is more about timing than technique, which is why I want you to have everything ready before you even think about turning on the stove. Remember, we are moving quickly once that sugar mixture comes off the heat. Read these steps through once or twice before you start, and you won’t miss a beat. This process creates the most wonderfully creamy fudge texture, guaranteed.
Preparing the Pan and Initial Cooking of the Peanut Butter Fudge Base
First things first, let’s get that pan ready. Take your 8×8-inch pan and line it completely with aluminum foil. I like to leave a little overhang on two sides—these act as handles later when you need to lift the whole block of fudge out! You don’t need to grease the foil; the foil itself keeps things clean.
Next, grab your heavy-bottomed saucepan. Combine the 2 cups of sugar, the 1/2 cup of milk, and the 1/4 cup of butter right there in the pan. Put it over medium heat. You need to stir this mixture constantly until the butter is fully melted and the sugar has dissolved. Don’t walk away! Once everything looks uniform and smooth, bring it up to a rolling boil. This is the crucial timing step: you must let it boil, without stirring, for exactly five minutes. I use a timer every single time. If you stir it while it boils, you risk crystallization, and we absolutely do not want grainy Peanut Butter Fudge!
Finishing and Setting Your Homemade Peanut Butter Fudge
When that timer goes off, remove the saucepan from the heat *immediately*. Don’t wait for the bubbling to stop; just move it off the burner. This is where speed matters! Now, drop in your 1 cup of peanut butter and the 1 teaspoon of vanilla extract. You need to stir vigorously but carefully until everything is completely smooth and glossy. You shouldn’t see any streaks of butter or peanut butter hanging around—it should look like one beautiful, thick, tan cloud of deliciousness. That smooth incorporation is what keeps your Peanut Butter Fudge creamy.
As soon as it’s uniform, pour that glorious mixture right into your foil-lined pan. Use your spatula to spread it evenly, but don’t press it down too hard! We want it smooth, not compacted.
Now comes the hardest part: waiting! You need to let this fudge cool completely on the counter, which might take an hour or so. Then, for the best, cleanest cuts, cover it gently and pop it into the refrigerator for at least one hour until it’s totally firm. Once it’s chilled, use those foil handles to lift the entire block out, peel off the foil, and slice it into about 16 squares. Enjoy that perfect homemade candy!
Tips for Achieving Expert-Level Peanut Butter Fudge
While this recipe is wonderfully straightforward, a few small adjustments can make the difference between good fudge and absolutely unforgettable fudge. Since we aren’t using a candy thermometer, our senses become our best guides during that short boiling time. Pay attention to the sound and the visual cues of the mixture. If you are nervous about boiling sugar, just remember: that five-minute timer is your best friend. Don’t ever let the mixture scorch on the bottom of the pan, which usually means keeping the heat steady and stirring right up until the moment you pull it off the burner.
The consistency of your peanut butter also plays a huge role in the final texture. If you use natural, oily peanut butter, you might find the fudge doesn’t set quite as firmly because the oil separates differently during the cooking process. Stick to the standard, creamy variety for the most reliable results.
Troubleshooting Common Peanut Butter Fudge Issues
The most common issue people run into is grainy fudge. This almost always happens if you stir the sugar mixture while it is actively boiling. If you notice tiny sugar crystals forming on the sides of your pan while it boils, take a clean pastry brush dipped in warm water and gently wipe those stray crystals down—this prevents them from falling back into the syrup and causing graininess. For more general candy-making tips, you can check out resources on candy making troubleshooting.
If your fudge simply refuses to set up firm, even after chilling, it usually means the sugar didn’t reach a high enough temperature to crystalize correctly. Next time, let that boil go for the full five minutes, or perhaps even 5 minutes and 15 seconds. If it’s too soft, just press it into a smaller pan next time to force a thicker set. If you are looking for other easy desserts, check out my recipe for Million Dollar Fudge.
Storing and Serving Your Peanut Butter Fudge
One of the best things about homemade candy is that it stores so well, and this Peanut Butter Fudge is no exception! Because it’s so rich, you don’t need large servings, so these squares last a good while if you keep them protected. The notes say room temperature is fine, but I always pop mine in the fridge because I prefer that extra firm, cool bite. It really enhances the texture! If you enjoy rich desserts, you might also like my recipe for Brownie Cheesecake.
You want to keep your fudge in an airtight container. If you stack the pieces, put a small square of parchment paper between the layers so they don’t stick together once they firm up completely. Remember, you don’t want to reheat this at all; it’s meant to be enjoyed cool or at room temperature. Here’s a quick guide for keeping your sweet stash perfect:
| Situation | Guideline |
|---|---|
| Room Temperature Storage | Airtight container |
| Refrigeration | For firmer texture (optional but good practice) |
| Reheating | Not recommended; serve at room temp or slightly chilled |
Frequently Asked Questions About Peanut Butter Fudge
I get so many questions about this recipe because everyone wants that perfect, smooth result! It’s truly a staple in my kitchen, and I’m happy to share everything I’ve learned about making the best Peanut Butter Fudge. Don’t hesitate to try small variations, but always start with the core measurements for guaranteed success with this homemade candy. For more information on the science behind sugar crystallization, you can read about it on a resource like the Exploratorium website.
We cover the big texture questions here, but if you have others, drop them in the comments below! Knowing how to troubleshoot common candy issues means you’ll always end up with that rich, creamy fudge texture we all crave.
Can I use crunchy peanut butter in this Peanut Butter Fudge recipe?
You absolutely *can* substitute crunchy peanut butter if you love the texture contrast, but be aware that it will change the overall smoothness of the finished product. Since the goal of this specific recipe is that classic, velvety texture, I always recommend using creamy peanut butter. The crunchy bits interrupt that melt-in-your-mouth quality that makes this Peanut Butter Fudge so addictive.
How long does creamy fudge stay fresh?
This is great news! Because this fudge is cooked to a specific temperature (even without a thermometer, the 5-minute boil handles most of it), it holds up very well. Stored properly in an airtight container at room temperature, your homemade candy should stay fresh and delicious for about two weeks. If you refrigerate it, it can last even longer, though some people find the texture slightly harder when served straight from the fridge.
Why is my fudge grainy instead of smooth?
Graininess is usually caused by stirring the sugar mixture while it is actively boiling or by letting the sugar cool too slowly before mixing in the peanut butter. You want that rapid temperature change once it comes off the heat to lock in the smooth texture. When you stir in the peanut butter, make sure you mix until it’s completely uniform before pouring it into the pan.
Can I double this recipe?
You can try, but I really advise against it for your first few attempts! Doubling the volume changes how the heat distributes in the saucepan, and it becomes much harder to manage that critical 5-minute boil time accurately without burning the bottom. Stick to the 8×8 pan recipe until you feel completely confident in the timing.
Sharing Your Delicious Peanut Butter Fudge
Well, that’s truly all there is to it! You’ve made rich, creamy, perfect Peanut Butter Fudge using just a few simple steps. I absolutely want to hear how this classic candy turned out for you! Did it set up perfectly? Did your family devour it in five minutes flat? Please leave me a comment below and tell me how your batch turned out. Happy baking—or rather, happy candy-making!
Print
Superb 5 Minute Peanut Butter Fudge
- Total Time: 2 hours 15 minutes
- Yield: About 16 squares 1x
- Diet: Vegetarian
Description
Creamy Peanut Butter Fudge delivers a rich, smooth dessert made simply. This recipe yields classic fudge that sets up perfectly for easy cutting.
Ingredients
- 2 cups sugar
- 1/2 cup milk
- 1/4 cup unsalted butter
- 1 cup peanut butter
- 1 teaspoon vanilla extract
Instructions
- Line an 8×8-inch pan with foil.
- Combine sugar, milk, and butter in a saucepan.
- Bring the mixture to a boil for 5 minutes.
- Remove the pan from the heat.
- Stir in peanut butter and vanilla until the mixture is smooth.
- Pour the fudge into the prepared pan.
- Cool the fudge, then refrigerate until firm.
- Cut the fudge into squares before serving.
Notes
- Store in an airtight container at room temperature.
- Prep Time: 10 minutes
- Cook Time: 5 minutes
- Category: Dessert
- Method: Stovetop
- Cuisine: American
Nutrition
- Serving Size: 1 square
- Calories: 250
- Sugar: 30g
- Sodium: 100mg
- Fat: 14g
- Saturated Fat: 5g
- Unsaturated Fat: 9g
- Trans Fat: 0g
- Carbohydrates: 32g
- Fiber: 1g
- Protein: 5g
- Cholesterol: 15mg