Skip to content
Halloween is just around the corner, and you know what that means – it’s time for some spooky, sweet fun in the kitchen! I’m Anna Kowalska, and here I share tried-and-true homemade recipes that you and your family will love. Everything is made with heart and flavor. For years, my absolute favorite thing has been coming up with whimsical treats that make holidays extra special, and these Witch Hat Waffles are a brand new favorite for our Halloween mornings. They’re so simple, but they look absolutely magical!
Jump to:
Why You’ll Love These Witch Hat Waffles
Seriously, these Witch Hat Waffles are a total game-changer for your Halloween spread. They’re not just adorable; they’re ridiculously easy to whip up, making them perfect for a busy Halloween morning or a fun afternoon activity with the kids. You’ll love how quickly they come together, meaning less time stressing and more time enjoying the spooky season. Plus, who can resist a warm, fluffy chocolate waffle? They taste just as amazing as they look, and the whole family will be asking for more. They’re a guaranteed hit that brings smiles (and maybe a little chocolate mustache) to everyone’s face!
- Super easy to make, even for beginner bakers!
- An incredibly fun and festive Halloween theme.
- Kid-approved and a blast to decorate together.
- Rich, delicious chocolate flavor your whole family will adore.
- Quick enough for a special Halloween breakfast or brunch.
Gathering Your Witch Hat Waffles Ingredients
Alright, let’s get down to business and gather everything we need to make these spooktacular Witch Hat Waffles! You’ll be happy to know most of these are pantry staples, so you probably already have them on hand. First up, we need 1 cup of all-purpose flour for our base. Then, to get that deep, dark chocolatey color and flavor, grab 1/4 cup of unsweetened cocoa powder – the better the cocoa, the richer the waffle! We’ll add just 1 tablespoon of sugar to balance things out, plus 1 teaspoon of baking powder and 1/4 teaspoon of baking soda to make sure they’re nice and fluffy. Don’t forget a pinch of salt, about 1/4 teaspoon, to really make those flavors pop. For the wet ingredients, we’ll need 1 cup of milk, 1 large egg, 2 tablespoons of melted butter (make sure it’s not too hot!), and that essential teaspoon of vanilla extract for that cozy aroma. And of course, for decorating, have some whipped cream, dark chocolate syrup, and your favorite sprinkles ready to go!
Ingredient Notes and Substitutions for Witch Hat Waffles
When it comes to the cocoa powder for your Witch Hat Waffles, I really love using a good quality unsweetened cocoa powder. It gives you that deep chocolate flavor without any added sweetness, which is perfect since we’re adding sugar separately. If you can’t find unsweetened, just be aware that sweetened cocoa powder might make your waffles a tad sweeter than intended. For the milk, whole milk really gives the best richness, but you can totally use skim or even a non-dairy alternative like almond milk or soy milk if that’s what you have. Just make sure whatever milk you use is at room temperature so it mixes in smoothly with the other wet ingredients. And for the butter, if you’re dairy-free, a good plant-based butter substitute will work just fine!
Crafting Your Witch Hat Waffles: Step-by-Step Instructions
Okay, let’s get these spooky treats made! First things first, you absolutely need to get your waffle iron heating up. Follow the manufacturer’s instructions for your specific iron – you want it nice and hot so those waffles cook up perfectly golden and fluffy. While it’s preheating, grab a big bowl and whisk together all your dry ingredients: the all-purpose flour, that lovely cocoa powder, sugar, baking powder, baking soda, and salt. Give them a good mix so everything is evenly distributed. You don’t want any surprises of pure baking soda in one bite, right?
Now, in a separate, slightly smaller bowl, go ahead and combine all your wet ingredients. We’re talking about the milk, the egg, the melted butter, and that wonderful vanilla extract. Whisk these together until they’re nicely blended. Once that’s done, it’s time to bring the two together! Pour all those wet ingredients right into your bowl of dry ingredients. Here’s a crucial tip: stir *just* until everything is combined. Seriously, don’t go crazy with the mixing! A few little lumps are totally okay and actually what you want for tender waffles. Overmixing develops the gluten too much, and we definitely don’t want tough waffles. For more on the science behind baking, check out the science of baking.
Once your batter is ready (and remember, just combined!), carefully pour it onto your preheated waffle iron. The amount you pour will depend on your waffle iron’s size, but don’t overfill it, or you’ll have a messy situation. Cook it according to your waffle iron’s directions – usually, it’s about 5 to 7 minutes, or until it’s golden brown and steams less. When your waffle is done, carefully lift it out. Now for the fun part: making them look like witch hats! You can cut your round or square waffles into triangles. A simple cut down the middle and then diagonally across each half usually does the trick. Arrange these triangles on your serving plates, with the point facing up to look like the top of a hat. Get creative with how you place them!
Tips for Perfect Witch Hat Waffles
To get the best Witch Hat Waffles, make sure your waffle iron is fully preheated – this is key for that perfect crispy exterior. Remember my earlier tip: don’t overmix the batter; a few lumps are your friend for tender waffles! When cutting your waffles into triangles, use a sharp knife or a pizza cutter for clean edges. For the best hat shape, try to cut from the thicker parts of the waffle and arrange them so the points are distinct.
Decorating Your Witch Hat Waffles
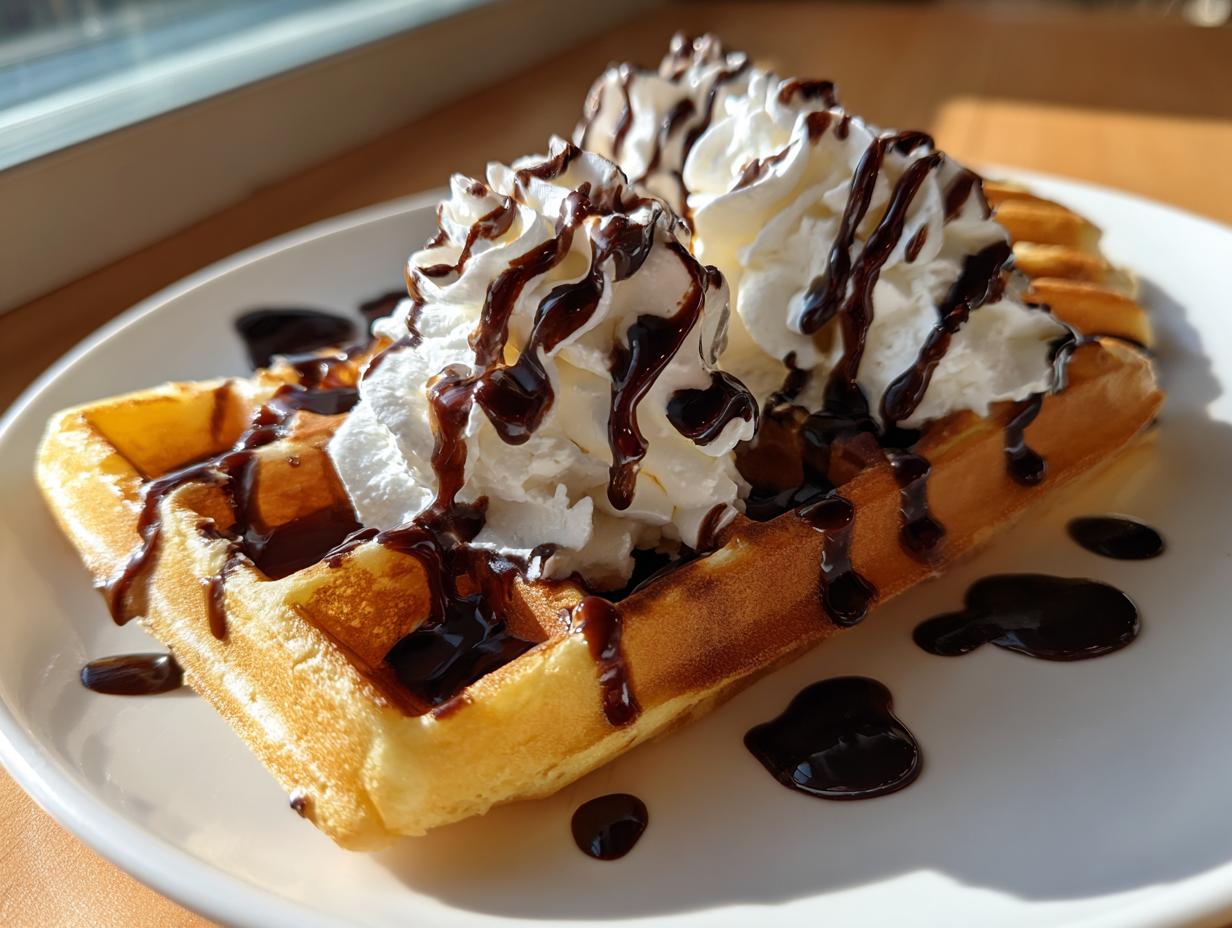
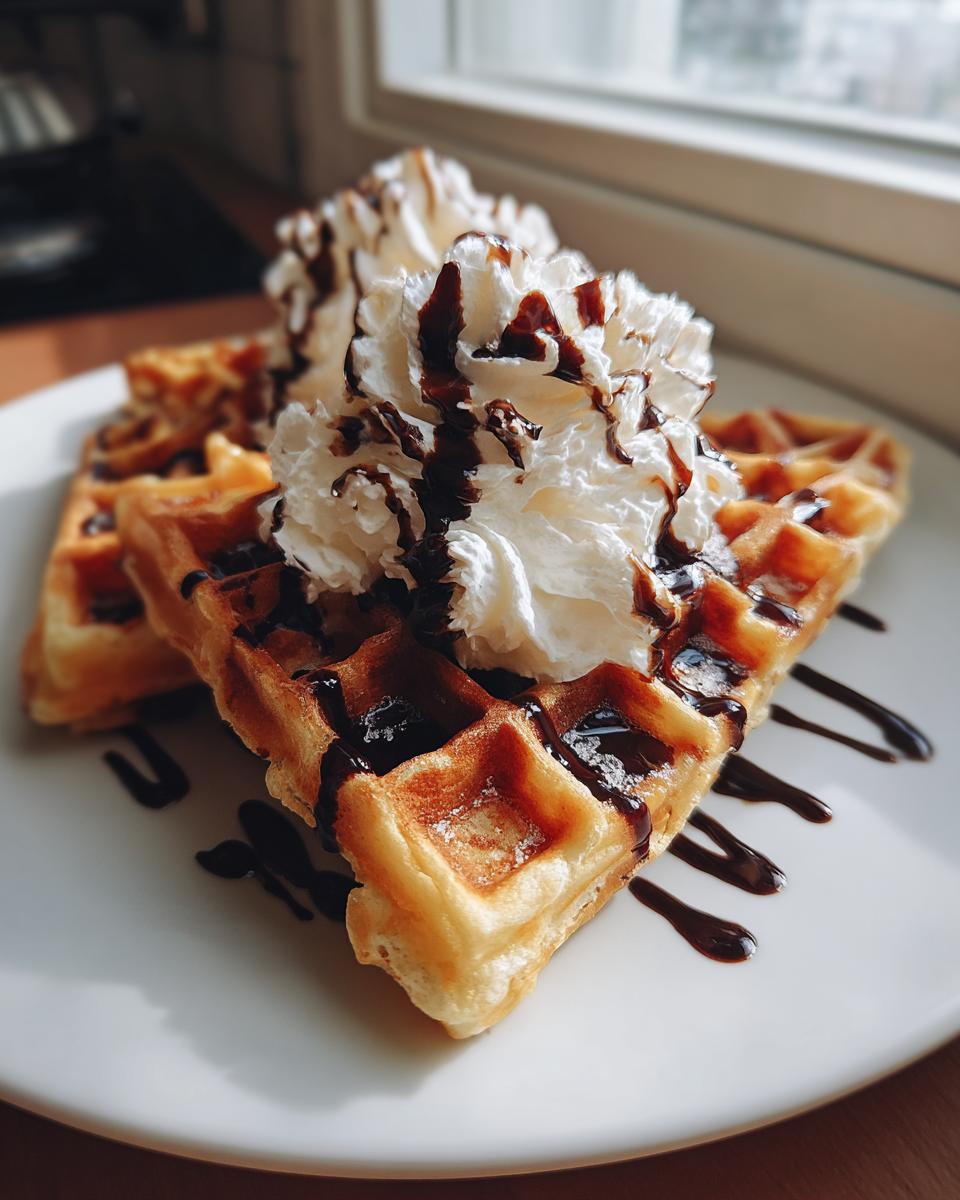
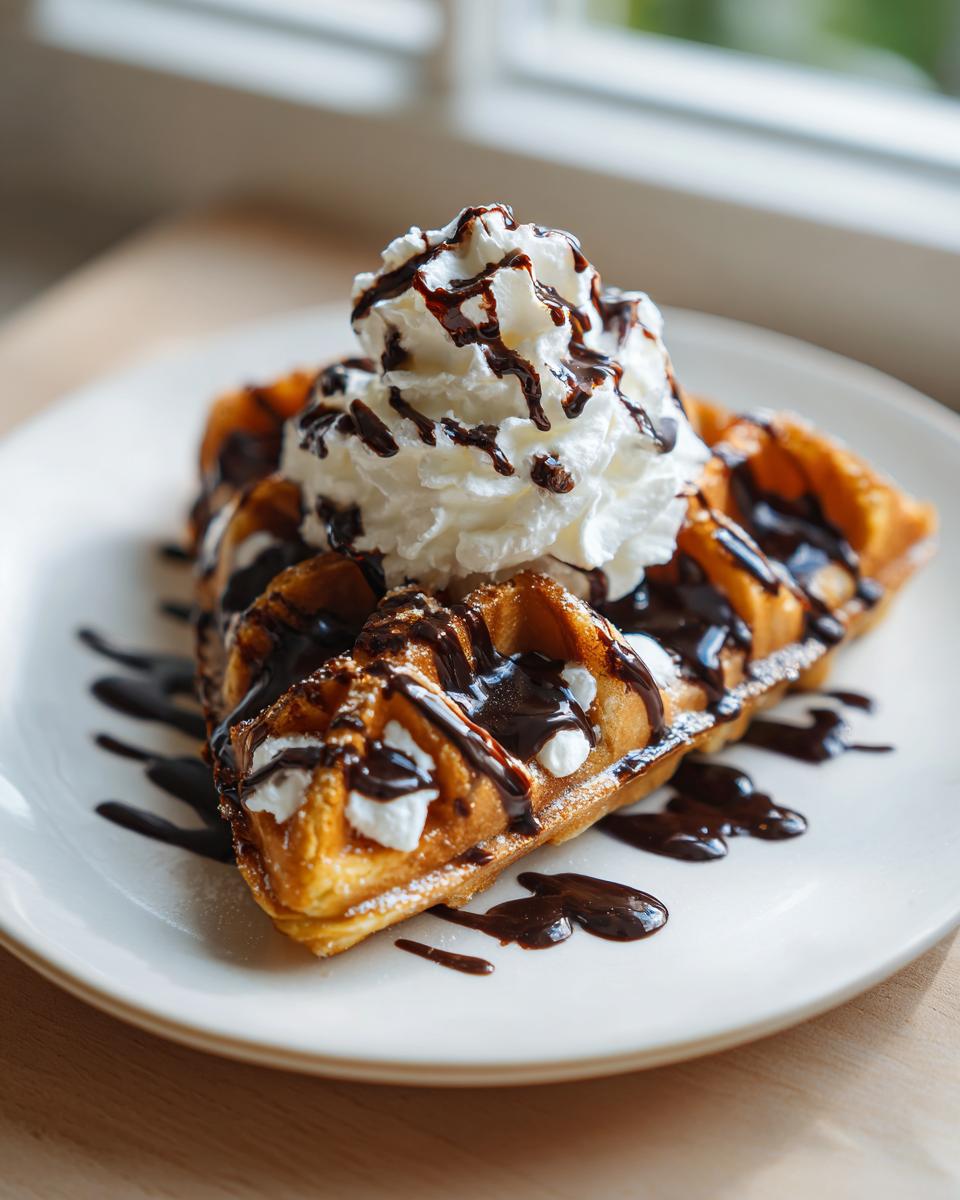
Now for the most magical part – turning these yummy chocolate waffles into adorable Witch Hat Waffles! This is where you can really let your creativity shine. To get that classic witch hat look, start with your waffle triangles arranged on the plate. Take some fluffy whipped cream and pipe or spoon a nice dollop right onto the wider base of the triangle. This will be the crown of your hat! Next, grab your dark chocolate syrup. Drizzle a band of syrup around the base of the whipped cream, right where it meets the waffle, to create the hat’s brim. It looks so cool and adds an extra punch of chocolatey goodness!
And no witch hat is complete without a little sparkle, right? Sprinkle your favorite Halloween-colored sprinkles over the chocolate syrup band, or even a few on top of the whipped cream. You can use orange, purple, black, or even some spooky shapes. Feel free to get creative here – maybe add a little edible glitter or even a candy corn on top for an extra festive touch. The beauty of these Witch Hat Waffles is that they’re super forgiving, so have fun with it! For more fun Halloween treat ideas, check out our dessert recipes.

Frequently Asked Questions about Witch Hat Waffles
Got questions about whipping up these fun Witch Hat Waffles? I’ve got you covered! Here are a few things folks often ask:
Q1. Can I make the batter ahead of time for my Witch Hat Waffles?
You can definitely make the batter for your Witch Hat Waffles a few hours ahead of time! Just mix everything up as directed, then pop it into an airtight container in the refrigerator. Give it a good stir before using it, as it might thicken up a bit. It’s best used within 24 hours, though, so it stays nice and fresh.
Q2. What kind of sprinkles work best for decorating?
Honestly, any sprinkles you love will work great for decorating your Witch Hat Waffles! For that classic Halloween look, I really like using orange, purple, and black jimmies or nonpareils. You can also find fun Halloween-shaped sprinkles, like little ghosts or bats, which add an extra spooky touch. Just make sure they’re not too large, so they stick to the chocolate syrup band easily.
Q3. Are there gluten-free options for Witch Hat Waffles?
You bet! You can easily make gluten-free Witch Hat Waffles. Just swap out the all-purpose flour for a good quality gluten-free all-purpose baking blend that contains xanthan gum. You might need to adjust the liquid slightly, adding a tablespoon or two more milk if the batter seems too thick. The texture will be a little different, but they’ll still be delicious and spooky!
Q4. My waffles are sticking to the iron, what am I doing wrong?
Oh no! Sticking usually means the waffle iron wasn’t hot enough, or it wasn’t greased properly. Make sure your waffle iron is fully preheated according to the instructions. If it’s a non-stick iron, you might still need to give it a light brush of melted butter or cooking spray, especially for the first waffle. Ensure you’re not opening the lid too early, either – give it that full cooking time! For more tips on waffle making, you can consult Food Network’s guide to perfect waffles.
Storing and Reheating Your Witch Hat Waffles
If, by some spooky miracle, you have any Witch Hat Waffles leftover, don’t just toss them! You can totally keep them fresh for another day. Let them cool completely first, then pop them into an airtight container or a zip-top bag. They’ll stay good at room temperature for about a day, or you can stash them in the fridge for up to 3 days. When you’re ready to enjoy them again, just pop them in the toaster on a low setting or warm them up in a 350°F (175°C) oven for a few minutes until they’re nice and toasty. This way, they’ll still taste super yummy, even if they don’t have their fresh-from-the-iron fluffiness!
Estimated Nutritional Information for Witch Hat Waffles
Now, I always like to give you a little heads-up on what you’re working with nutritionally, but remember these are just estimates for our Witch Hat Waffles! The exact numbers can wiggle around a bit depending on the brands you use and how generously you decorate them. This info is for one plain waffle before all the fun toppings.
Here’s a general idea:
| Serving Size | 1 waffle |
| Calories | 250 |
| Fat | 12g |
| Saturated Fat | 6g |
| Carbohydrates | 30g |
| Sugar | 10g |
| Protein | 6g |
| Sodium | 200mg |
It’s always a good idea to think of these as a fun treat, especially with all those delicious decorations!
Share Your Witch Hat Waffles Creations!
I just love seeing your baking adventures! If you make these fun Witch Hat Waffles, please share your photos and tell me all about it in the comments below. I’d be thrilled to hear how they turned out and if your family loved them as much as mine does! A quick rating helps other bakers too!
Print
Spooky Witch Hat Waffles: 1 Magical Treat
- Total Time: 25 minutes
- Yield: 4-6 waffles 1x
- Diet: Vegetarian
Description
These Witch Hat Waffles are a fun and spooky treat perfect for Halloween. They are easy to make and can be decorated to look like witch hats.
Ingredients
- 1 cup all-purpose flour
- 1/4 cup cocoa powder
- 1 tbsp sugar
- 1 tsp baking powder
- 1/4 tsp baking soda
- 1/4 tsp salt
- 1 cup milk
- 1 egg
- 2 tbsp melted butter
- 1 tsp vanilla extract
- Whipped cream, dark chocolate syrup, and sprinkles for decorating
Instructions
- Preheat your waffle iron according to the manufacturer’s instructions.
- In a large bowl, whisk together the flour, cocoa powder, sugar, baking powder, baking soda, and salt.
- In another bowl, combine the milk, egg, melted butter, and vanilla extract.
- Pour the wet ingredients into the dry ingredients and stir until just combined.
- Pour the batter into the preheated waffle iron and cook according to the manufacturer’s instructions.
- Once the waffles are cooked, cut them into triangles and arrange them on plates to resemble witch hats.
- Decorate with whipped cream, dark chocolate syrup, and sprinkles.
- Serve immediately.
Notes
- Ensure your waffle iron is properly preheated for best results.
- Do not overmix the batter to keep the waffles tender.
- The triangles can be cut from round waffles or from square waffles.
- Prep Time: 10 minutes
- Cook Time: 5-7 minutes per waffle
- Category: Dessert
- Method: Waffle Iron
- Cuisine: American
Nutrition
- Serving Size: 1 waffle
- Calories: 250
- Sugar: 10g
- Sodium: 200mg
- Fat: 12g
- Saturated Fat: 6g
- Unsaturated Fat: 6g
- Trans Fat: 0g
- Carbohydrates: 30g
- Fiber: 2g
- Protein: 6g
- Cholesterol: 50mg