Skip to content
Oh my goodness, have you ever craved something sweet, creamy, and utterly decadent, but then remembered you’re trying to keep things dairy-free? I totally get it! That’s exactly where my kitchen adventures often start. I’m Anna Kowalska, and here I share tried-and-true homemade recipes that you and your family will love. Everything is made with heart and flavor, and this Vegan Biscoff Ice Cream is a prime example of that! It’s like a little taste of heaven, made so incredibly simple. Forget those complicated dairy-free dessert recipes; this one is a game-changer that you can whip up in minutes. Get ready to fall head over heels for this dreamy, cookie-butter-infused treat!
Jump to:
Why You’ll Love This Vegan Biscoff Ice Cream
Seriously, this Vegan Biscoff Ice Cream is a total winner! It’s the kind of recipe that makes you feel like a kitchen magician, even if you’re short on time. You’re going to adore how:
- It’s ridiculously quick and easy to whip up – perfect for those sudden sweet cravings!
- The taste is pure Biscoff bliss, that warm, spiced cookie flavor you know and love.
- It’s completely dairy-free and vegan, so everyone can dig in.
- It’s the ultimate way to satisfy your sweet tooth instantly without any fuss.
Gather Your Ingredients for Vegan Biscoff Ice Cream
Alright, let’s get down to business! Making this amazing Vegan Biscoff Ice Cream is almost as fun as eating it, and it all starts with having the right stuff on hand. You don’t need a whole pantry full of fancy things, just a few key players that come together like magic. Trust me, these simple ingredients are the secret to that incredible creamy texture and that addictive Biscoff flavor we’re going for. It’s so straightforward, you’ll be scooping this up in no time!
Essential Components for Vegan Biscoff Ice Cream
Here’s the breakdown of what makes this treat so special:
- Frozen Bananas: These are the absolute superstars! When you freeze them and then blend them up, they turn into the creamiest, dreamiest ice cream base. It’s like magic, but it’s just bananas!
- Plant Milk: Just a little splash helps everything blend smoothly. Soy milk is my go-to, but you can totally use almond, oat, or whatever you have lurking in your fridge.
- Biscoff Spread: This is where all that glorious cookie butter flavor comes from! It’s rich, spiced, and totally irresistible. Get ready for that signature taste!
- Biscoff Cookies: We’re adding some crunchy bits right into the ice cream for extra texture and flavor. Plus, you’ll want some for topping, right?
Ingredient Notes and Substitutions
Let’s chat about making sure you get the best results. For the bananas, make sure they’re *really* frozen! Slice them up *before* you freeze them, and then just toss them in the blender straight from the freezer. This is key for that super smooth, soft-serve-like texture. If you don’t have soy milk, no worries at all! Almond milk, oat milk, or even cashew milk will work beautifully here. Just start with a tablespoon and add a tiny bit more if your blender is struggling. And about the Biscoff spread – if you can’t find it (though I highly recommend hunting it down!), a good speculoos cookie butter will do the trick. For the cookies, if you can’t get Biscoff, any crunchy spiced biscuit will give you a lovely texture boost.
Simple Steps to Prepare Vegan Biscoff Ice Cream
Alright, buckle up, because this is where the magic *really* happens! Making this Vegan Biscoff Ice Cream couldn’t be easier, and I promise you, the payoff is HUGE. It’s so simple, you might just make it your new go-to dessert. We’re talking minutes from craving to creamy, cookie-buttery goodness. Just follow these super straightforward steps and get ready for pure bliss!
- Step 1: Combine Ingredients in Blender
First things first, grab your food processor or a high-speed blender. Toss in those frozen banana slices – make sure they’re good and solid! Then, add your splash of plant milk, the luscious Biscoff spread, and those broken-up Biscoff cookies. It might look like a lot, but trust the process!
- Step 2: Blend Until Smooth
Now, get that blender going! You’ll want to pulse it a few times to start breaking things down, then let it run until everything is super smooth and creamy. It’s going to look a little chunky at first, and that’s totally fine. Just pause every now and then to scrape down the sides of the blender with a spatula. This makes sure all those banana bits and cookie crumbles get incorporated beautifully.
- Step 3: Achieve Desired Texture
Once it’s looking smooth and glossy, you’ve pretty much done it! You can enjoy it right away, and it’ll have a wonderful, soft-serve consistency. If you prefer it a bit firmer, more like traditional scoopable ice cream, just pop it into a freezer-safe container and let it chill for a couple of hours. It firms up nicely without getting rock hard.
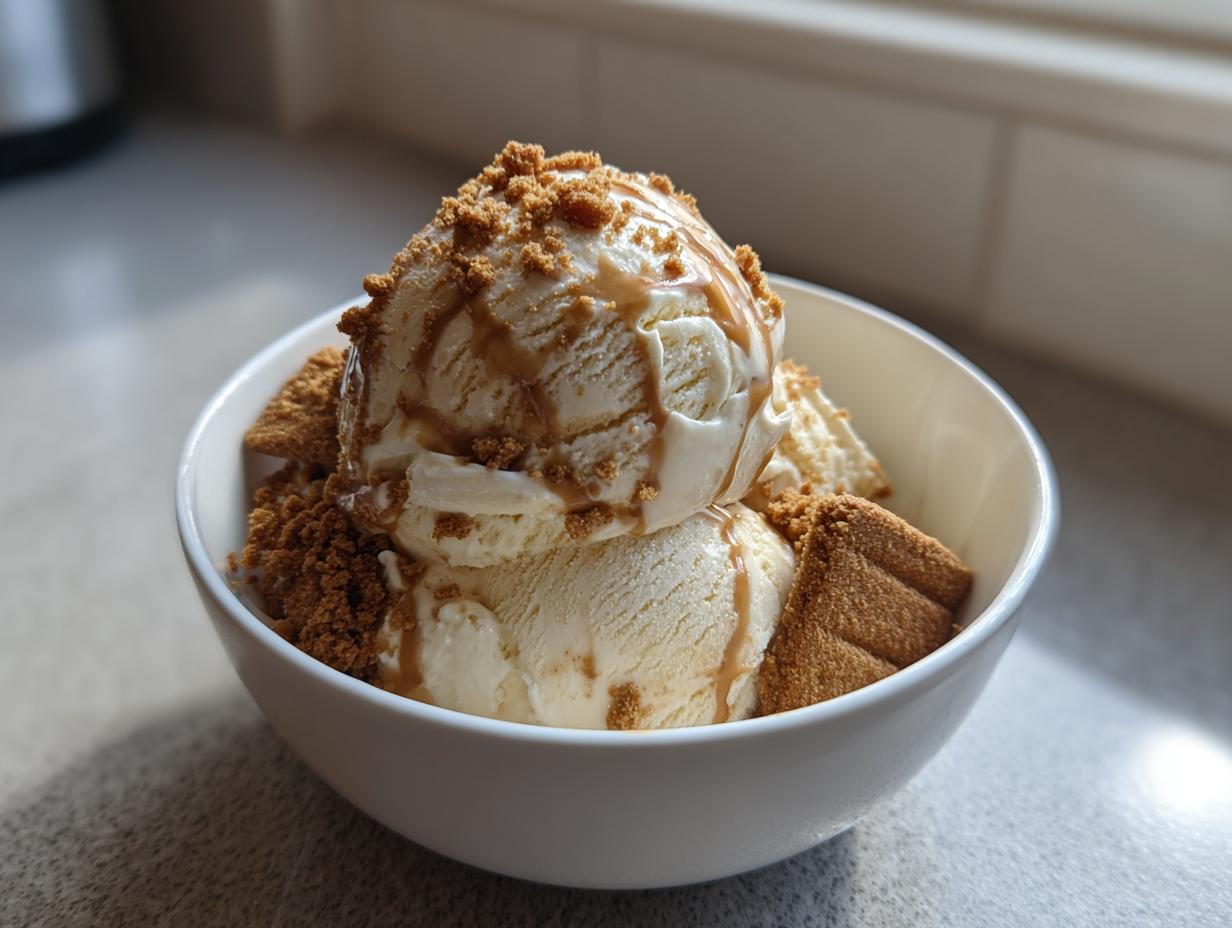
- Step 4: Add Optional Toppings
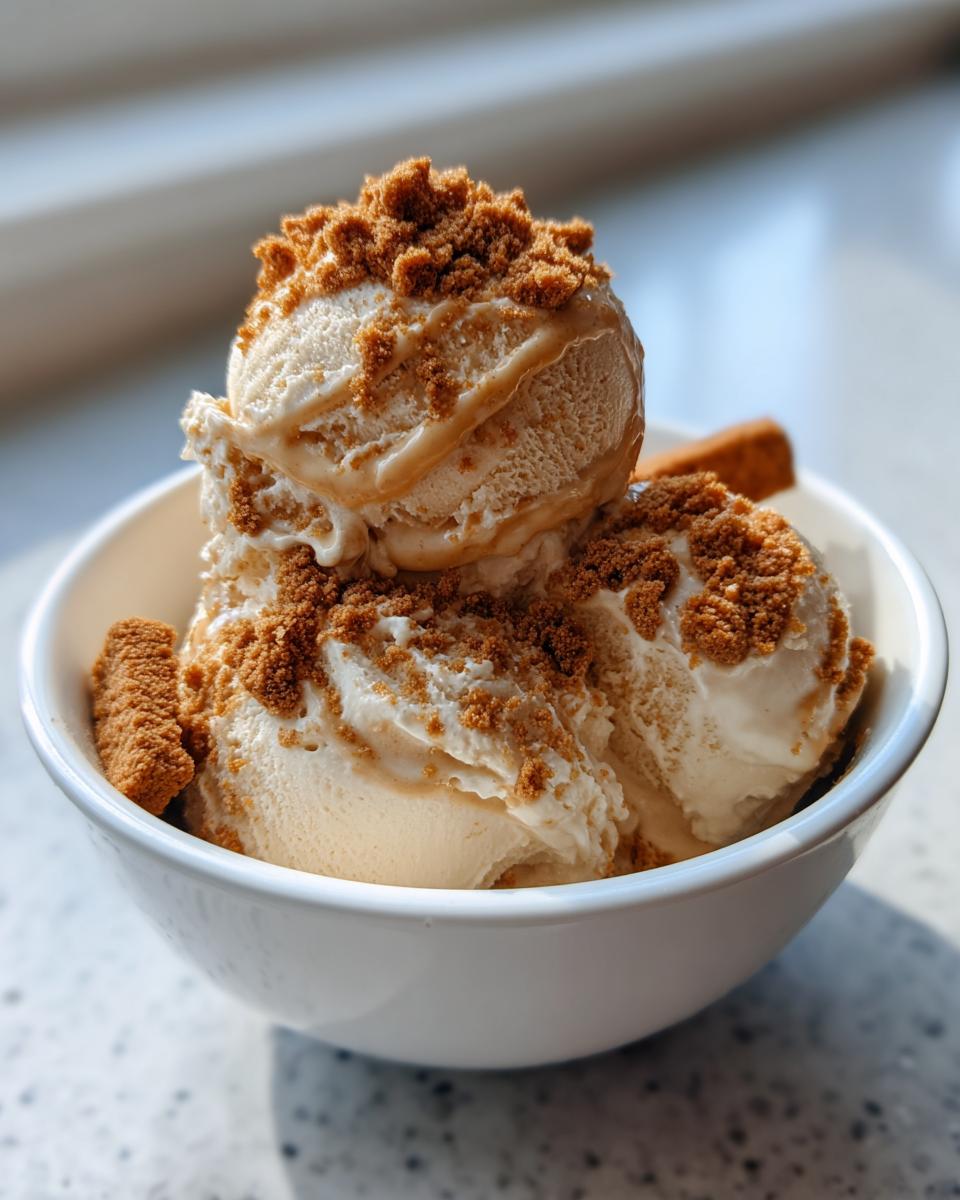
This is where you can really have some fun! Serve your ice cream immediately for that soft texture, or after it’s firmed up. Top it with a few extra Biscoff cookie pieces, maybe a little drizzle of warmed Biscoff spread (just microwave a tablespoon for a few seconds until pourable – yum!). It makes it look extra special and adds another layer of deliciousness.
Tips for the Perfect Vegan Biscoff Ice Cream
Want to make sure your Vegan Biscoff Ice Cream turns out absolutely perfect every single time? A few little tricks go a long way! Make sure those bananas are completely frozen before you start – this is non-negotiable for that creamy texture. If your blender is struggling, add just a tiny bit more plant milk, but be careful not to add too much, or it’ll become too soupy. And a good scraping down of the sides is your best friend; it ensures everything blends evenly and you get that smooth finish without any banana chunks left behind!
Frequently Asked Questions about Vegan Biscoff Ice Cream
Got questions about this yummy dairy-free treat? I’ve got answers!
Can I use fresh bananas instead of frozen for Vegan Biscoff Ice Cream?
Oh boy, I really wouldn’t recommend it if you want that classic ice cream texture! Using frozen bananas is the secret to getting that super creamy, soft-serve consistency without any dairy. Fresh bananas will just make a smoothie, not ice cream. So, do yourself a favor and freeze those bananas ahead of time!
How long does Vegan Biscoff Ice Cream last?
Honestly, this banana nice cream is best enjoyed right away, or within a day or two. Because it doesn’t have the stabilizers you find in store-bought ice cream, it can get a bit icy if it sits in the freezer for too long. The flavor is always best when it’s fresh!
What is the best way to store Vegan Biscoff Ice Cream?
If you do have leftovers (which is rare in my house!), the best way to store it is in an airtight container in the freezer. You might want to press some plastic wrap directly onto the surface before putting the lid on. This helps prevent ice crystals from forming. Remember, it might need a few minutes to soften up before scooping if it gets too firm.
Can I make this Vegan Biscoff Ice Cream without a food processor?
Yes, you absolutely can! A high-speed blender works like a charm. You might need to add just a tiny bit more plant milk to get things moving, and you’ll definitely want to pause and scrape down the sides more often. But don’t worry, it’ll still come out wonderfully creamy and delicious!
Nutritional Snapshot of Vegan Biscoff Ice Cream
Just so you know, this is an estimate, but it gives you a good idea of what you’re getting with each delicious scoop of this dairy-free delight!
| Serving Size | 1 serving (approx. 2 scoops) |
| Calories | 255 kcal |
| Sugar | 24 g |
| Sodium | 48 mg |
| Fat | 9 g |
| Saturated Fat | 3 g |
| Unsaturated Fat | 6 g |
| Trans Fat | 0 g |
| Carbohydrates | 44 g |
| Fiber | 3 g |
| Protein | 3 g |
| Cholesterol | 0 mg |
Serving and Storage for Your Vegan Biscoff Ice Cream
This Vegan Biscoff Ice Cream is pure joy, and how you serve and store it can make all the difference. It’s best enjoyed when it’s just right!
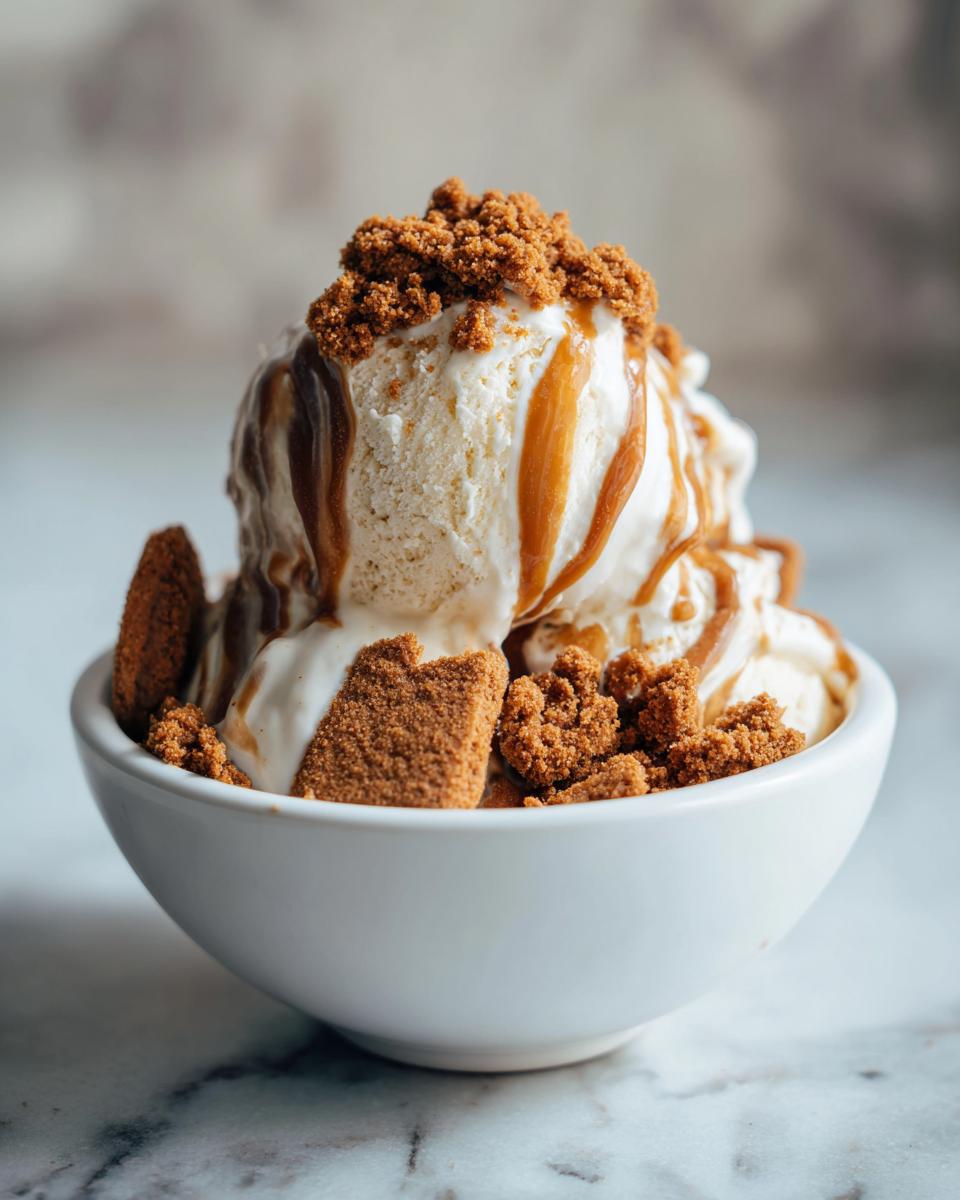
| Serving Suggestions | This ice cream is amazing on its own, but feel free to get creative! A few extra Biscoff cookie crumbles on top are a must for me. You could also warm up a little extra Biscoff spread in the microwave for a gooey drizzle – talk about decadent! It’s also fantastic served alongside some fresh berries or even a slice of vegan chocolate cake. Remember, it’s at its creamiest right after blending or after a short chill in the freezer. |
| Storage Instructions | If you happen to have any leftovers (which is a big “if” in my house!), store them in an airtight container in the freezer. To keep it from getting too hard, you can press a piece of parchment or wax paper directly onto the surface of the ice cream before putting the lid on. It’ll keep for a day or two, but honestly, it’s best eaten fresh. If it does get too firm, just let it sit on the counter for about 10-15 minutes to soften up before scooping. |

Amazing Vegan Biscoff Ice Cream: 10-Minute Dream
- Total Time: 5 minutes (plus freezing time)
- Yield: 2 servings 1x
- Diet: Vegan
Description
This Vegan Biscoff Ice Cream is a simple, delicious, and dairy-free treat. Made with just a few ingredients, it’s a quick way to satisfy your sweet cravings.
Ingredients
- 2 (200 g) frozen bananas, sliced
- 1 tbsp soy milk or other plant milk
- 2 tbsp (1 tbsp) Biscoff spread cookie butter
- 3 Biscoff cookies / biscuits, broken into pieces
Instructions
- Place all the ingredients in a food processor or high-speed blender.
- Blend until smooth. Pause to scrape down the sides if necessary.
- Enjoy immediately, or transfer to a covered container and freeze for a couple of hours for a firmer, scoopable texture.
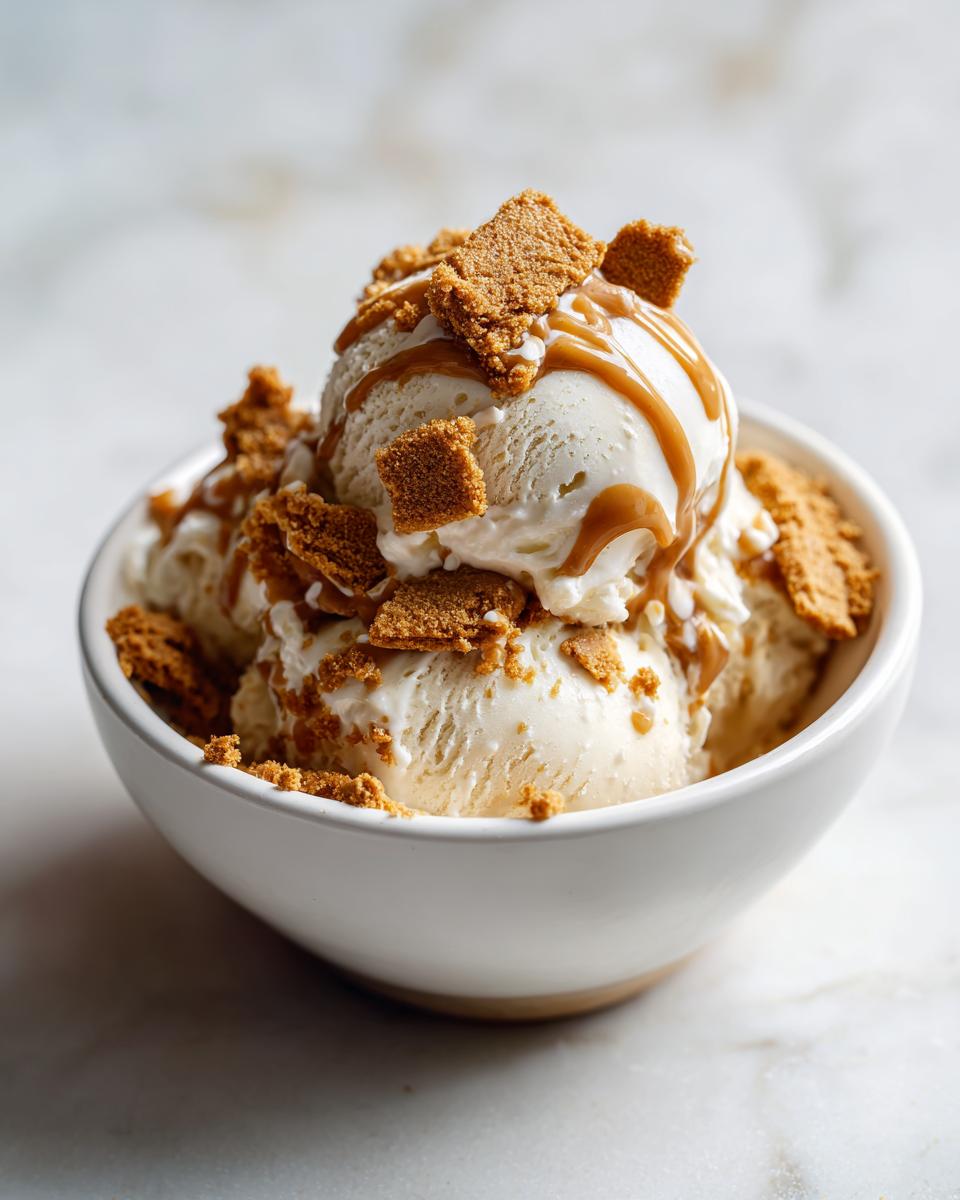
- Top with extra cookies and a drizzle of warmed spread.
Notes
- One medium banana is approximately 100g or just under ½ cup of banana slices.
- Two medium bananas yield 4 scoops or 2 servings.
- This ice cream is best eaten fresh on the day of making.
- Prep Time: 5 minutes
- Cook Time: 0 minutes
- Category: Dessert
- Method: Blender
- Cuisine: American
Nutrition
- Serving Size: 1 serving (approx. 2 scoops)
- Calories: 255 kcal
- Sugar: 24 g
- Sodium: 48 mg
- Fat: 9 g
- Saturated Fat: 3 g
- Unsaturated Fat: 6 g
- Trans Fat: 0 g
- Carbohydrates: 44 g
- Fiber: 3 g
- Protein: 3 g
- Cholesterol: 0 mg