Skip to content
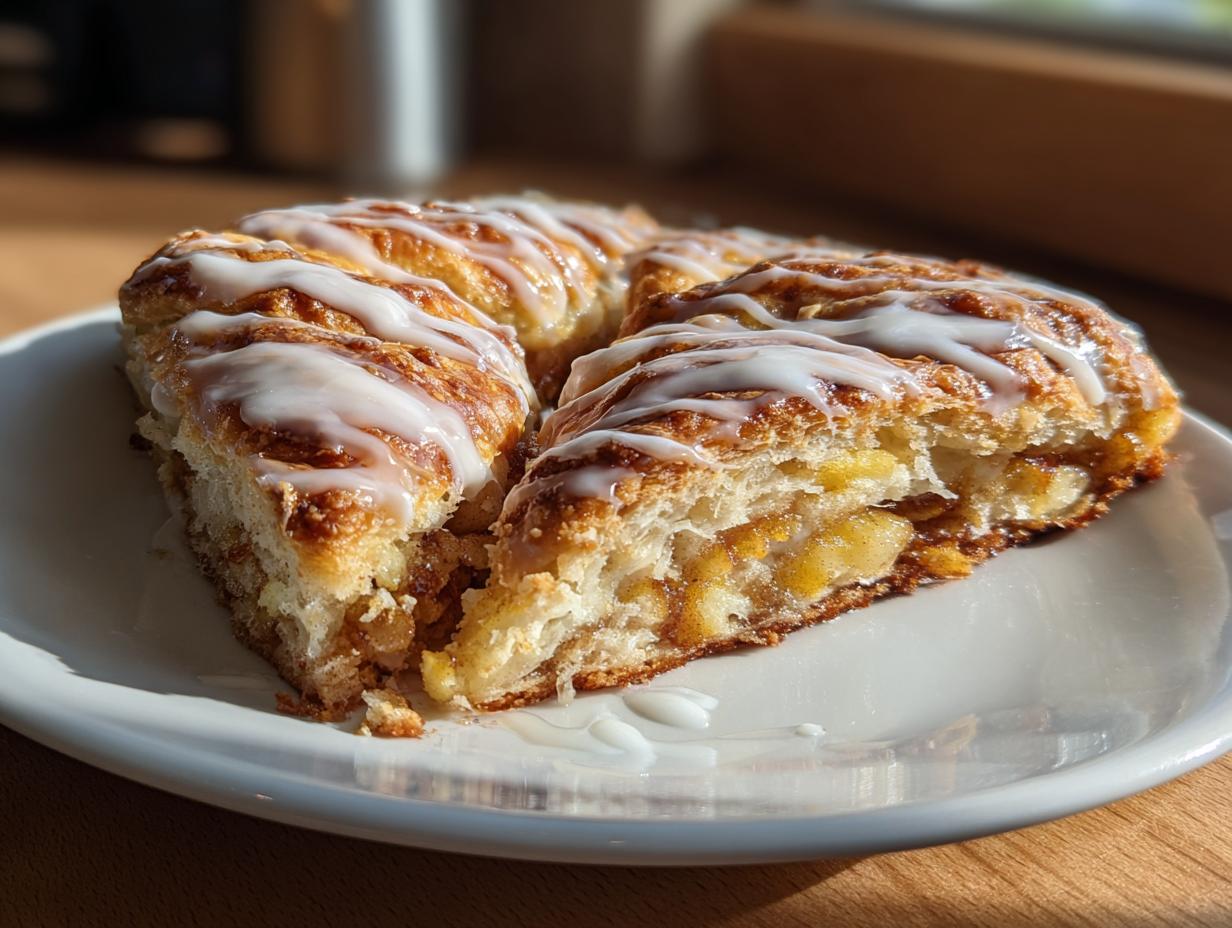
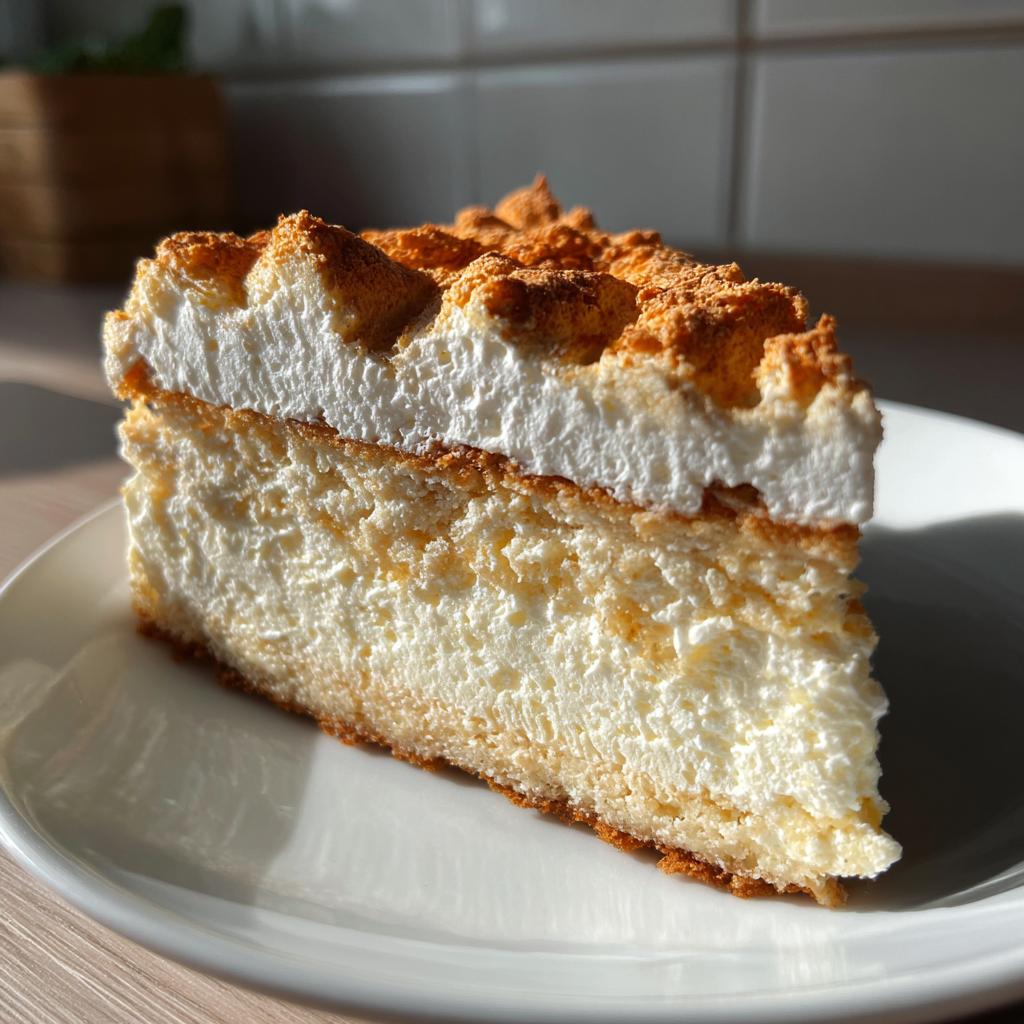
Forget those dry, mass-produced pastries! If you’ve ever dreamed of biting into a truly spectacular, buttery **Wisconsin Apple Kringle** that shatters perfectly with every bite, you are in the right place. Seriously, this recipe is a game-changer. Hi there, I’m Anna Kowalska, and in my kitchen, everything is made with heart and flavor. I share tried-and-true homemade recipes that I know you and your family will absolutely love. This particular pastry, with its spiced apple center and sweet, simple glaze, is quickly becoming a family favorite here. It brings that rich, flaky bakery magic right into your own oven, and trust me, it’s easier than you think!
Jump to:
Gathering Ingredients for Your Wisconsin Apple Kringle
Getting the flakiness right in this **Wisconsin Apple Kringle** is all about what you put in and how you treat those ingredients before they even hit the bowl. We need structure from the flour, richness from the butter, and lift from the yeast. Don’t skimp on quality here, especially with the apples, because that’s where all the flavor hides! We are aiming for bakery-level texture, and these components are non-negotiable for that classic result.
Dough Components for Authentic Wisconsin Apple Kringle
The dough is the heart of any good pastry, and for this **Wisconsin Apple Kringle**, temperature is everything. You’ll need 2 cups of all-purpose flour, 1 teaspoon of kosher salt, and 3 tablespoons of regular granulated sugar. The star for texture is 1 cup of unsalted butter—it absolutely must be cold and cubed small! For the wet side, warm up 1/3 cup of whole milk—warm enough to wake up the yeast, but not so hot it kills it. Mix that with 2 teaspoons of water and 2 teaspoons of active dry yeast. Finally, one egg helps bind everything together beautifully.
Selecting the Apple Filling and Spice
For the filling, we are keeping it simple but potent. You only need about 2 ounces of good apple pie filling. I really suggest using a quality store-bought filling or making your own favorite batch, because this is the star flavor! To give it that signature Scandinavian twist that makes this **Wisconsin Apple Kringle** special, we add just 1/4 teaspoon of ground cardamom. It’s warm and slightly floral—it elevates the apple without overpowering it. Don’t skip it if you can help it!
Simple Vanilla Glaze Ingredients
The topping is designed to be quick and sweet, letting the pastry shine. You just need 1 cup of powdered sugar, 1 teaspoon of vanilla extract, and then 2 to 3 teaspoons of water to get the perfect drizzling consistency. We want it thin enough to spread but thick enough to look opaque when it dries.
Step-by-Step Instructions for Perfecting the Wisconsin Apple Kringle
Okay, now that we have our beautiful ingredients ready, let’s get baking! Remember, patience during the mixing and chilling stages is what gives you that incredible flaky result in your **Wisconsin Apple Kringle**. Follow these steps closely, and you’ll have a stunning pastry.
Preparing the Yeast Dough Base
First things first, wake up that yeast! Combine your warm milk, water, and yeast in a little bowl and just let it sit for about five minutes until it gets nice and foamy—that means it’s alive and ready to work. While that’s happening, whisk your flour, salt, and sugar together in a big bowl. Now, take that cold, cubed butter and cut it into the dry mix. You want to work it in quickly—using your fingers or a pastry blender—until it looks like coarse crumbs, maybe with some pea-sized chunks still visible. Don’t let the butter get warm! Once it looks crumbly, pour in the foamy yeast mixture and the egg. Stir gently with a wooden spoon only until the dough just starts to come together into a rough ball. Seriously, stop mixing the moment you can’t see dry flour anymore; overmixing is the enemy of flakiness!
Chilling and Rolling the Kringle Dough
Take that rough ball of dough, flatten it slightly into a disc, wrap it up tight in plastic wrap, and put it in the fridge. You absolutely must chill this for at least one full hour. This step is crucial because chilling solidifies the butter chunks we just worked in, and those butter pockets are what create the layers when they steam in the oven. When the hour is up, preheat your oven to 375°F (190°C). Lightly flour your counter and roll that chilled dough out into one big, long rectangle. Try to keep the edges as neat as possible!
Filling and Shaping Your Wisconsin Apple Kringle
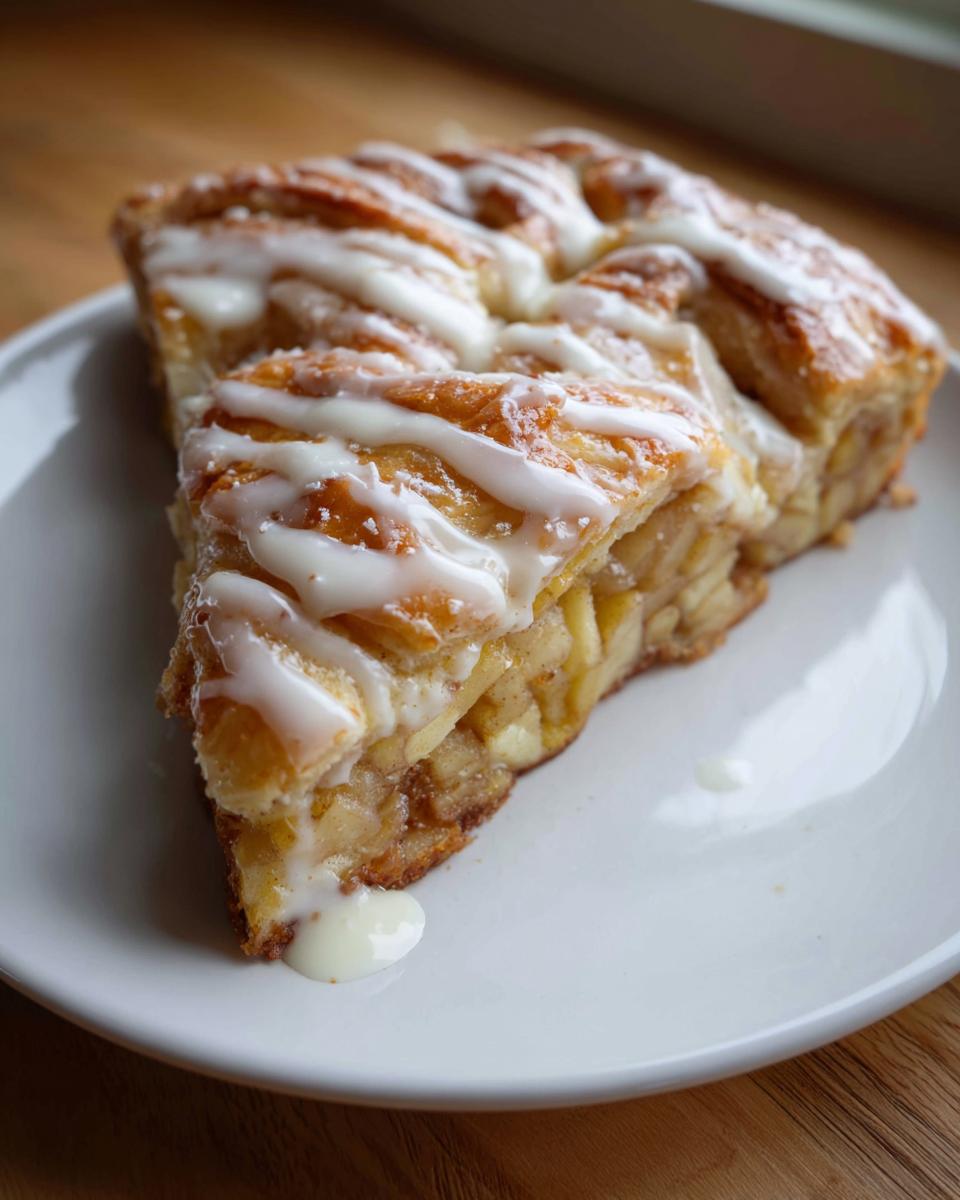
Time for the good stuff! You’re going to spread that apple pie filling right down the center third of your dough rectangle, leaving about an inch clear on both long sides. Now, sprinkle that gorgeous cardamom right over the apples. This is the fun part of making your **Wisconsin Apple Kringle**: fold the dough over the filling lengthwise, like you’re closing a book, making sure the edges meet over the filling. Gently pinch those long edges closed really well—we don’t want any apple escapees! Then, carefully curve the sealed log into a horseshoe or an oval shape and move it onto a baking sheet lined with parchment paper. If you want that extra golden shine, brush the whole thing lightly with a bit of reserved egg wash.
Baking and Cooling Procedures
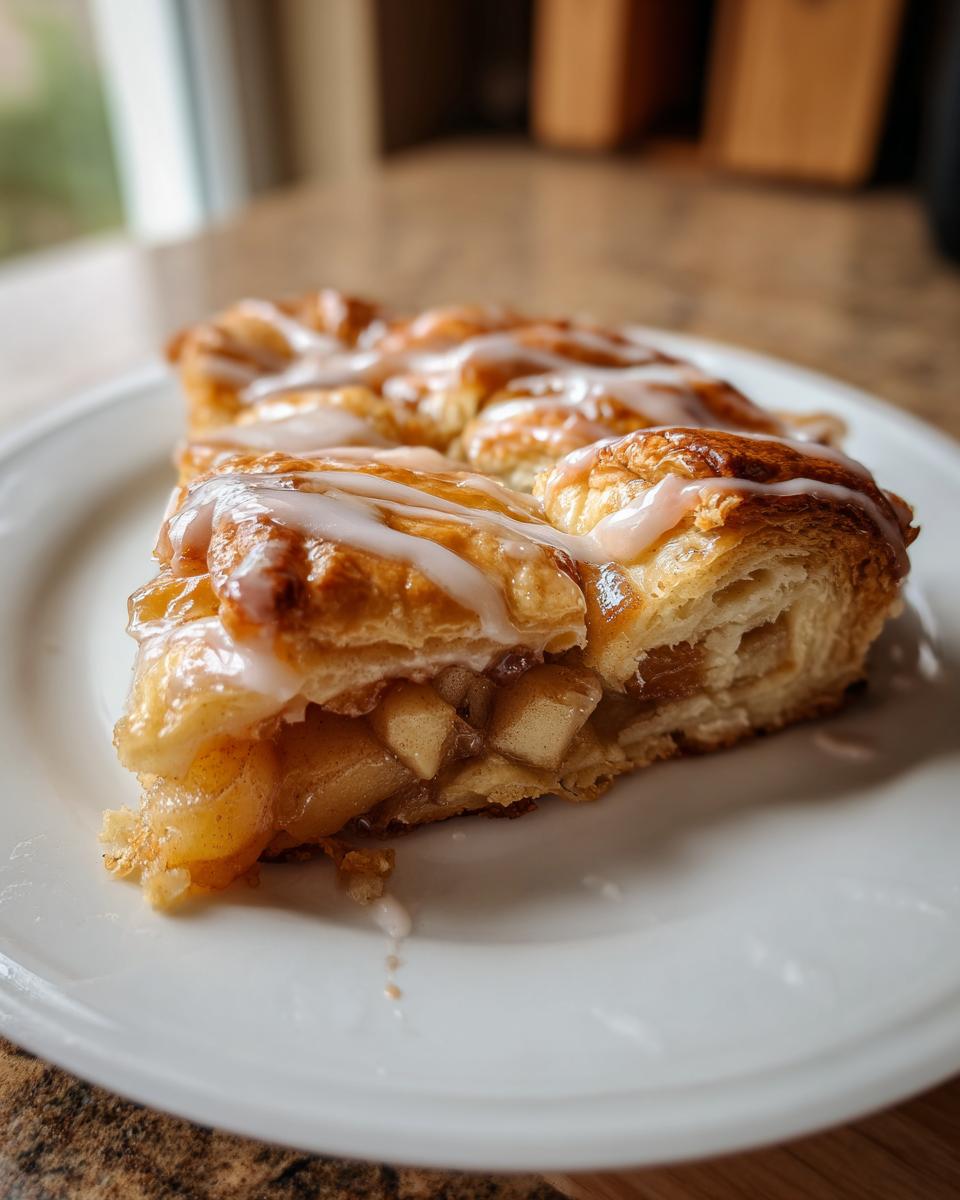
Get that Kringle into the preheated 375°F oven and let it bake for about 22 to 25 minutes. You’re looking for a deep, beautiful golden brown color, and the pastry layers should look puffed up and flaky. When it comes out, you have to practice the hardest part of baking: patience! Let the Kringle cool completely on a wire rack. If you try to glaze it while it’s even slightly warm, the glaze will just melt right off into a sad puddle.
Crafting and Applying the Final Glaze
Once the pastry is totally cool, whip up that glaze. Just mix your powdered sugar, vanilla extract, and start adding tiny splashes of water—maybe a teaspoon at a time—stirring constantly until it’s silky smooth and drizzly. If it looks too thick, add a drop more water; too thin, a tiny pinch more sugar. Drizzle it back and forth over the cooled pastry. Let that glaze set up for about 15 minutes before you dare slice into this masterpiece!
Tips for Achieving Expert Level Flakiness in Your Pastry
If you want that signature shatter when you bite into this pastry, it all comes down to temperature control and respecting the dough. I’ve messed this up plenty of times when I rush things, so trust me on these little rules. They separate a good pastry from a truly great one.
The Critical Role of Cold Ingredients
I can’t stress this enough: your butter needs to be ice cold. When you cut that cold butter into the flour, you create tiny pockets. When the pastry hits the hot oven, the water in the butter turns to steam instantly, pushing those dough layers apart. If the butter melts before it hits the heat because you handled it too much or it sat out too long, you just end up with a dense, tough crust instead of flaky layers. Keep everything chilled!
Avoiding Overworking the Yeast Dough
The other huge mistake people make is overmixing once the liquid hits the flour. We are not making bread here; we are making pastry! As soon as that dough comes together into a shaggy ball, stop stirring. Minimal mixing keeps the gluten development low. If you mix too long, you build too much structure, and your pastry will be chewy instead of tender and light. Just mix until the flour disappears, wrap it up, and let the fridge do the hard work for you.
Ingredient Notes and Substitutions for Your Apple Kringle
Sometimes we don’t have exactly what the recipe calls for, and that’s okay! Baking is flexible if you know where you can safely make a swap. For this pastry, most changes are minor, but we need to be careful with ingredients that affect texture, like that cold butter.
Clarifying Butter Preparation
When I say “cold and cubed,” I really mean it! Take your stick of butter straight from the fridge. Cut it into small cubes—about half an inch—and then pop those cubes back into the freezer for about ten minutes before you start cutting them into the flour mixture. This gives you a buffer zone so the butter doesn’t melt while you’re working the mixture with your warm hands. Quick hands make for flaky pastry!
Adjusting Sweetness Levels
The vanilla glaze is meant to be quite sweet to balance the tartness of the apples, but if you have a real sweet tooth, go ahead and add another tablespoon of powdered sugar to the mix. Conversely, if you prefer a thinner, almost clear drizzle, just use less powdered sugar and more water. I usually aim for a consistency where the glaze drips slowly off the spoon, not runs right off.
Storing and Reheating Leftover Wisconsin Apple Kringle
I rarely have leftovers because my family devours this **Wisconsin Apple Kringle** almost instantly, but when I do manage to squirrel some away, I want it to taste as fresh as possible the next day. Pastries like this are best enjoyed within a day or two, so let’s make sure we treat them right!
Best Practices for Room Temperature Storage
The key here is keeping the air out. Once the glaze has fully set—and I mean completely dry—transfer your Kringle to an airtight container. Don’t try to stack slices unless you put parchment paper between them, or the glaze will stick! Keep it right on the counter at room temperature. Based on the ingredients, it lasts beautifully for up to two days this way. Putting it in the fridge tends to dry out the delicate pastry layers, so we skip that step if we can.
Quick Reheating Methods
If your Kringle has been sitting out, the pastry might feel a little softer than when it was first baked. To bring back a tiny bit of that fresh crispness, try a quick warm-up. Pop a slice into a toaster oven at a low setting for just a minute or two, or wrap it loosely in foil and heat it in a regular oven at about 300°F for about five minutes. You just want to warm it through, not cook it again. That little bit of heat wakes up the butter flavor!
| Storage Duration | Container Type | Location |
|---|---|---|
| Up to 2 Days | Airtight Container | Room Temperature |
Frequently Asked Questions About This Wisconsin Apple Kringle
I get so many great questions after people try this recipe for the first time! It’s natural to wonder about tweaks or troubleshooting, especially with yeasted doughs. Here are the top things I hear about making the perfect **Wisconsin Apple Kringle** at home.
Can I make the dough ahead of time?
Yes, you absolutely can! The dough benefits from a long, cold rest, which actually helps develop flavor, too. After you mix it into a ball (before rolling it out), wrap it tightly in plastic wrap and you can store it in the refrigerator for up to two days. If you do this, pull it out about an hour before you plan to roll it so it softens just enough to be workable, but still stays cold!
What if I do not have cardamom?
Cardamom is my little secret weapon for that authentic Scandinavian flavor, but if you don’t have it on hand, don’t panic! You can easily omit it entirely, and the apple filling will still be delicious. If you want to keep that warm spice note, try substituting it with a tiny pinch of ground cloves or a little extra cinnamon. Just remember, a little goes a long way with those stronger spices!
Why is my Kringle not flaky?
Nine times out of ten, lack of flakiness comes down to one of two things: either the butter wasn’t cold enough when you cut it into the flour, or you mixed the dough too long once the liquid was added. If the butter melts before it hits the oven, it just mixes in like oil, and you lose your layers. If you overmix, you develop too much gluten, making it tough instead of tender and flaky. Keep it cold and mix minimally!
Help Others Find This Recipe
I truly hope this recipe brings a little bit of that wonderful bakery joy to your own kitchen! If you tried this Kringle and loved the flaky layers, please don’t keep it a secret. Sharing helps other home bakers find their new favorite recipes, too!
Share Your Baking Experience
Tell me how it went! Did you use homemade or store-bought apples? Did you try the cardamom, or did you swap it out? Leave a rating below or drop a comment sharing any little adjustments you made. I read every single one, and I love hearing about your successes!
Estimated Nutritional Data for the Wisconsin Apple Kringle
I always love seeing your baking results, but I get asked a lot about the numbers behind the deliciousness. Before we wrap up, let’s talk briefly about the nutrition for this **Wisconsin Apple Kringle**. Remember, these figures are based on the specific ingredient amounts listed in the recipe, and if you use a different brand of pie filling or add extra glaze, your final count will shift a bit!
This is a rich pastry, meant for treating yourself, so it has fats and sugars appropriate for a special dessert. I want to be super clear: these figures are calculated estimates only and should not be taken as exact nutritional facts. If you have strict dietary needs, you’ll want to plug in the exact brands you use for the most accurate reading. But for a general idea of what you’re enjoying when you slice into this wonderful pastry, this gives you a good ballpark figure for one serving slice!
Print
Amazing 5-star Wisconsin Apple Kringle flavor
- Total Time: 1 hour 45 minutes
- Yield: 1 Kringle 1x
- Diet: Vegetarian
Description
Wisconsin Apple Kringle is a flaky, pastry-like treat filled with spiced apple pie filling and topped with a simple vanilla glaze. This recipe delivers a classic bakery favorite right to your kitchen.
Ingredients
- 2 cups all-purpose flour
- 1 tsp kosher salt
- 3 tbsp granulated sugar
- 1 cup unsalted butter, cold and cubed
- 2 tsp active dry yeast
- 1/3 cup whole milk, warm
- 2 tsp water
- 1 egg
- 2 oz apple pie filling
- 1/4 tsp ground cardamom
- 1 cup powdered sugar
- 1 tsp vanilla extract
- 2–3 tsp water (for glaze)
Instructions
- Combine warm milk, water, and yeast in a small bowl. Let it sit for 5 minutes until foamy.
- Whisk flour, salt, and sugar in a large bowl. Cut in the cold butter until the mixture looks like coarse crumbs.
- Add the yeast mixture and the egg. Stir only until the dough forms a ball; avoid overmixing.
- Form the dough into a ball, wrap it in plastic, and refrigerate for at least 1 hour.
- Preheat your oven to 375°F (190°C). Roll the chilled dough into a large rectangle on a floured surface.
- Spread the apple pie filling down the center of the dough and sprinkle with cardamom.
- Fold the dough over the filling lengthwise, sealing the edges. Shape it into an oval or horseshoe and move it to a parchment-lined baking sheet.
- Brush the dough with a bit of egg wash if desired. Bake for 22–25 minutes until it is golden brown and flaky. Cool the Kringle completely on a wire rack.
- Mix the powdered sugar, vanilla, and water until the glaze is smooth. Drizzle the glaze over the cooled Kringle and let it set before you slice it.
Notes
- Chill the dough thoroughly for easier handling and flakier layers.
- Use high-quality apple pie filling or homemade for best flavor.
- Cardamom adds a Scandinavian touch—adjust or omit based on preference.
- Store leftover Kringle in an airtight container at room temperature for up to 2 days.
- Prep Time: 20 minutes
- Cook Time: 25 minutes
- Category: Pastry
- Method: Baking
- Cuisine: American
Nutrition
- Serving Size: 1 slice
- Calories: 375
- Sugar: 22g
- Sodium: 190mg
- Fat: 22g
- Saturated Fat: 13g
- Unsaturated Fat: 8g
- Trans Fat: 0g
- Carbohydrates: 38g
- Fiber: 1g
- Protein: 5g
- Cholesterol: 65mg